How to Make A Fall Wreath: 5 Different Styles
There’s something magical about autumn that makes me want to decorate every inch of my home. The crisp air, changing leaves, and cozy vibes call for warm, welcoming decor. And nothing says “fall is here” quite like a beautiful handmade wreath on your front door.
I’ve been crafting fall wreaths for over a decade, and I’m excited to share five of my favorite styles with you. These aren’t just any wreaths – they’re designs that have earned me countless compliments from neighbors and helped me create that perfect autumn atmosphere I crave every year.
Whether you’re a complete beginner or someone who’s dabbled in wreath-making before, these projects will help you create stunning fall decorations that reflect your personal style. Let’s dive into the wonderful world of DIY fall wreaths!
If you are looking to add some awesome fall shirts into your wardrobe this year, click on the images below. Use code FALL15 for a 15% discount on top of our current fall price while supplies last. That is a total of 40% OFF!!!! We ship to the USA and Canada.


Why Make Your Own Fall Wreaths?
Before we jump into the tutorials, let me tell you why I’m so passionate about making my own wreaths. First, it’s incredibly cost-effective. A beautiful store-bought fall wreath can easily cost $60-100 or more. When I make my own, I spend about $15-30 and get exactly what I want.
The customization factor is huge too. I can choose colors that match my home’s exterior, select materials that speak to me, and create something truly unique. Plus, there’s something deeply satisfying about greeting guests with a wreath I made with my own hands.
Making wreaths has become one of my favorite fall traditions. I love the meditative process of arranging natural elements and watching a simple wire frame transform into something beautiful.

Essential Supplies for All Wreath Styles
Every fall wreath project needs some basic supplies. Here’s what I keep in my craft arsenal:
Base Materials:
- Wire wreath frames (12-18 inch diameter work best)
- Grapevine wreaths (great for rustic looks)
- Straw wreaths (perfect for fuller designs)
- Foam wreaths (easiest for beginners)
Tools You’ll Need:
- Hot glue gun and glue sticks
- Floral wire (24-gauge is my go-to)
- Wire cutters
- Scissors
- Measuring tape
Attachment Hardware:
- Floral pins
- Chenille stems (pipe cleaners)
- Small zip ties
- Ribbon for hanging
I always recommend gathering all your supplies before starting any project. There’s nothing worse than being in the creative zone and realizing you’re missing something crucial!

Style 1: Classic Autumn Leaves Wreath
This timeless design captures the essence of fall with gorgeous leaf arrangements. It’s perfect for beginners and looks stunning on any door.
Materials Needed:
- 14-inch grapevine wreath base
- Artificial fall leaves in varied colors (maple, oak, birch)
- Small artificial berries or acorns
- Burlap ribbon (3 inches wide)
- Hot glue gun and sticks
Step-by-Step Instructions:
Start by laying out your leaves and sorting them by color and size. I like to create small clusters of 3-5 leaves that I’ll attach together before adding them to the wreath.
Begin at the top of your wreath and work clockwise. Take your first cluster of leaves and secure them to the grapevine using hot glue. Make sure to tuck the stems deep into the vines for a natural look.
Continue adding leaf clusters, overlapping them slightly as you go. I vary the colors and sizes to create visual interest. Don’t worry about making it perfect – nature isn’t perfectly symmetrical, and neither should your wreath be.
Once you’ve covered about two-thirds of the wreath with leaves, start adding your berries or acorns. I use these as accent pieces to fill in gaps and add texture.
Finally, create a beautiful bow with your burlap ribbon. I make mine about 6 inches wide and attach it to the bottom of the wreath. The rustic texture of burlap perfectly complements the natural leaves.
Pro Tips for This Style:
- Mix real preserved leaves with artificial ones for authentic texture
- Spray your finished wreath with clear sealant to protect it from weather
- Choose leaves in varying stages of “fall color” for the most realistic look
Style 2: Harvest Abundance Wreath
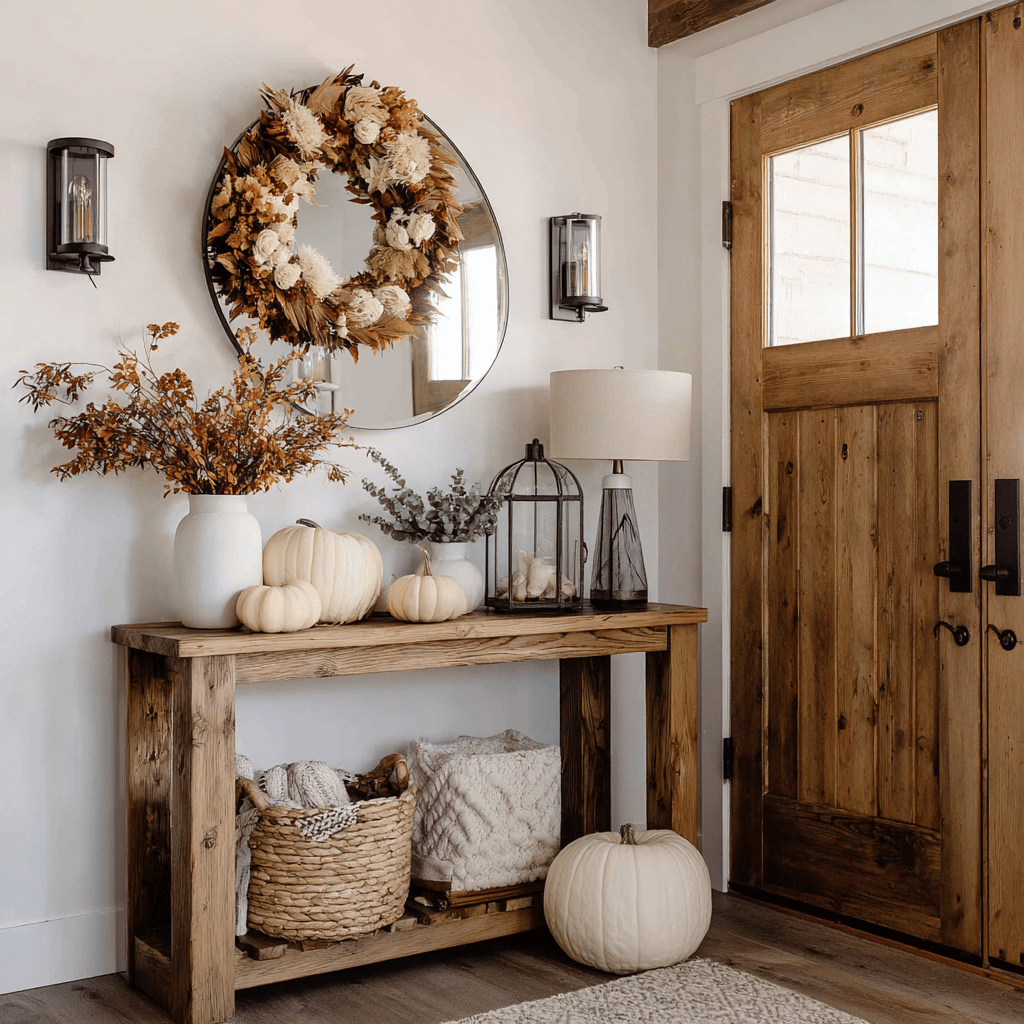
This style celebrates fall’s bounty with mini pumpkins, gourds, and wheat. It’s my personal favorite because it feels so festive and abundant.
Materials Needed:
- 16-inch straw wreath base
- Small artificial pumpkins and gourds
- Wheat stalks or dried corn husks
- Fall flowers (mums, sunflowers, or marigolds)
- Raffia or natural twine
- Floral wire
Step-by-Step Instructions:
Start by wrapping your straw base with raffia. This isn’t necessary, but I love how it adds texture and hides any bare spots that might show through.
Next, plan your pumpkin and gourd placement. I usually use 5-7 small pieces and space them around the wreath. The key is creating visual balance – not putting all the larger pieces on one side.
Secure each pumpkin or gourd with floral wire, wrapping it around the base and through the straw wreath. Make sure they’re firmly attached because these elements have some weight to them.
Now comes the fun part – adding the wheat stalks. I create small bundles of 3-4 stalks and wire them between the pumpkins. The wheat adds beautiful height and movement to the design.
Fill in any remaining spaces with your fall flowers. I like to use them sparingly as accent pieces rather than covering the entire wreath.
Finish with a rustic raffia bow. I keep this one more casual and loose than the burlap bow from the first style.
Pro Tips for This Style:
- Use odd numbers of elements (3, 5, 7) for the most pleasing visual arrangement
- Secure heavier items with both wire and hot glue for extra stability
- Choose pumpkins and gourds in different sizes and colors for visual inter

Style 3: Elegant Minimalist Fall Wreath
Sometimes less really is more. This sophisticated style focuses on clean lines and carefully chosen elements.
Materials Needed:
- 12-inch wire wreath frame
- Eucalyptus branches (artificial or dried)
- 3-5 small white or cream pumpkins
- Cream or ivory ribbon
- Gold spray paint (optional)
- Floral wire
Step-by-Step Instructions:
Begin by wrapping your eucalyptus around the wire frame. I like to use long branches and wrap them in the same direction for a clean, organized look.
Secure the eucalyptus with floral wire every few inches. The goal is to create an even, full base that covers the entire wire frame.
If you’re using the gold spray paint, lightly mist some of the eucalyptus leaves for subtle shimmer. Don’t overdo it – just a light touch here and there.
Choose your best three pumpkins and position them asymmetrically on the wreath. I usually place one larger one and two smaller ones, creating a triangle pattern that’s pleasing to the eye.
Wire the pumpkins securely to the eucalyptus base. With this minimalist style, every element needs to be perfectly placed since there’s nowhere to hide mistakes.
Create an elegant bow with your cream ribbon. I make this one more structured and precise than the rustic bows in the other styles.
Pro Tips for This Style:
- Quality matters more than quantity with this design
- Choose elements in a cohesive color palette (whites, creams, soft golds)
- Pay attention to spacing – empty space is part of the design
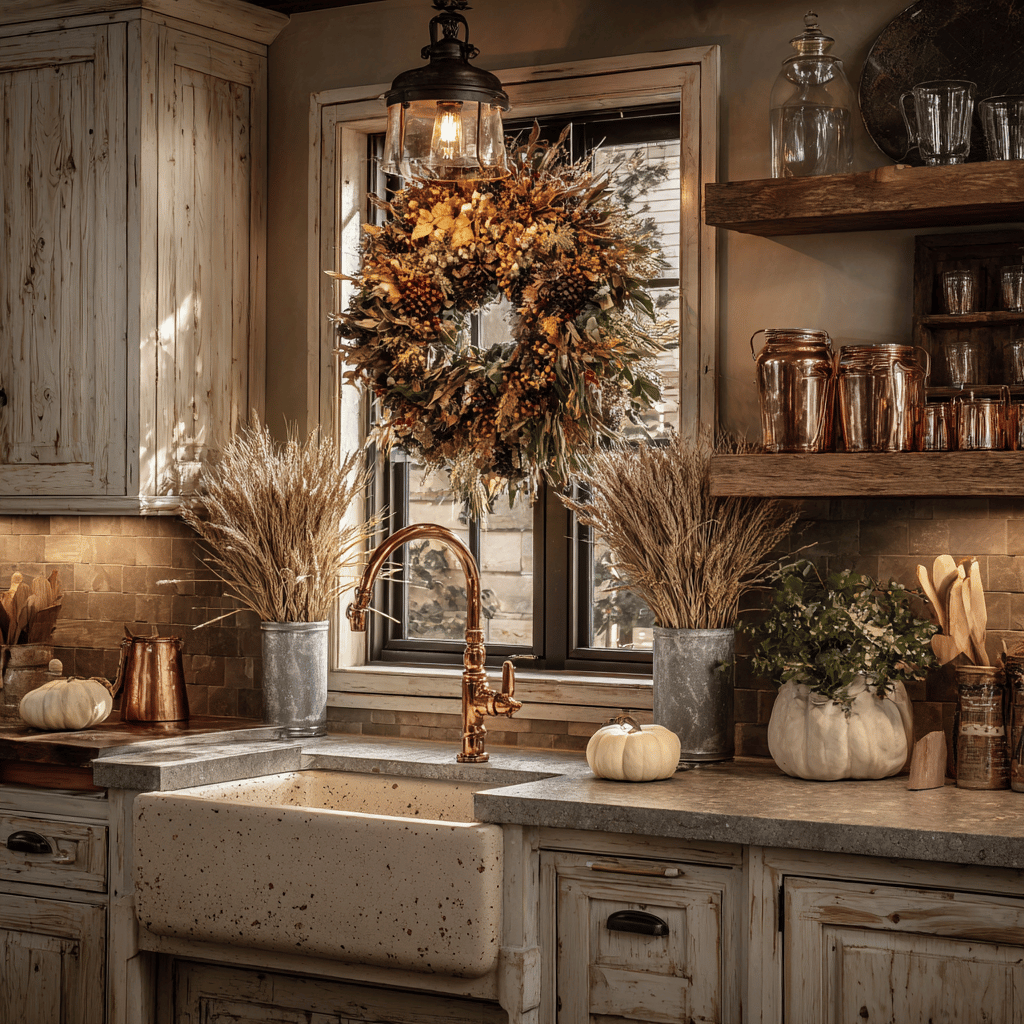
Style 4: Rustic Farmhouse Fall Wreath
This style embraces the cozy, lived-in feel of farmhouse decor. It’s warm, welcoming, and perfect for country-style homes.
Materials Needed:
- 18-inch grapevine wreath base
- Burlap ribbon in multiple widths
- Artificial cotton bolls
- Dried corn husks
- Small wooden signs or letters
- Twine or jute rope
- Artificial sunflowers
Step-by-Step Instructions:
Start by wrapping sections of your grapevine base with burlap ribbon. I don’t cover the entire wreath – just strategic sections that will peek through the other elements.
Create texture by adding layers. Begin with your largest elements (sunflowers and corn husks) and secure them with hot glue and floral wire.
Add the cotton bolls next. These create beautiful white accents that pop against the darker base. I cluster them in groups of 2-3 for the most impact.
If you’re using wooden signs or letters, position them where they’ll be easily readable. I often spell out “FALL” or “WELCOME” depending on the size of my wreath.
Wrap twine around various sections of the wreath in a casual, imperfect way. This adds to the rustic, handmade feel.
Create a large, slightly messy bow with burlap ribbon. The imperfection is what makes this style so charming.
Pro Tips for This Style:
- Embrace imperfection – rustic doesn’t mean sloppy, but it shouldn’t look too polished
- Layer different textures for visual interest
- Use natural, muted colors throughout
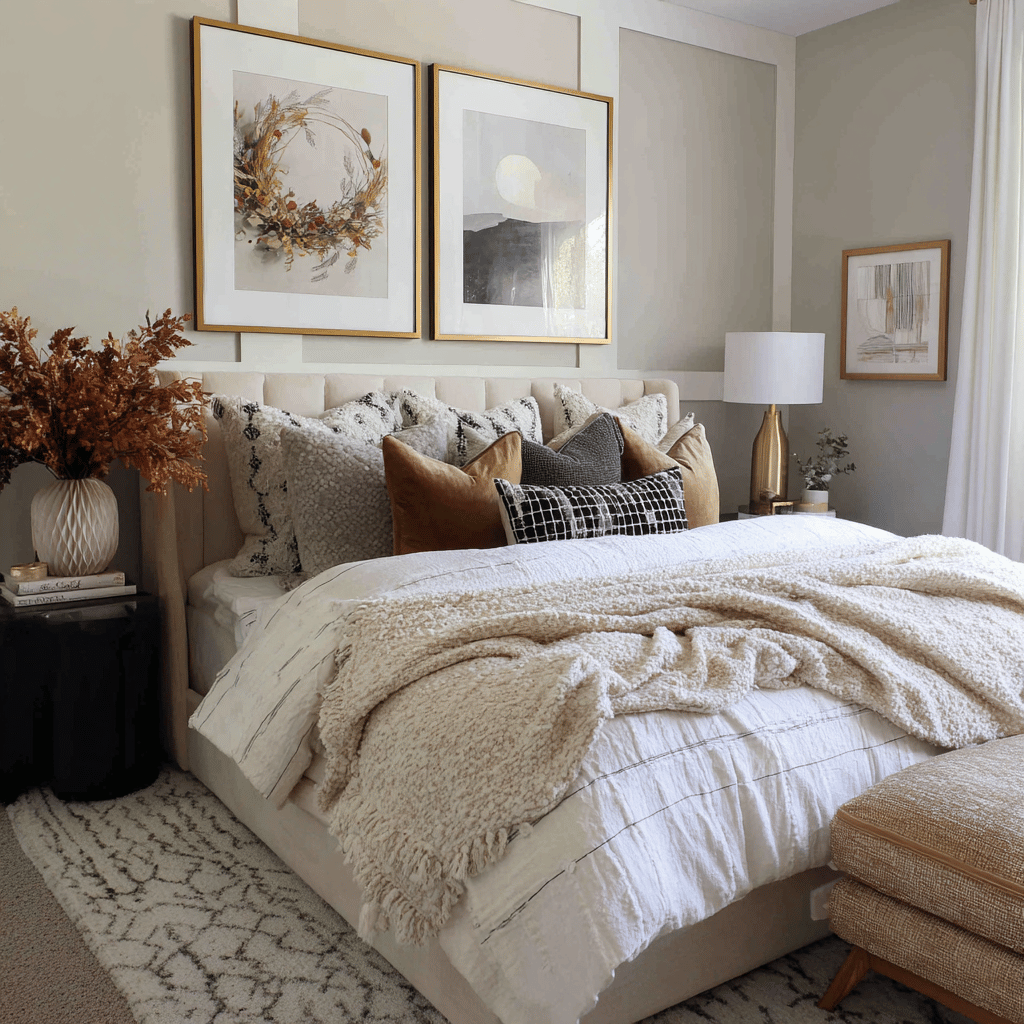
Style 5: Modern Geometric Fall Wreath
For those who prefer contemporary style, this geometric approach puts a fresh spin on fall decorating.
Materials Needed:
- Metal hoop wreath frame (copper or gold finish)
- Preserved eucalyptus or olive branches
- Geometric wooden shapes (triangles, hexagons)
- Metallic spray paint
- Leather or faux leather cord
- Small succulents (real or artificial)
Step-by-Step Instructions:
Start by spray painting your wooden geometric shapes in coordinating metallic tones. I like to use different shades – some copper, some gold, some bronze – for depth.
While the paint dries, begin attaching your eucalyptus or olive branches to the metal hoop. Instead of covering the entire frame, leave strategic sections bare to maintain the modern, minimal aesthetic.
Once your painted shapes are dry, position them thoughtfully around the wreath. I typically use 3-5 pieces, clustering them in one section rather than distributing them evenly.
Add small succulents as unexpected elements. These bring in the fall colors while maintaining the contemporary feel.
Instead of a traditional bow, create a hanging element using leather cord. I sometimes add wooden beads or small metallic accents to this cord.
Pro Tips for This Style:
- Less is definitely more with this design
- Stick to a tight color palette (2-3 colors maximum)
- Focus on clean lines and intentional placement

Hanging and Displaying Your Fall Wreaths
Once your beautiful wreaths are complete, proper hanging makes all the difference. I always use a wreath hanger that won’t damage my door. Over-the-door hangers work great for lightweight wreaths, while heavier designs might need a small nail or hook.
Consider your wreath’s position throughout the day. Will it get direct sunlight? Morning shade but afternoon sun? This affects both the colors you choose and the materials you use.
I like to change the height of my wreaths seasonally. Fall wreaths look great at eye level or slightly higher, creating a welcoming focal point for guests.
Caring for Your Handmade Fall Wreaths
With proper care, your DIY fall wreaths can last the entire season and beyond. Here’s how I keep mine looking fresh:
For outdoor display, I bring my wreaths in during severe weather. Rain won’t hurt most artificial materials, but high winds can damage delicate elements.
I dust my wreaths weekly with a soft brush or cloth. This keeps the colors vibrant and prevents buildup that can make them look tired.
At the end of fall, I store my wreaths carefully in large boxes with tissue paper. This prevents crushing and keeps them ready for next year.
Troubleshooting Common Wreath-Making Problems
Even experienced crafters run into issues sometimes. Here are solutions to the most common problems I encounter:
Wreath looks sparse: Add more filler elements like small berries, leaves, or greenery. It’s easier to add than to remove.
Elements keep falling off: You’re probably not using enough adhesive. Don’t be shy with the hot glue, and always use floral wire as backup for heavier items.
Colors look muddy together: Stick to a cohesive color palette. Fall colors work best in groups – warm oranges and reds, or cool browns and creams.
Wreath looks flat: Add elements at different heights and angles. Not everything should lay flat against the base.
Budget-Friendly Tips for Fall Wreath Making
Creating beautiful fall wreaths doesn’t have to break the bank. Here are my favorite money-saving strategies:
Shop the dollar store first. You’d be surprised how many quality wreath-making supplies you can find for just a dollar each.
Buy artificial flowers and elements after holidays when they go on clearance. I stock up on fall items in November for the following year.
Combine artificial and natural elements. Free items from your yard (interesting branches, pinecones, leaves) mixed with a few store-bought pieces create stunning results.
Repurpose wreaths from previous years. I often take apart old wreaths and reuse the base and some elements in new designs.
Making Wreath-Making a Family Activity
Some of my favorite fall memories involve making wreaths with my family. Here’s how to make it enjoyable for everyone:
Give each family member their own small wreath to decorate. Kids love having creative control over their projects.
Set up a dedicated crafting space where mess is okay. Cover tables with newspaper or plastic tablecloths.
Prepare age-appropriate tasks. Young children can sort materials by color while older kids can handle glue guns with supervision.
Play fall-themed music and have seasonal snacks ready. Make it a celebration, not just a craft project.

Conclusion: Your Fall Wreath Journey Starts Now
Creating your own fall wreaths is one of the most rewarding seasonal crafts you can learn. Each style I’ve shared offers something different – from classic elegance to modern sophistication to rustic charm.
Remember, there’s no such thing as a perfect wreath. The beauty lies in the handmade quality and the personal touches you bring to each design. Don’t be afraid to experiment with different combinations of materials and colors.
Start with whichever style speaks to you most. As you gain confidence, you’ll naturally develop your own techniques and preferences. Soon, you’ll be creating wreaths that are uniquely yours and perfectly suited to your home.
I hope these tutorials inspire you to dive into fall wreath making. There’s something magical about creating beautiful decorations with your own hands, and I know you’ll love the process as much as the stunning results.
Happy crafting, and welcome to your new favorite fall tradition!
If you love home decor and interior design as much as I do, check out these other articles I think you might like.
15 Easy Fall DIY Projects You Can Complete in a Weekend
Best Autumn Kitchen Decorating Ideas That Transform Your Space
Below is a video that when played on your TV can turn your TV into a piece of art. There are hundreds of different videos to choose from.

