DIY Fall Garlands: Nature’s Perfect Autumn Decor
Fall has always been my favorite season for decorating. There’s something magical about bringing the outdoors inside, especially when you can create beautiful decorations using materials that nature freely provides. Today, I’m sharing my passion for crafting DIY fall garlands using natural materials – a project that’s not only budget-friendly but also incredibly rewarding.
If you are looking to add some awesome fall shirts into your wardrobe this year, click on the images below. Use code FALL15 for a 15% discount on top of our current fall price while supplies last. That is a total of 40% OFF!!!! We ship to the USA and Canada.


Why I Love Natural Fall Garlands
I discovered the joy of making natural garlands three years ago when I was looking for ways to decorate my home without breaking the bank. What started as a simple weekend project has become an annual tradition that I look forward to every September.
Natural garlands have a warmth and authenticity that store-bought decorations simply can’t match. They bring the essence of autumn directly into your living space. Plus, they’re environmentally friendly and biodegradable.
The best part? Every garland tells a unique story based on what you find during your nature walks.

Essential Materials for Your Fall Garland
Before we dive into the crafting process, let’s gather our supplies. I always keep these basics on hand during garland season:
Natural Materials:
- Fallen leaves in various shapes and colors
- Acorns and nuts
- Pinecones of different sizes
- Small twigs and branches
- Berries (real or artificial for longevity)
- Seed pods
- Small gourds and mini pumpkins
Crafting Supplies:
- Jute twine or natural rope
- Floral wire
- Hot glue gun and glue sticks
- Scissors
- Drill with small bits
- Needle and thread
- Mod Podge (for preserving leaves)
I recommend collecting materials during multiple nature walks. This gives you variety and ensures you have plenty to work with.

Preparing Your Natural Materials
One mistake I made early on was jumping straight into crafting without properly preparing my materials. Trust me, taking time to prep your finds will make all the difference.
Leaf Preparation: I press my leaves between heavy books for 24-48 hours. This removes excess moisture and prevents curling. For extra durability, I brush them with a thin layer of Mod Podge and let them dry completely.
Acorn and Nut Care: Always check for small holes that might indicate insect activity. I bake acorns at 200°F for 30 minutes to eliminate any unwanted guests. Let them cool completely before using.
Pinecone Treatment: Pinecones can be used fresh, but I prefer to bake them at 200°F for 45 minutes. This opens them up fully and removes sap and moisture.
Branch Selection: Choose sturdy, flexible branches that won’t break easily. Remove any loose bark and trim to your desired lengths.

My Favorite Fall Garland Designs
Over the years, I’ve developed several go-to garland styles that never fail to impress. Each has its own personality and works well in different spaces.
The Classic Leaf Garland
This is where I started, and it remains my most popular design. I string together leaves of varying sizes and colors, creating a beautiful gradient effect.
Start with your largest leaves as anchor points, spacing them about 6 inches apart along your twine. I use a large needle to thread the twine through the stem end of each leaf. Between the large leaves, I add smaller ones in complementary colors.
The key is balance. I alternate warm reds and oranges with cool yellows and browns. Sometimes I add a few green leaves for contrast – nature isn’t uniform, and neither should your garland be.
The Acorn and Leaf Combination
This garland adds texture and visual interest by combining smooth acorns with textured leaves. I drill small holes in the acorn caps and thread them onto the twine alternately with leaves.
For extra charm, I sometimes paint acorn caps with metallic gold or copper paint. Just a light dusting creates an elegant finish that catches the light beautifully.
The Pinecone Statement Garland
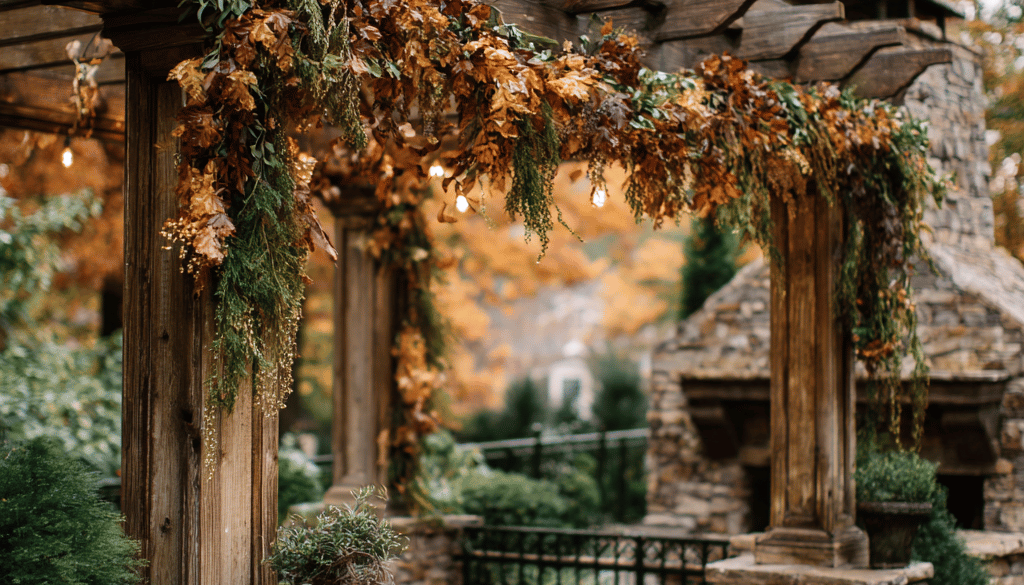
When I want drama, I go with pinecones. These create a more rustic, cabin-like feel that’s perfect for mantels and doorways.
I use floral wire to attach pinecones to a sturdy jute rope base. The trick is varying the sizes – large pinecones as focal points with smaller ones filling in gaps. I often add sprigs of evergreen or dried berries to soften the look.
The Mixed Media Masterpiece
My most ambitious garlands combine everything – leaves, acorns, pinecones, small twigs, and berries. These take more time but create stunning focal pieces.
I start with a strong base of jute rope and work in sections. Each 12-inch section gets one large element (like a pinecone), several medium elements (like leaves or acorn clusters), and small details (like berries or tiny twigs).

Step-by-Step Crafting Process
Let me walk you through creating a classic mixed autumn garland – it’s easier than you might think.
Step 1: Plan Your Length Measure the space where you’ll hang your garland and add 12 inches for draping. I usually work in 6-foot sections for easier handling.
Step 2: Create Your Base Cut your twine or rope to length. I tie small loops at each end for hanging – these can be hidden later with leaves or other decorative elements.
Step 3: Establish Your Pattern I lay out my materials on a table first, arranging them in the order I want them on the garland. This prevents mistakes and ensures good color distribution.
Step 4: Start Stringing Begin 6 inches from one end. I alternate between threading materials directly onto the twine and attaching them with hot glue or floral wire.
For leaves, I pierce through the stem. For acorns, I thread through pre-drilled holes. For pinecones and other bulky items, I use wire to attach them securely.
Step 5: Fill and Balance Once my main elements are in place, I go back and fill gaps with smaller items. This is where berries, small leaves, and tiny twigs really shine.
Step 6: Final Touches I step back and assess the overall look. Sometimes I add a few more elements to balance colors or fill sparse spots.
Creative Variations and Personal Touches
After making dozens of garlands, I’ve learned that the most beautiful ones often include unexpected elements.
Adding Texture: I sometimes incorporate dried grasses, wheat stalks, or even cotton bolls for different textures. These natural materials complement traditional fall elements beautifully.
Color Themes: While traditional fall colors are gorgeous, don’t be afraid to experiment. I’ve made stunning garlands using only burgundy and gold elements, or focusing on oranges and deep purples.
Scented Elements: Cinnamon sticks, dried orange slices, and cloves add wonderful autumn fragrances to garlands. I wire these in sparingly – a little goes a long way.
Size Play: Varying the scale of your elements creates visual interest. I might include one dramatically large leaf or pinecone as a focal point, then balance it with clusters of smaller items.

Preservation and Longevity Tips
Nothing disappoints me more than a beautiful garland that doesn’t last through the season. Here are my tried-and-true preservation methods:
Leaf Longevity: The Mod Podge treatment I mentioned earlier really works. It adds about 6-8 weeks to leaf life when garlands are kept indoors.
Preventing Shattering: Overly dry materials become brittle. I lightly mist my garlands with water every 10-14 days, being careful not to soak them.
Storage Between Seasons: I store my garlands flat in large boxes with tissue paper between layers. Some of my favorites have lasted for three seasons with proper care.
Refresh Options: Sometimes I refresh tired garlands by adding new elements or replacing damaged pieces rather than starting over completely.
Perfect Placement Ideas
Where you hang your garland makes a huge difference in its impact. I’ve experimented with placement over the years and found some spots that really make garlands shine.
Mantel Magic: Mantels are classic for a reason. I drape garlands naturally, letting them cascade slightly. Adding battery-operated fairy lights makes them magical in the evening.
Doorway Drama: Interior doorways frame garlands beautifully. I measure carefully to ensure the garland doesn’t interfere with daily use.
Stair Rail Elegance: Wrapping garlands around stair railings creates a grand entrance feeling. I secure them every few feet with floral wire disguised with leaves.
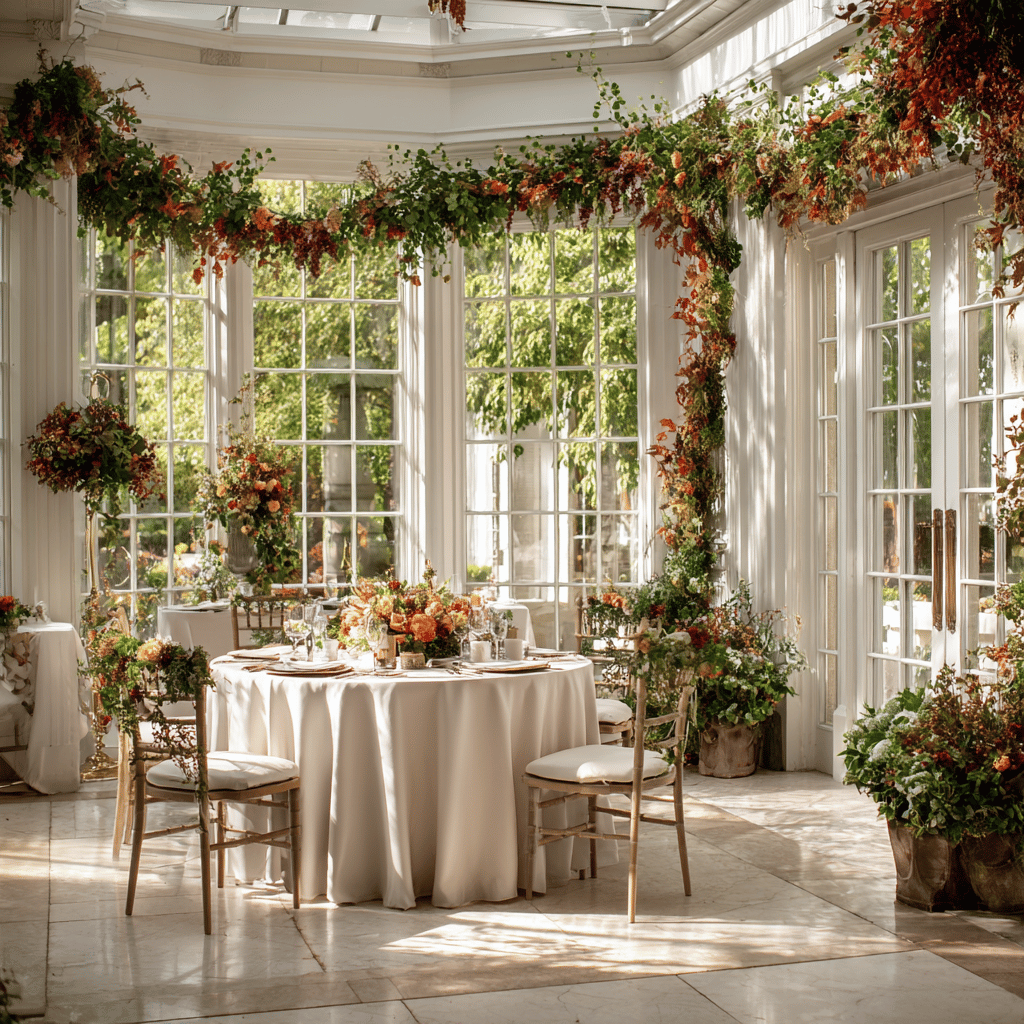
Window Wonderland: Framing windows with garlands brings the autumn feeling to every room view. I use small nails or adhesive hooks to support them.
Table Runner Alternative: Long garlands make stunning table centerpieces. I lay them down the center of dining tables and add candles for evening meals.

Troubleshooting Common Issues
Even with years of experience, I still encounter challenges. Here’s how I handle the most common problems:
Dropping Elements: If items keep falling off, I reinforce attachment points with small dabs of hot glue. For valuable pieces, I create small wire cages that hold them securely.
Color Fading: Direct sunlight fades natural materials quickly. I position garlands away from south-facing windows or use UV-protective sprays on delicate elements.
Pest Problems: Despite my precautions, sometimes insects still appear. I immediately remove affected sections and treat the remaining garland with natural deterrents like diatomaceous earth.
Brittleness: When materials become too dry, I carefully mist the garland and add fresh, flexible elements to replace the brittle ones.
Involving the Whole Family
Garland making has become a beloved family activity in my home. Even young children can help with simple tasks like sorting materials by color or size.
I give each family member responsibility for one section of a large garland. It’s amazing how different everyone’s style is, yet the finished piece always comes together beautifully.
Nature walks to collect materials are equally special. My kids have developed keen eyes for interesting shapes and colors. These outings create memories that last long after the decorations are put away.

Budget-Friendly Benefits
One of the things I love most about natural garlands is how little they cost. Most materials are free – you just need to invest time in collecting them.
The initial investment in basic supplies (twine, wire, glue gun) pays for itself quickly. These tools last for years and can be used for many other craft projects.
I estimate that my most elaborate garlands cost less than $10 in supplies, compared to $30-50 for similar store-bought decorations. Plus, mine are completely unique and made with love.
Seasonal Transition Ideas
As fall progresses into winter, I don’t throw away my garlands. Instead, I transition them gradually.
I remove elements that don’t hold up well and add winter materials like evergreen sprigs, pinecones (which work year-round), and even small ornaments for the holidays.
This evolutionary approach means I get months of enjoyment from my initial effort, and my decorations tell the story of the changing seasons.
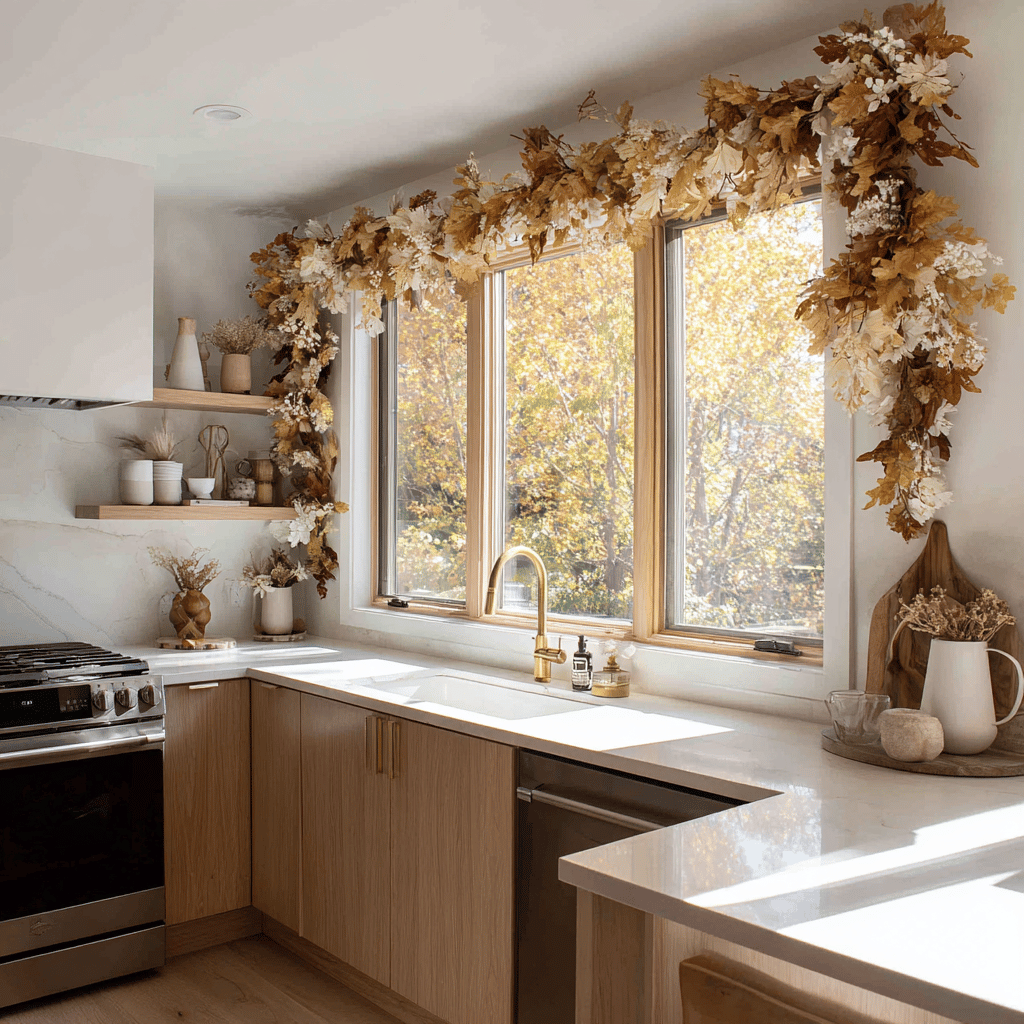
Final Thoughts and Inspiration
Creating DIY fall garlands using natural materials has brought so much joy to my autumn decorating routine. There’s something deeply satisfying about crafting something beautiful with your own hands using materials that nature provides freely.
Every garland is unique, reflecting the specific treasures you discover during your nature walks and the personal touches you add during crafting. No two are ever exactly alike, and that’s the beauty of working with natural materials.
I encourage you to start small – maybe with a simple leaf garland for your mantel. As you gain confidence and discover your personal style, you can expand to more elaborate designs.
Remember, there’s no right or wrong way to make these garlands. Let your creativity guide you, and don’t be afraid to experiment with different materials and arrangements. Some of my favorite garlands came from happy accidents or unexpected material combinations.
The process itself is as rewarding as the final product. Take time to enjoy the peaceful activity of stringing your treasures together, and don’t rush. These garlands are meant to be created mindfully, celebrating the beauty of the season and the simple pleasure of creating something lovely for your home.
This fall, I challenge you to take a nature walk, gather some beautiful materials, and create your own unique garland. I guarantee you’ll find the process as satisfying as I do, and you’ll have a beautiful decoration that truly captures the essence of autumn in your home.
If you love home decor and interior design as much as I do, check out these other articles I think you might like.
How to Make A Fall Wreath: 5 Different Styles
15 Easy Fall DIY Projects You Can Complete in a Weekend
Best Autumn Kitchen Decorating Ideas That Transform Your Space
Below is a video that when played on your TV can turn your TV into a piece of art. There are hundreds of different videos to choose from.

