Christmas Glass Ornament Fillers: Creative DIY Guide
I’ve always believed that the magic of Christmas lies in the details, a clear glass ornament has become my secret weapon for creating unforgettable holiday decorations. After years of experimenting with different techniques and materials, I’m excited to share my favorite ways to transform simple clear glass ornaments into a stunning Christmas glass ornament that will make your home sparkle with festive charm.
Below are some of my favorite products for Christmas decorating.


Why Clear A Glass Ornament Is Perfect for Christmas
There’s something magical about starting with a blank canvas, and that’s exactly what a clear glass ornament provides. I love how versatile they are – you can fill them, paint them, or leave them pristine to catch the twinkle of Christmas lights. Plus, they’re incredibly affordable, making them perfect for large-scale decorating projects.

Creative Filling Ideas for A Clear Glass Ornament
1. Winter Wonderland Fillings
I’ve discovered some stunning combinations that create a snowy effect:
- Epsom salts (they crystallize beautifully on the inside)
- Artificial snow with silver glitter
- White feathers with pearl dust
- Clear crystal beads with diamond dust
- White sand with iridescent glitter

2. Natural Elements
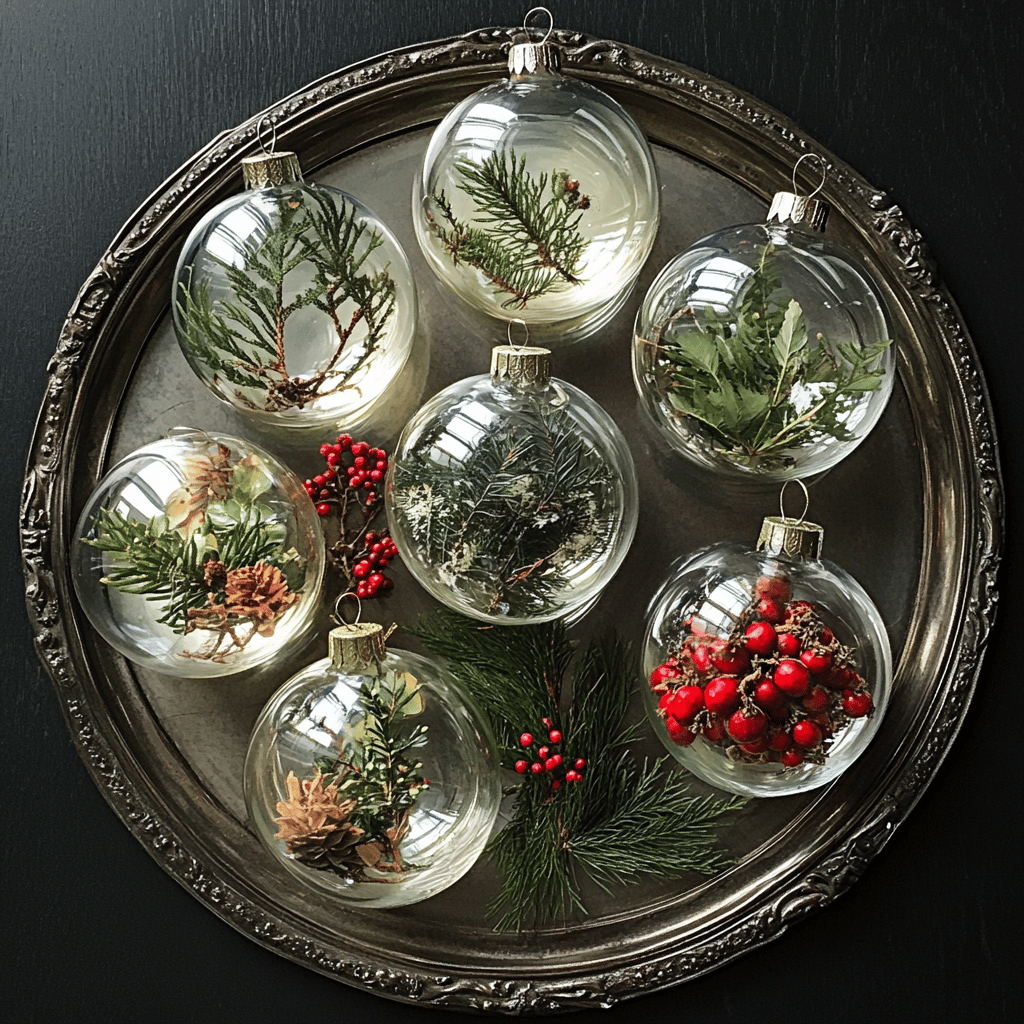
Some of my favorite organic fillings include:
- Small pine needles with tiny pinecones
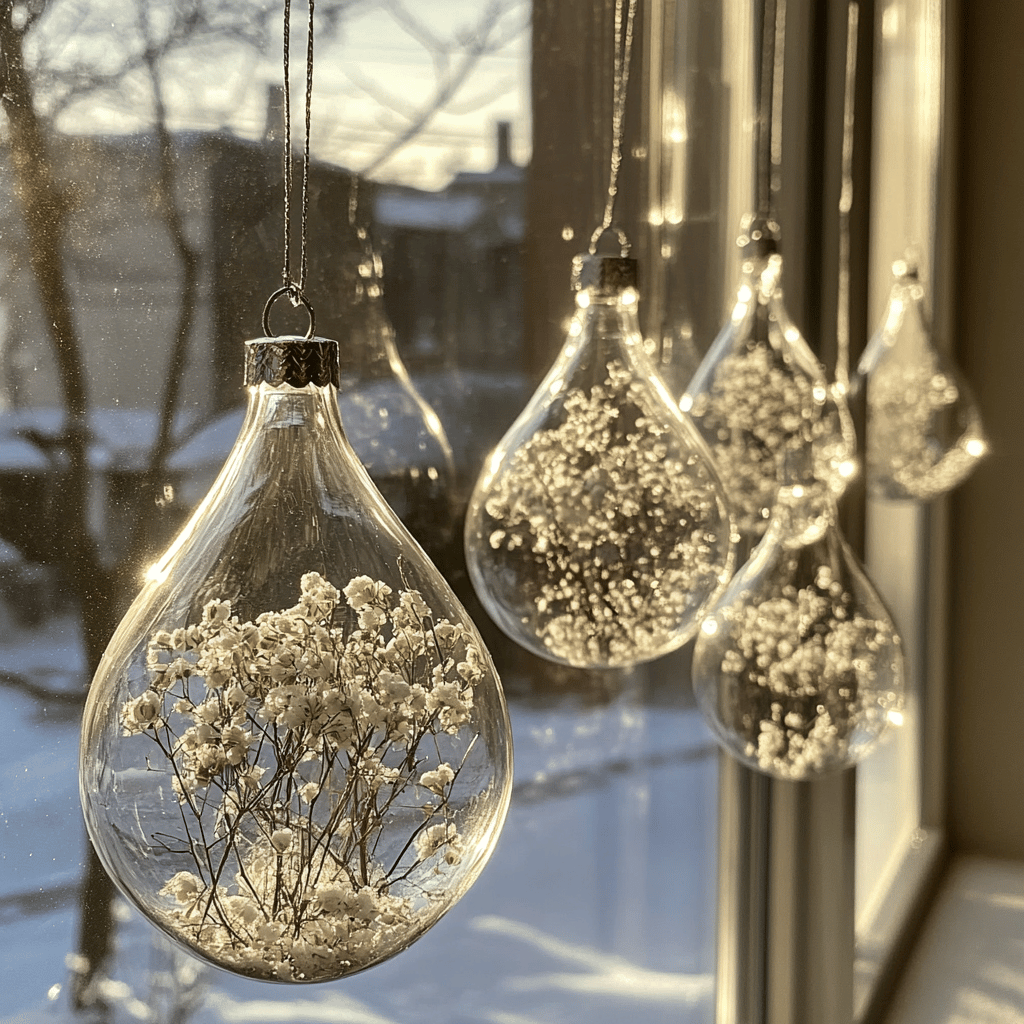
- Dried baby’s breath with silver accent glitter
- Holly berries with preserved green leaves
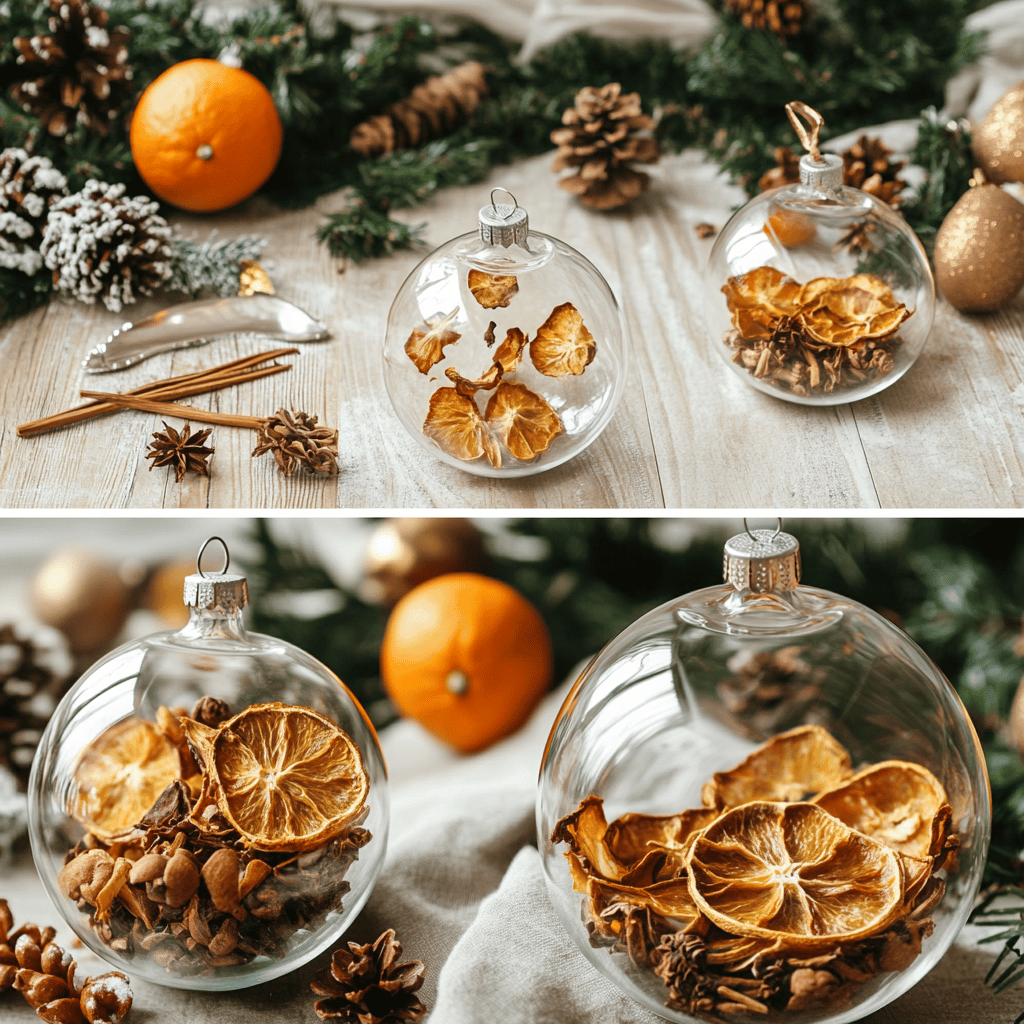
- Cinnamon sticks with star anise
- Dried orange peel with cloves for a natural scent
3. Metallic Magic
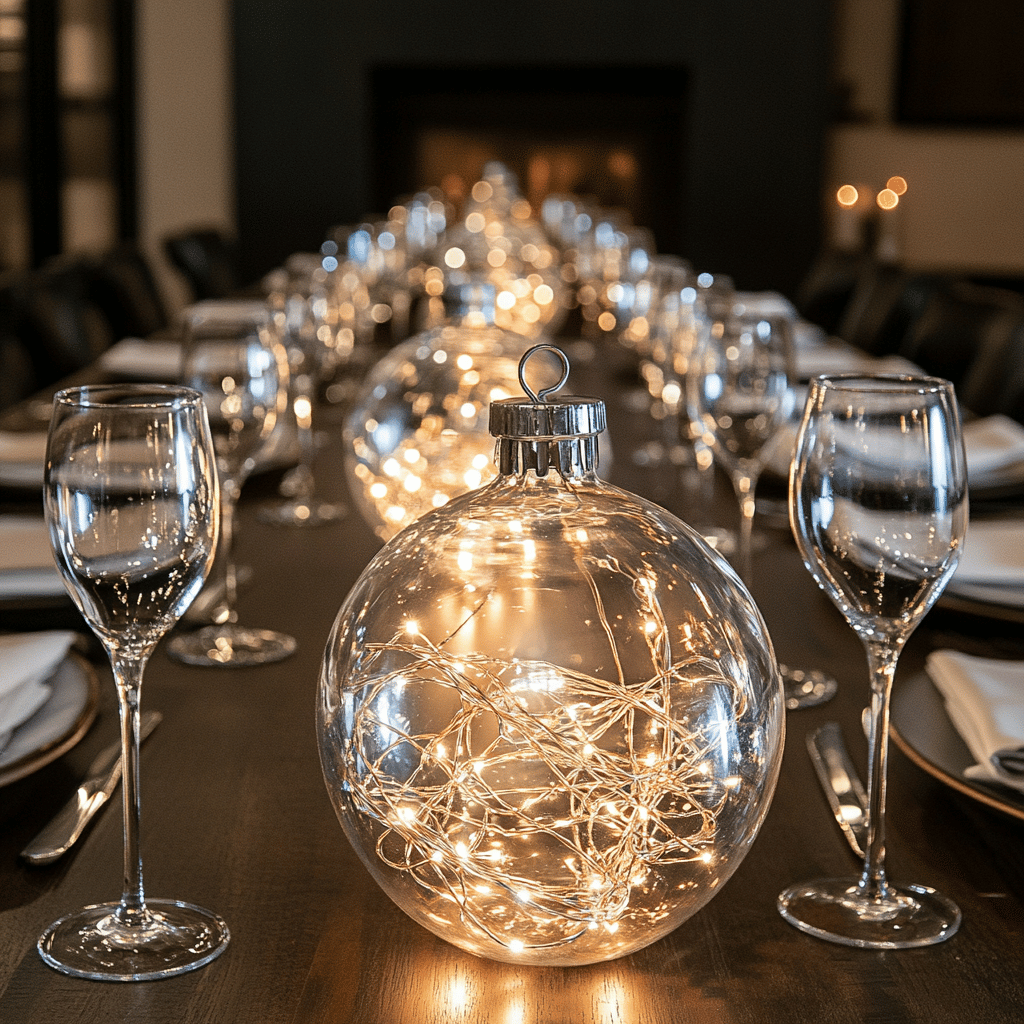
For glamorous holiday sparkle:
- Gold and silver tinsel strands
- Metallic confetti in various sizes
- Copper wire with tiny LED lights
- Rose gold glitter with pearl strands
- Mercury glass beads

4. Vintage-Inspired Fillings
To create nostalgic charm:
- Old sheet music pieces, rolled tightly
- Vintage lace scraps with pearl beads
- Antique silver and gold buttons
- White paper doilies with metallic accents
- Vintage Christmas cards, cut into tiny shapes
Step-by-Step Guide to Filling A Glass Ornament
I’ve learned that the process matters as much as the materials. Here’s my foolproof method:
-
Preparation
- Clean ornaments with rubbing alcohol
- Let dry completely
- Remove top hardware carefully
- Set up a clean workspace
-
Filling Techniques For different materials:
- Powders: Use a small funnel
- Larger items: Roll paper to create a chute
- Delicate items: Use long tweezers
- Sticky items: Coat with clear spray first
-
Sealing
- Apply clear sealant around the neck
- Replace hardware carefully
- Let dry completely before hanging

Common Mistakes to Avoid
Through trial and error, I’ve learned to avoid:
- Overfilling (leaves no room for movement)
- Using fresh materials (can cause condensation)
- Mixing heavy and light materials (they separate)
- Forgetting to seal properly
- Using water-based fillers

Creative Display Ideas for Christmas
Tree Arrangements
I love creating themed sections on my tree:
- Cluster similar filled ornaments together
- Create gradient effects with different fill amounts
- Mix sizes for visual interest
- Layer filled ornaments with solid ones
Window Displays
Some of my favorite arrangements:
- Hanging at different lengths
- Creating curtain effects
- Mixing with fairy lights
- Grouping by fill materials

Table Settings
For holiday entertaining:
- Centerpiece bowls filled with ornaments
- Place card holders using small filled ornaments
- Napkin ring alternatives
- Chandelier decorations above tables

Seasonal Color Schemes
Traditional Christmas
- Red and green fillings
- Gold and silver accents
- White and silver snow effects

Modern Holiday
- All metallic fills
- Monochromatic schemes
- Crystal and ice effects

Rustic Christmas
- Natural materials
- Earth tones
- Organic elements

Care and Storage Tips
To preserve your creations:
-
Handling
- Hold by the ornament, not the hanger
- Keep away from direct heat
- Handle filled ornaments gently
-
Cleaning
- Dust with soft brush only
- Avoid liquid cleaners
- Keep away from moisture
-
Storage
- Wrap individually in tissue
- Store in divided containers
- Keep in climate-controlled space

Budget-Friendly Tips
Make the most of your materials:
- Buy clear ornaments post-season
- Use nature’s free materials
- Share supplies with friends
- Save filling materials year to year
- Buy materials in bulk

Advanced Techniques
For those ready to experiment:
-
Layered Fills
- Create stripes of different materials
- Build landscapes inside ornaments
- Layer different colored glitters
-
Mixed Media
- Combine natural and artificial materials
- Mix different textures
- Create themed vignettes
-
Interactive Elements
- Add battery-operated lights
- Include moveable elements
- Create snow globe effects
Safety Considerations
Important tips I’ve learned:
- Keep fragile ornaments high on tree
- Avoid small parts if you have pets
- Use shatterproof options for kids
- Ensure all materials are non-toxic
- Keep filling materials away from food areas

Conclusion: Creating Christmas Magic
A clear glass ornament is more than just a decoration – they’re tiny vessels of Christmas magic. Whether you’re creating family heirlooms or styling for the season, these versatile pieces offer endless possibilities for holiday creativity. Remember to start simple, experiment freely, and most importantly, enjoy the process of making your Christmas decor uniquely yours.
I’d love to hear about your experiences with filled glass ornaments and see how you’ve incorporated these ideas into your holiday decorating. Remember, there’s no “right” way to fill an ornament – the best designs are the ones that bring you joy and match your holiday vision!
If you love Christmas as much as I do, check out these other articles I think you might like.
How to Age New Ornaments for an Authentic Vintage Look
17 Elegant Minimalist Christmas Ornaments You Can Make
17 Christmas Tree Theme Ideas to Transform Your Winter Decor




15 Nature-Inspired Christmas Ornaments You Can Make at Home
November 22, 2024 @ 2:01 pm
[…] Christmas Glass Ornament Fillers: Creative DIY Guide […]