How to Make a DIY Winter Lantern: Best Complete Guide
There’s something magical about the soft glow of a winter lantern on a winter evening. I’ve always loved how they transform any space into a cozy winter wonderland. After years of crafting various styles of winter luminaries, I’m excited to share my favorite DIY projects with you. These handmade lanterns are perfect for decorating your home, creating an enchanting outdoor display, or adding a special touch to winter celebrations. I love a good DIY winter lantern.
If you are looking to add some awesome seasonally inspired shirts into your wardrobe this year, click on the images below. Use code FALL15 for a 15% discount on top of our current fall price while supplies last. That is a total of 40% OFF!!!! We ship to the USA and Canada.

SHOP THE LOOK!
Why Make Your Own Winter Lantern?
I started making my own winter lantern when I wanted to create a magical atmosphere for my sister’s winter party. Store-bought options were either too expensive or didn’t quite match my vision. What began as a simple craft project has turned into one of my favorite winter traditions. The best part? You can create stunning lanterns using materials you probably already have at home.

Essential Materials for Winter Lantern Making
Before we dive into the specific projects, let’s gather our supplies. Here’s what you’ll need:
- Glass jars (Mason jars work perfectly)
- Battery-operated LED candles (safer than real candles)
- White paper
- Scissors
- Glue or Mod Podge
- Paint brushes
- Epsom salt
- White spray paint (optional)
- Ribbon or twine
- Decorative elements like artificial snow, glitter, or pine sprigs

Project 1: Frosted Snow Winter Lantern
These elegant lanterns look like they’re covered in freshly fallen snow. They’re my go-to choice for winter table centerpieces.
Instructions:
- Clean your glass jars thoroughly and remove any labels
- Apply Mod Podge to the outside of the jar
- Sprinkle Epsom salt generously over the wet Mod Podge
- Let it dry completely (usually takes about 2 hours)
- Add a battery-operated candle
- Optional: Tie a silver or blue ribbon around the jar’s neck
Pro tip: I’ve found that applying the Mod Podge in sections helps prevent it from drying before you can add the salt.

Project 2: Silhouette Winter Lantern
These lanterns feature magical winter scenes that cast beautiful shadows when lit. They’re always a hit at holiday gatherings.
Instructions:
- Print or draw winter silhouettes (trees, deer, snowflakes) on white paper
- Carefully cut out your designs using scissors or a craft knife
- Measure the paper to fit around your jar
- Attach the paper to the outside of the jar using clear glue
- Place an LED candle inside
- Add a rustic twine bow for a finishing touch
Remember: Keep your designs simple at first. Complex cutouts can be challenging and may tear easily.

Project 3: Ice Crystal Luminaries
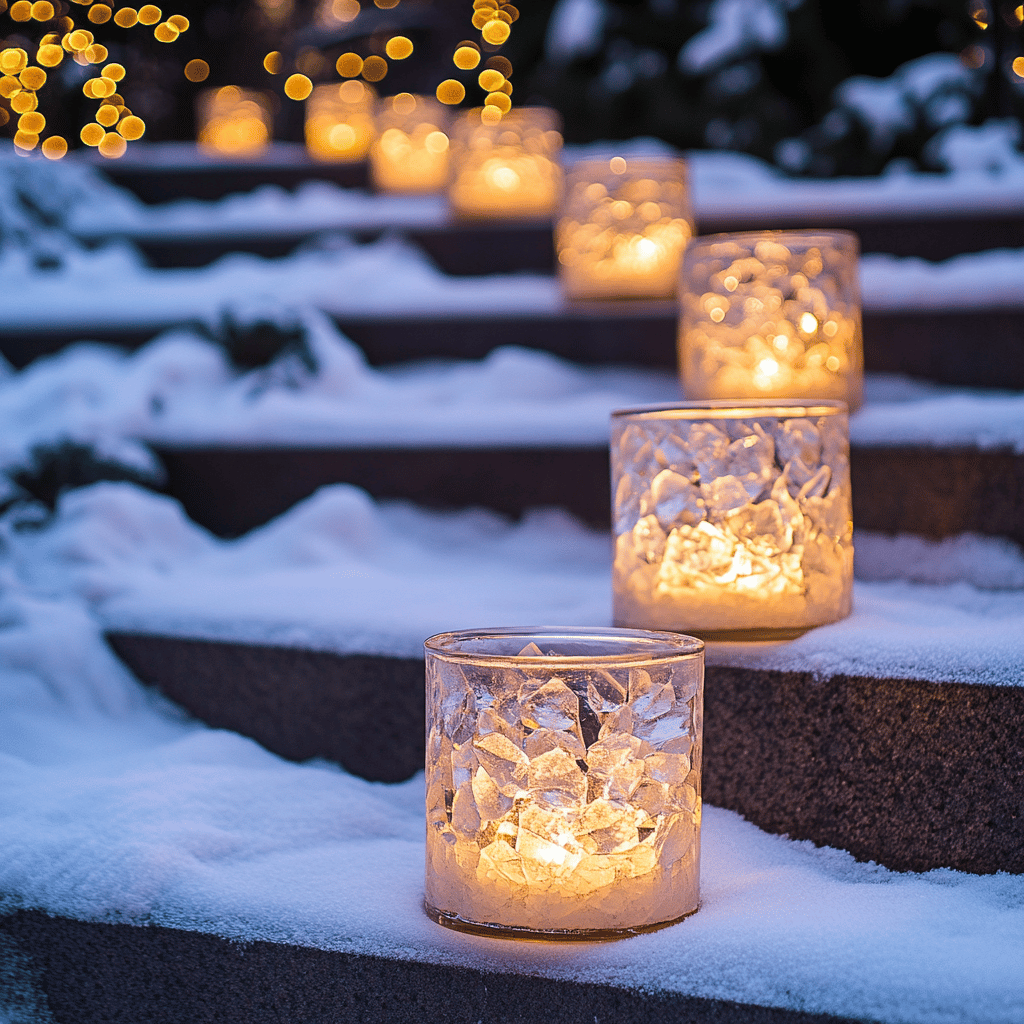
This stunning winter lantern mimics the look of ice crystals catching the light. They’re perfect for outdoor winter parties.
Instructions:
- Clean your jars thoroughly
- Mix equal parts Elmer’s glue and water
- Add a few drops of blue food coloring (optional)
- Apply the mixture to the outside of the jar
- Sprinkle clear glitter over the wet mixture
- Let dry completely
- Add LED candles
- Create handles with silver wire (optional)
Safety tip: While these look beautiful outdoors, bring them inside during wet weather to preserve the effect.

Project 4: Snowflake Paper Winter Lantern
These delicate paper lanterns are surprisingly sturdy and create beautiful patterns when lit.
Instructions:
- Cut white paper to size (standard printer paper works well)
- Fold the paper in half, then in thirds
- Cut small geometric shapes along the folds
- Unfold carefully to reveal your snowflake pattern
- Glue the ends together to form a cylinder
- Place over an LED candle
- Add a paper base and top if desired
Helpful hint: Practice your snowflake cutting technique on scrap paper first. Each one will be unique!

Creative Ways to Display Your Winter Lantern
After making these lanterns, you’ll want to show them off! Here are my favorite display ideas:
- Line them up along your fireplace mantel
- Create a magical pathway leading to your front door
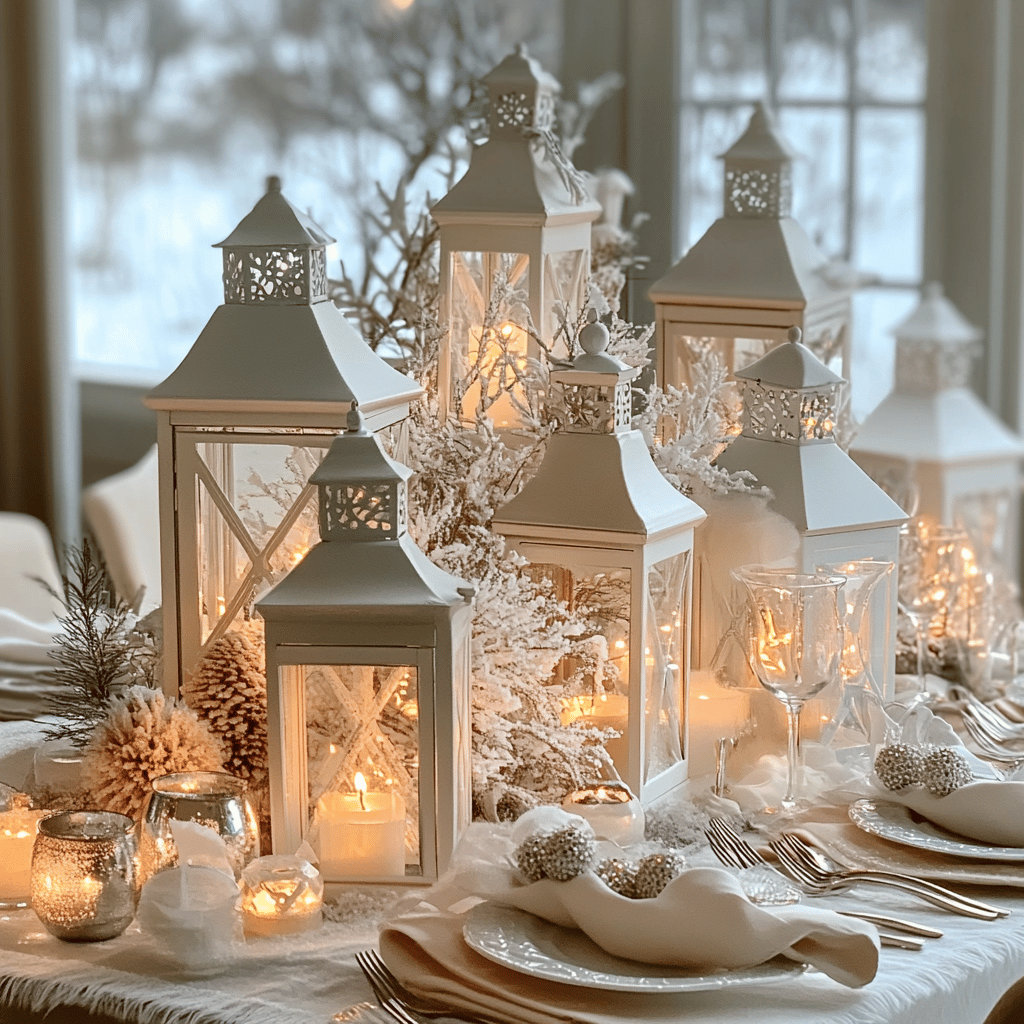
- Cluster different sizes together as a table centerpiece
- Hang them from tree branches using ribbon
- Place them on window sills to welcome visitors
- Use them to light up outdoor seating areas

Tips for Long-Lasting Winter Lantern
Over the years, I’ve learned some tricks to make these lanterns last:
- Store them in a cool, dry place when not in use
- Keep them away from direct sunlight to prevent fading
- Use high-quality LED candles for the best effect
- Apply a clear sealant to protect outdoor lanterns
- Handle with care – some designs are more delicate than others

Troubleshooting Common Issues
Even experienced crafters run into problems sometimes. Here’s how to fix common issues:
- If your salt isn’t sticking: Make sure your Mod Podge layer is thick enough
- If your paper tears: Use fresh cuts on your craft knife and work slowly
- If your lantern looks uneven: Rotate while applying materials
- If your LED flickers: Check the batteries first

Safety Considerations
While these lanterns are beautiful, safety should always come first:
- Use LED candles instead of real flames
- Keep paper lanterns away from heat sources
- Supervise children during crafting
- Use non-toxic materials
- Ensure outdoor lanterns are properly secured

Making It Your Own
The best part about a DIY winter lantern is adding your personal touch. Here are some ways to customize:
- Mix different sizes of jars
- Experiment with color schemes
- Add seasonal elements like holly or pinecones
- Create themed designs for special occasions
- Combine different techniques
Cost-Saving Tips
Creating a beautiful winter lantern doesn’t have to be expensive. Here’s how I keep costs down:
- Save glass jars throughout the year
- Buy supplies in bulk during craft store sales
- Use natural materials from your garden
- Share supplies with crafting friends
- Repurpose materials from other projects

Eco-Friendly Options
I’m always looking for ways to make crafting more sustainable. Consider these eco-friendly alternatives:
- Use recycled glass jars
- Opt for biodegradable glitter
- Choose natural decorative elements
- Make battery-free designs for daylight display
- Use LED candles with rechargeable batteries

Perfect Occasions for a Winter Lantern
These lanterns add magic to any winter gathering:
- Holiday parties
- Winter weddings
- Cozy dinner parties
- Snow day celebrations
- Winter solstice festivities
- New Year’s Eve gatherings
Conclusion
Creating a winter lantern is more than just a craft project – it’s about bringing light and warmth to the darkest season. Whether you’re an experienced crafter or just starting out, these DIY lanterns offer endless possibilities for creativity and personal expression. I hope you’ll try making some of these designs and experience the joy of lighting up your winter nights with your own handmade creations.
Remember, the best part about DIY projects is making them your own. Don’t be afraid to experiment and adapt these ideas to match your style. I’d love to hear about your lantern-making adventures and see how you’ve put your personal spin on these projects!
Now, go gather your supplies and start creating your own winter wonderland of light. Happy crafting!
If you love Christmas decorating as much as I do, check out these other articles I think you might like.
15 Christmas Table Setting Ideas for a Festive Dinner







Styling Your Bookshelves for a Magical Christmas Display
November 21, 2024 @ 2:16 pm
[…] How to Make a DIY Winter Lantern: A Complete Guide […]
15 Nature-Inspired Christmas Ornaments You Can Make at Home
November 22, 2024 @ 1:54 pm
[…] How to Make a DIY Winter Lantern: A Complete Guide […]
Candlelit Christmas: Creating Dramatic Holiday Lighting
November 24, 2024 @ 3:15 pm
[…] How to Make a DIY Winter Lantern: A Complete Guide […]