Best Built-in Wardrobe DIY Guide: A Step-by-Step Journey
After spending years dealing with freestanding wardrobes that never quite fit my space or storage needs, I finally decided to take the plunge and build my own built-in wardrobe. It turned out to be one of the most rewarding DIY projects I’ve ever undertaken. If you’re considering a similar project, I’m here to share everything I learned along the way, from planning to final touches.



Why Choose a Built-in Wardrobe?
Before we dive into the how-to, let me tell you why building a custom wardrobe might be the perfect solution for your space. Built-in wardrobes offer unmatched flexibility in design and maximize every inch of available space. I found that compared to ready-made options, my DIY built-in wardrobe cost about 40% less while providing exactly the storage solutions I needed.

Essential Tools and Materials
Here’s what you’ll need to get started:
First, gather your tools:
- Circular saw or table saw
- Power drill and drill bits
- Level and measuring tape
- Pencil and carpenter’s square
- Stud finder
- Screwdriver set
- Wood clamps
- Safety equipment (goggles, dust mask, work gloves)
For materials, I recommend:
- MDF or plywood sheets (18mm thickness for main structure)
- Timber for the frame (2x4s work well)
- Wood screws in various sizes
- Wall plugs and brackets
- Door hinges and handles
- Wood primer and paint
- Wood glue
- Hanging rail and brackets
- Shelf pins if making adjustable shelves

Planning Your Wardrobe
The success of your built-in wardrobe largely depends on careful planning. I spent nearly a week measuring and designing before making my first cut, and I’m so glad I did. Start by measuring your space carefully, accounting for any skirting boards, electrical outlets, or other obstacles.
Remember to consider these crucial factors:
- Room dimensions and any slope in walls or ceiling
- Door placement and opening direction
- Internal layout based on what you’ll store
- Lighting requirements
- Ventilation needs
I found it incredibly helpful to create a detailed sketch with all measurements, including the internal compartments. Think about what you’ll store – hanging space for long dresses needs more height than shirt rails, and shoes require specific shelf depths.
Step-by-Step Construction Guide
1. Building the Frame
I started by constructing the basic frame, which serves as the skeleton of your wardrobe. First, remove any skirting boards where the wardrobe will sit against the wall. Then, create a base frame using 2x4s, ensuring it’s perfectly level – this is crucial for everything that follows.
Once the base is secure, build the vertical frames. I attached these to wall studs wherever possible for maximum stability. Where I couldn’t find studs, I used heavy-duty wall anchors. Make sure your vertical frames are plumb (perfectly vertical) using a spirit level.
2. Adding the Outer Shell
With the frame in place, it’s time to add the sides, top, and back panels. I used 18mm MDF for this as it provides a smooth finish and takes paint beautifully. Cut your panels to size, allowing for any necessary scribing against uneven walls. Remember to account for the thickness of your chosen door material when measuring the front frame.
Pro tip: If you’re working with full MDF sheets, make your cuts in a well-ventilated area and wear a dust mask. I learned this the hard way!
3. Internal Configuration
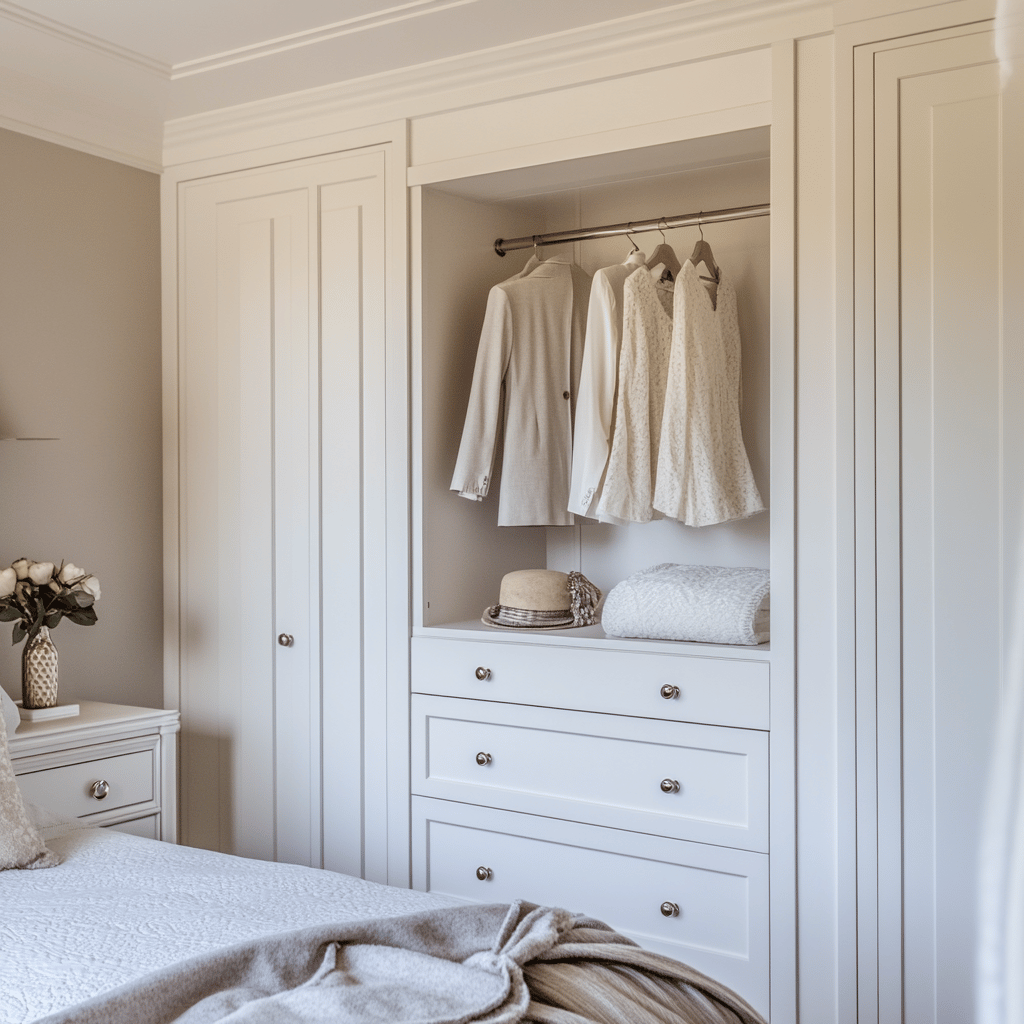
This is where your wardrobe really becomes custom. I created a mix of hanging space, shelving, and drawers based on my needs. For hanging rails, install solid support blocks behind the side panels – they’ll need to handle significant weight.
When installing shelves, I opted for adjustable shelf pins rather than fixed shelves. This gives me the flexibility to modify the layout as my storage needs change. For drawer units, I purchased pre-made drawer boxes to save time, but you could build these yourself if you’re feeling ambitious.
4. Doors and Hardware
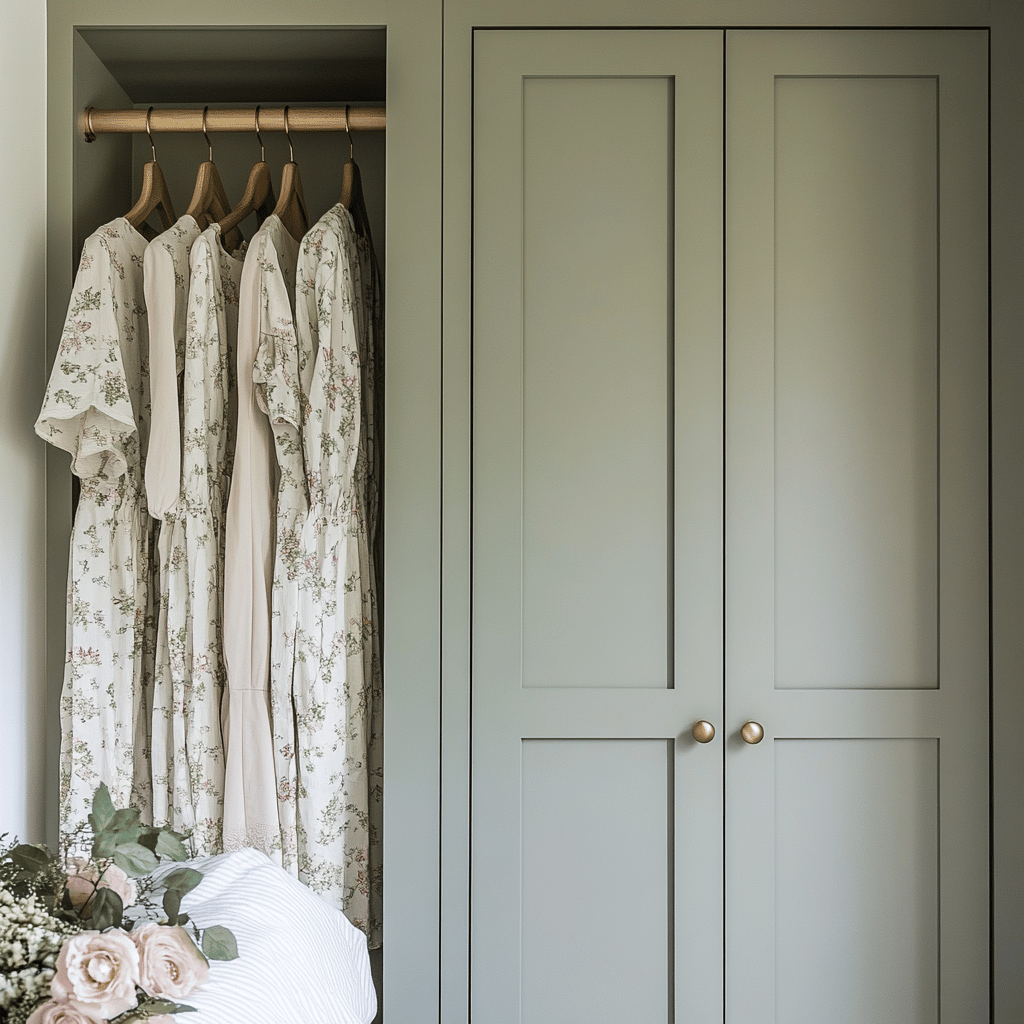
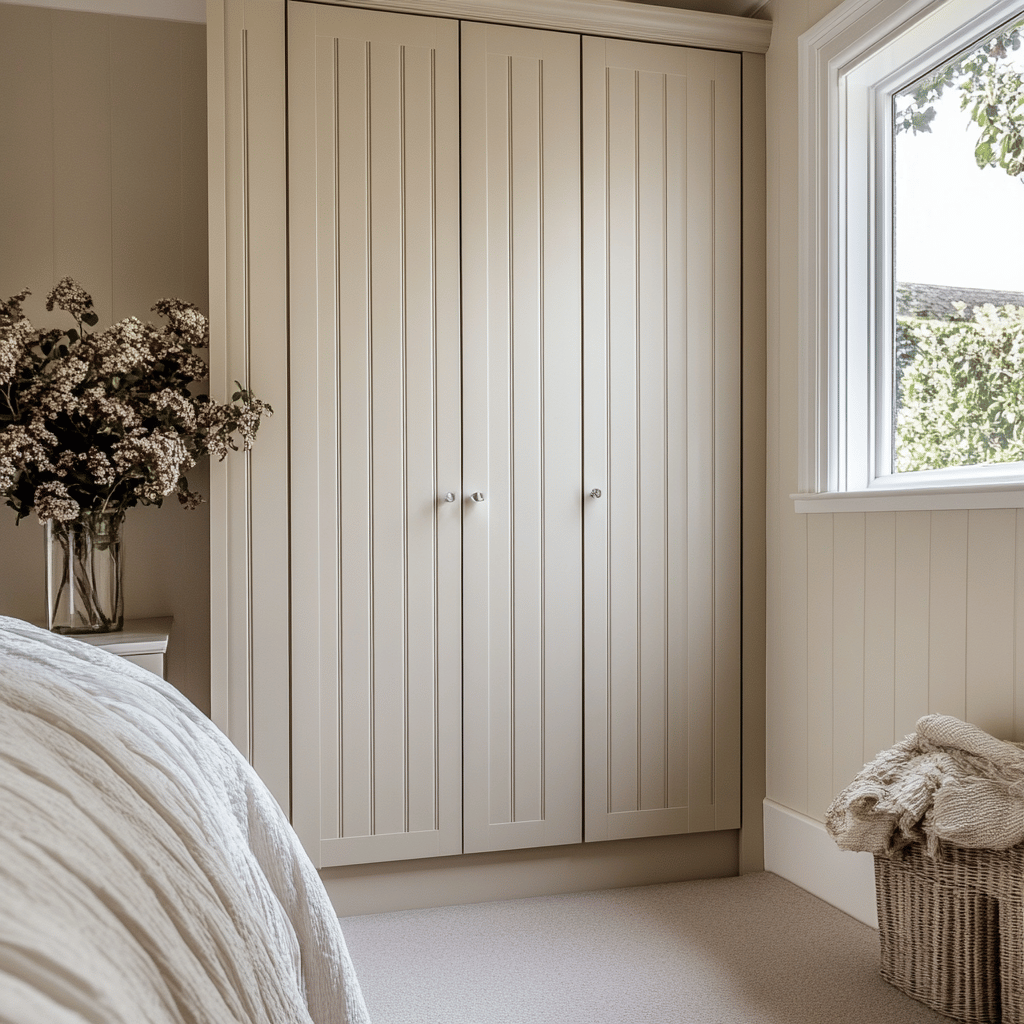
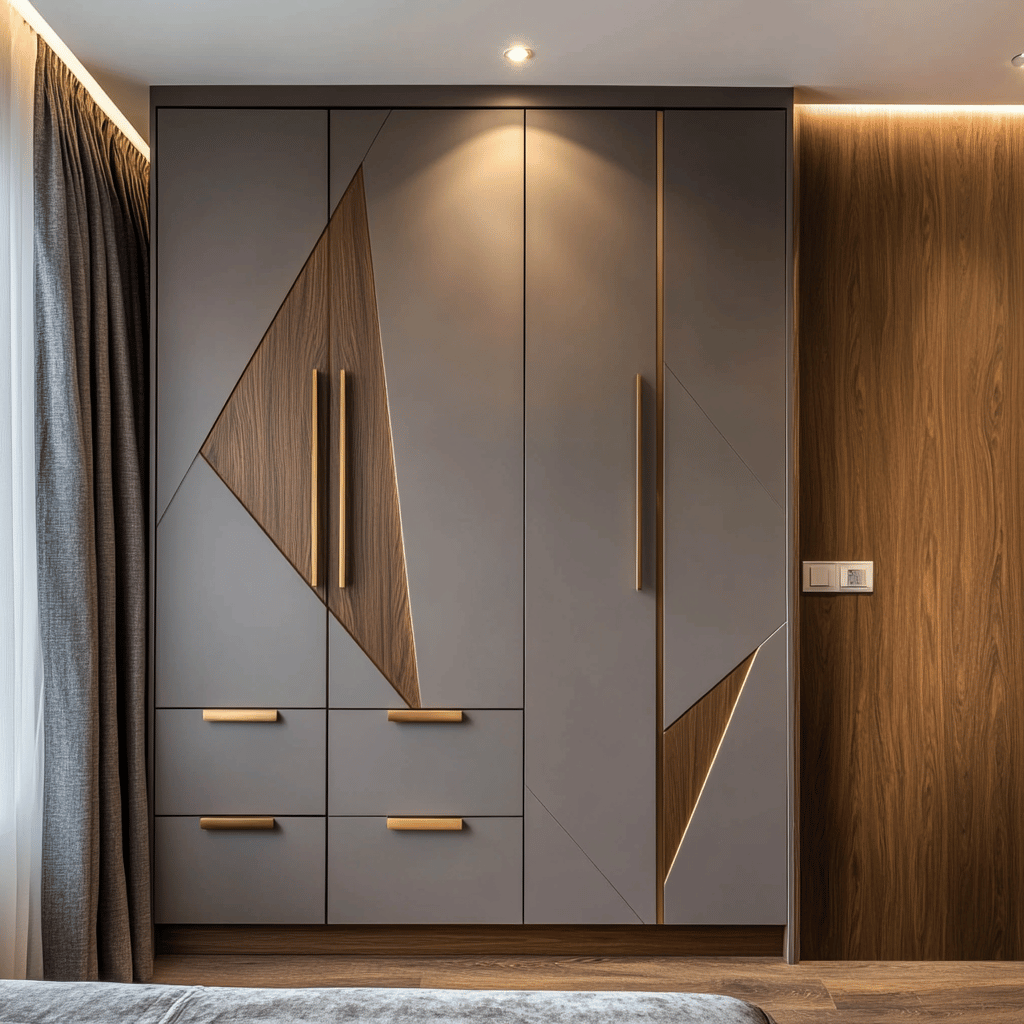
Choosing and fitting doors is arguably the most visible part of your wardrobe. I went with simple hinged doors made from MDF, but sliding doors are another excellent option if you’re tight on space. When hanging doors, use a spacer at the bottom (about 5mm) to ensure smooth operation and good airflow.
Speaking of hardware, don’t skimp on hinges – they’ll be used constantly and need to handle the weight of your doors reliably. I used three hinges per door for extra stability, even though two would have sufficed for the size.
5. Finishing Touches
The finishing stage transforms your wardrobe from a construction project to a piece of furniture. I filled any screw holes with wood filler and sanded everything smooth. Then came two coats of primer and two coats of paint, lightly sanding between each coat.
For the interior, I added some battery-powered LED strips with motion sensors. They’re relatively inexpensive and make a huge difference in functionality. I also lined the shelves with cedar sheets – they smell wonderful and help protect clothes from moths.

Common Challenges and Solutions
Throughout this project, I encountered several challenges that you might face too. Here’s how I solved them:
Uneven Walls and Floors
Almost no room has perfectly straight walls or level floors. I used shims under the base frame to level it, and scribed the side panels to fit against uneven walls. Take your time with this – any misalignment here will be obvious in the finished project.
Door Alignment
Getting doors to align perfectly can be tricky. I found it helpful to attach all hinges to the doors first, then mark and attach them to the frame one at a time, adjusting as needed. Using adjustable hinges makes this process much easier.
Material Selection
While MDF is cost-effective and easy to work with, it can sag under weight over time. For longer spans (anything over 80cm), I either used thicker material or added extra support. For shelves that will hold heavy items, consider using plywood instead.
Maintenance Tips
Now that your wardrobe is complete, here’s how to keep it looking and functioning its best:
- Check and tighten hardware every six months
- Keep the interior well-ventilated
- Clean shelves and hanging rails regularly
- Touch up any paint chips promptly to prevent moisture damage
- Adjust hinges if doors begin to drop
Final Thoughts
Building your own wardrobe is a significant project, but it’s absolutely achievable with careful planning and patience. I spent about four weekends on this project, taking my time to ensure everything was perfect. The result is a custom storage solution that perfectly fits my space and needs.
Remember, the key to success is thorough planning and measuring twice (or thrice!) before cutting. Don’t rush the process, and don’t be afraid to step back and reassess if something isn’t working out as planned.
If you’re considering this project, I’d love to hear about your plans or answer any questions you might have. Every space is unique, and that’s the beauty of building your own wardrobe – you can create exactly what you need.
Looking back, despite the occasional challenges and dust-covered clothes, this project gave me not just a perfect wardrobe but also a tremendous sense of achievement. There’s something special about opening doors you hung yourself and organizing clothes in a space you created with your own hands.
Happy building!
If you love home decor and interior design as much as I do, check out these other articles I think you might like.
Winter Living Room Refresh: From Christmas to Cozy
