Creating the Perfect Bar Cart Display: A Complete Guide
I remember the first time I saw a beautifully styled bar cart at my friend’s dinner party. It wasn’t just a piece of furniture – it was a conversation starter, a design element, and a practical serving station all rolled into one. After that evening, I knew I had to create my own bar cart display for my dining room. Through plenty of trial and error (and yes, a few broken glasses), I’ve learned exactly what it takes to create a bar cart that’s both functional and stylish.


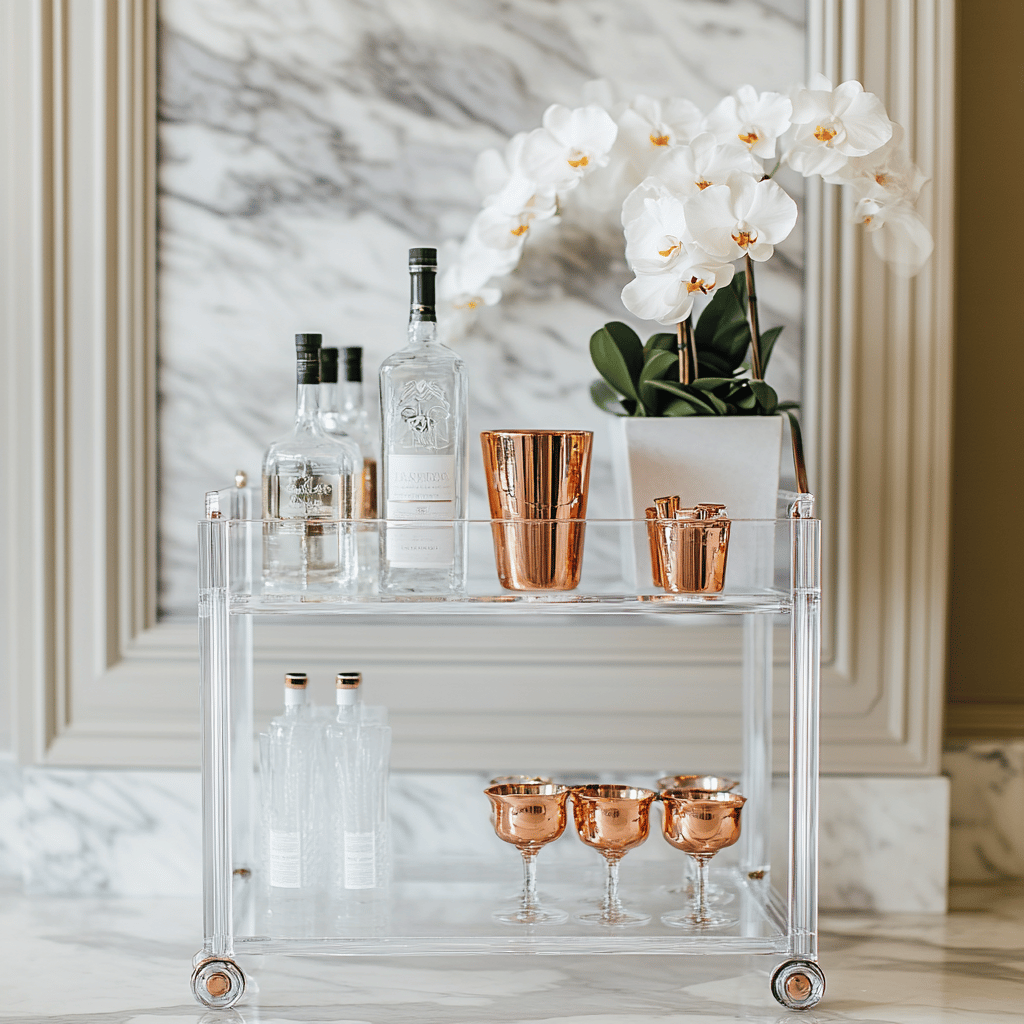
Why a Bar Cart Makes Sense in Your Dining Room
Let’s be honest – your dining room is where the magic happens. It’s where friends gather, families share meals, and memories are made. Adding a bar cart to this space just makes sense. I’ve found that it not only provides easy access to beverages during dinner parties but also adds a sophisticated touch to the room’s decor.

Choosing the Perfect Bar Cart
When I started my search for the ideal bar cart, I quickly realized that not all carts are created equal. Here’s what I learned to look for:
First, consider the size. Your bar cart should fit comfortably in your dining room without blocking traffic flow. I made the mistake of buying one that was too large at first, and it felt like an elephant in the room. The sweet spot? A cart that’s about 30-36 inches wide and 16-18 inches deep.
Material matters too. While glass and metal carts look sleek and modern, wooden ones can add warmth to your space. I opted for a brass-finished cart with glass shelves – it reflects light beautifully and matches my dining room’s existing hardware.
Don’t forget about mobility. Those wheels aren’t just for show! Make sure they lock in place (trust me on this one – I learned the hard way when my cart rolled during a party). The ability to move your cart easily is a game-changer for different entertaining scenarios.

Essential Elements for Your Bar Cart Display
After setting up countless variations, I’ve nailed down the must-haves for a well-stocked bar cart:
The Basics
Your bar cart needs a solid foundation of essential spirits. I keep vodka, gin, whiskey, and rum as my base. But here’s a pro tip: you don’t need to display every bottle you own. I choose bottles with attractive labels or interesting shapes and keep the others in a cabinet nearby.
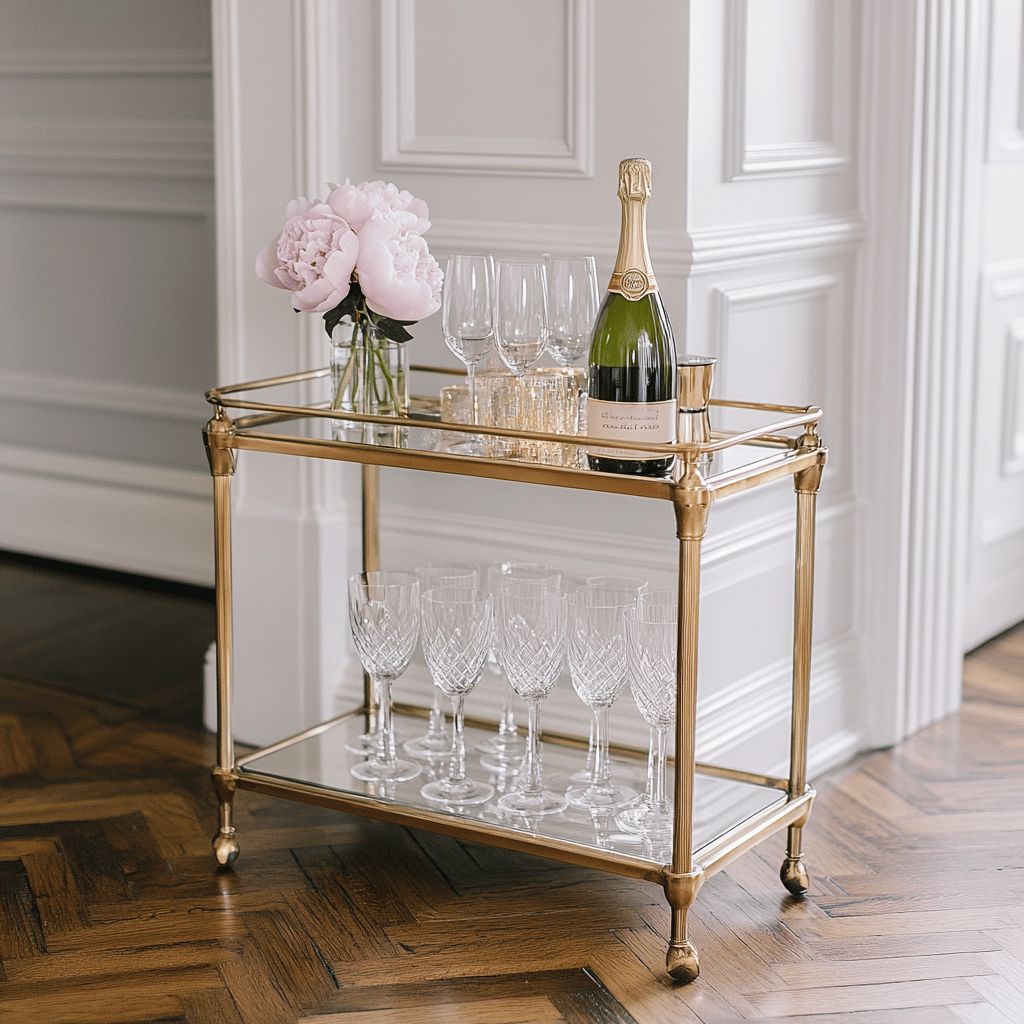
Glassware
This is where both function and style come into play. I display a mix of:
- Highball glasses for tall drinks
- Rocks glasses for spirits
- Wine glasses (both red and white)
- A few specialty glasses like martini or champagne flutes
I’ve found that keeping 4-6 of each type is plenty for most gatherings. Remember to leave some breathing room between glasses – cramming them together not only looks cluttered but also increases the risk of accidents.
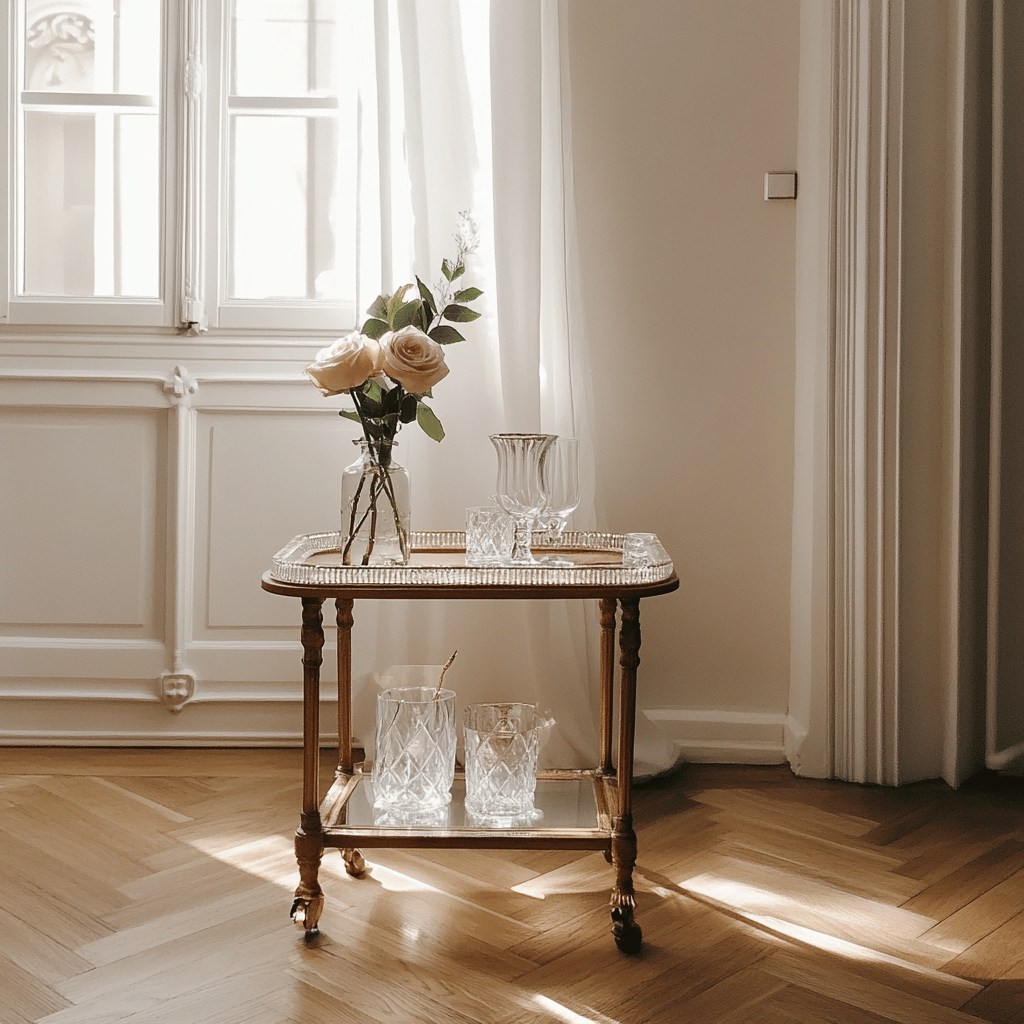
Tools and Accessories
Every great bar cart needs proper tools. I keep mine in a stylish holder and include:
- A quality shaker
- A jigger for measuring
- A long-handled spoon for stirring
- A bottle opener and corkscrew
- Ice tongs
- A small cutting board and knife for garnishes

Decorative Elements
This is where your bar cart really comes to life. I love adding personal touches that change with the seasons. Some of my favorite decorative elements include:
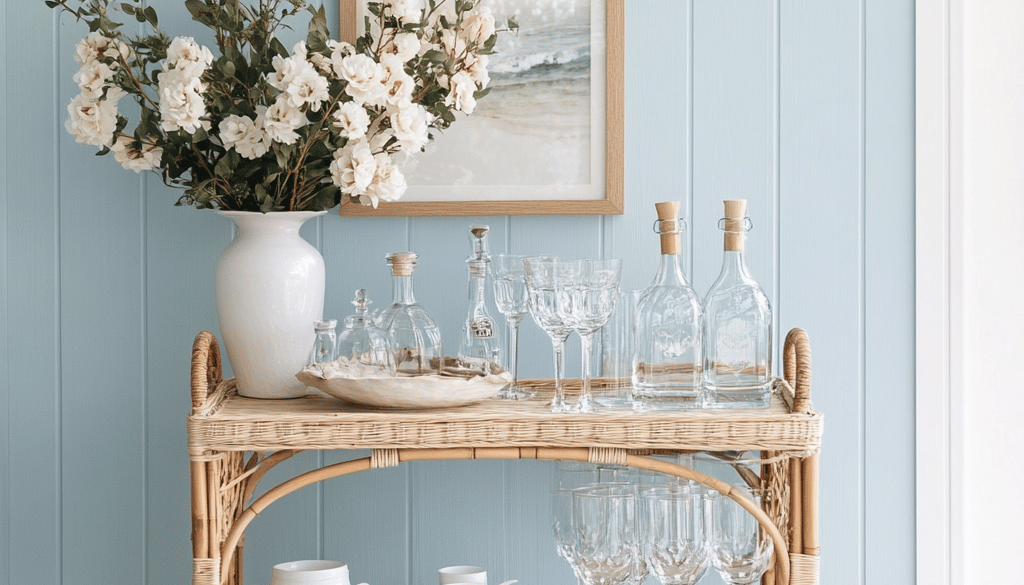
Fresh flowers or greenery in a small vase add life to the display. I usually opt for something low and compact to avoid blocking view of the bottles. During winter, I sometimes switch to dried flowers or seasonal elements like pine cones.
A table lamp or battery-operated LED lights create ambiance in the evening. I found a small, dimmable lamp that adds just the right amount of glow without taking up too much space.
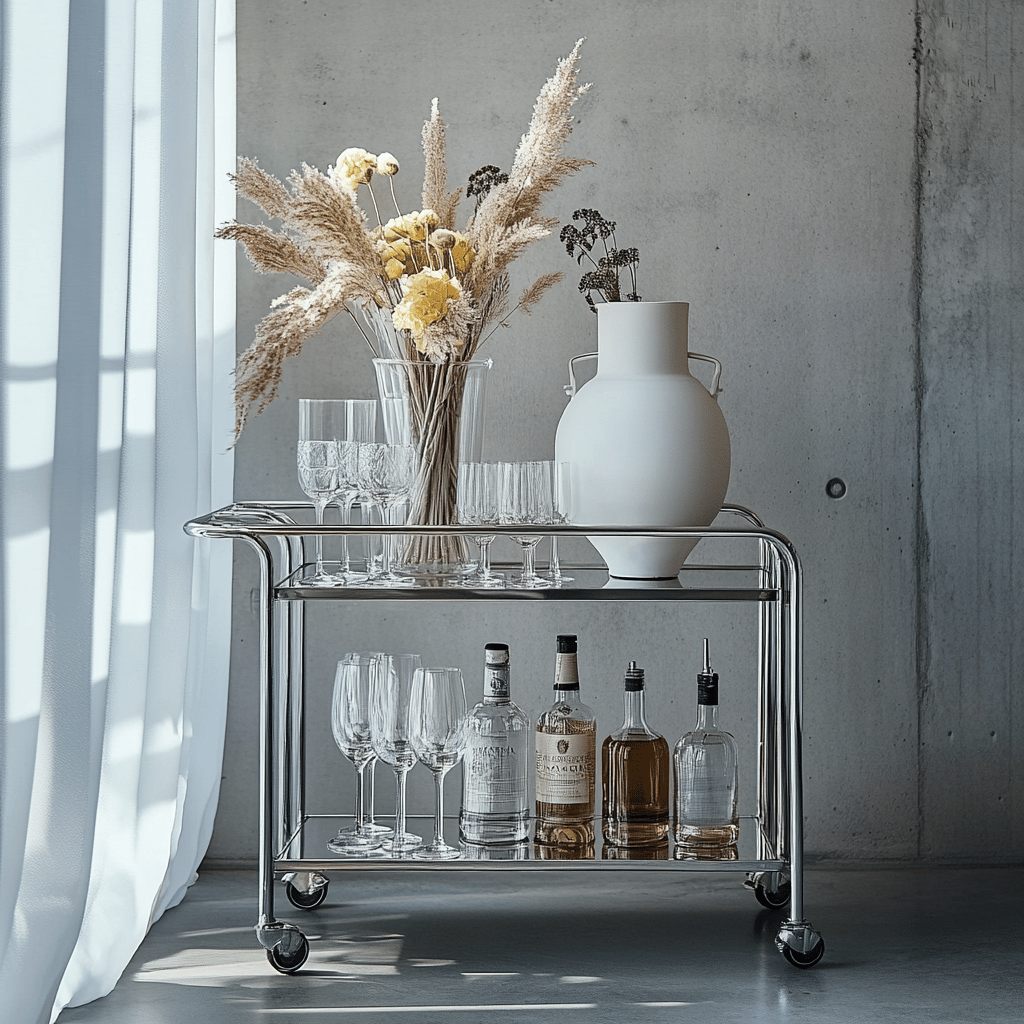
Organization Tips That Work
After lots of rearranging, I’ve discovered some foolproof organization strategies:
Create levels using cake stands or decorative boxes. This adds visual interest and makes better use of vertical space. I use a small mirrored tray on my top shelf to create an elevated space for special bottles or seasonal decorations.
Group similar items together. All tools go in one spot, glassware in another, and bottles have their own designated area. This not only looks better but makes everything easier to find when you’re mixing drinks.
Consider the flow of how you’ll use items. Keep frequently used pieces toward the front and special occasion items toward the back. I always ensure my ice bucket and most-used glasses are easily accessible.

Maintenance and Upkeep
Keeping your bar cart looking fresh isn’t just about dusting (though that’s important too!). I’ve developed a routine that keeps everything in top shape:
Weekly dusting is essential – those glass shelves show everything! I use a microfiber cloth to avoid scratches and keep surfaces gleaming.
Every month, I do a thorough inventory check. This helps me track which spirits need replenishing and ensures nothing has expired. Yes, even some spirits can go bad if left open too long!
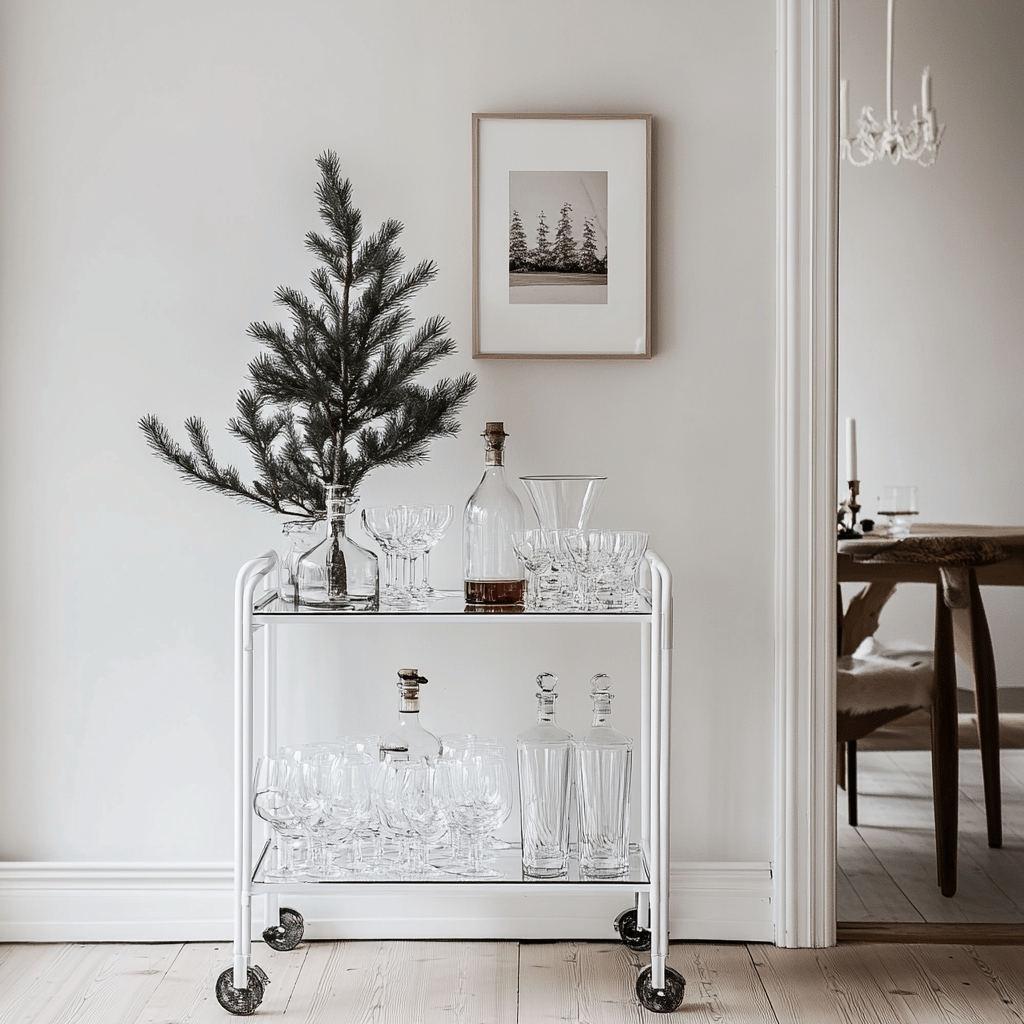
I rotate decorative elements seasonally to keep the display fresh and interesting. This could be as simple as switching out a vase or adding themed accessories for holidays.
Making It Work for Different Occasions
One of the best things about a bar cart is its versatility. I’ve used mine for everything from casual family dinners to formal holiday parties. Here’s how I adapt it:
For everyday use, I keep it simple with just the basics displayed. This means a few key spirits, essential tools, and minimal decoration.
When entertaining, I’ll add more glasses, special occasion spirits, and themed decorations. During the holidays, I might add some sparkly ornaments or festive greenery.
For non-alcoholic gatherings, I transform it into a coffee and tea station or a dessert display. The key is keeping it functional while maintaining its aesthetic appeal.
Common Mistakes to Avoid
Through my journey of bar cart styling, I’ve made plenty of mistakes. Here are some you can avoid:
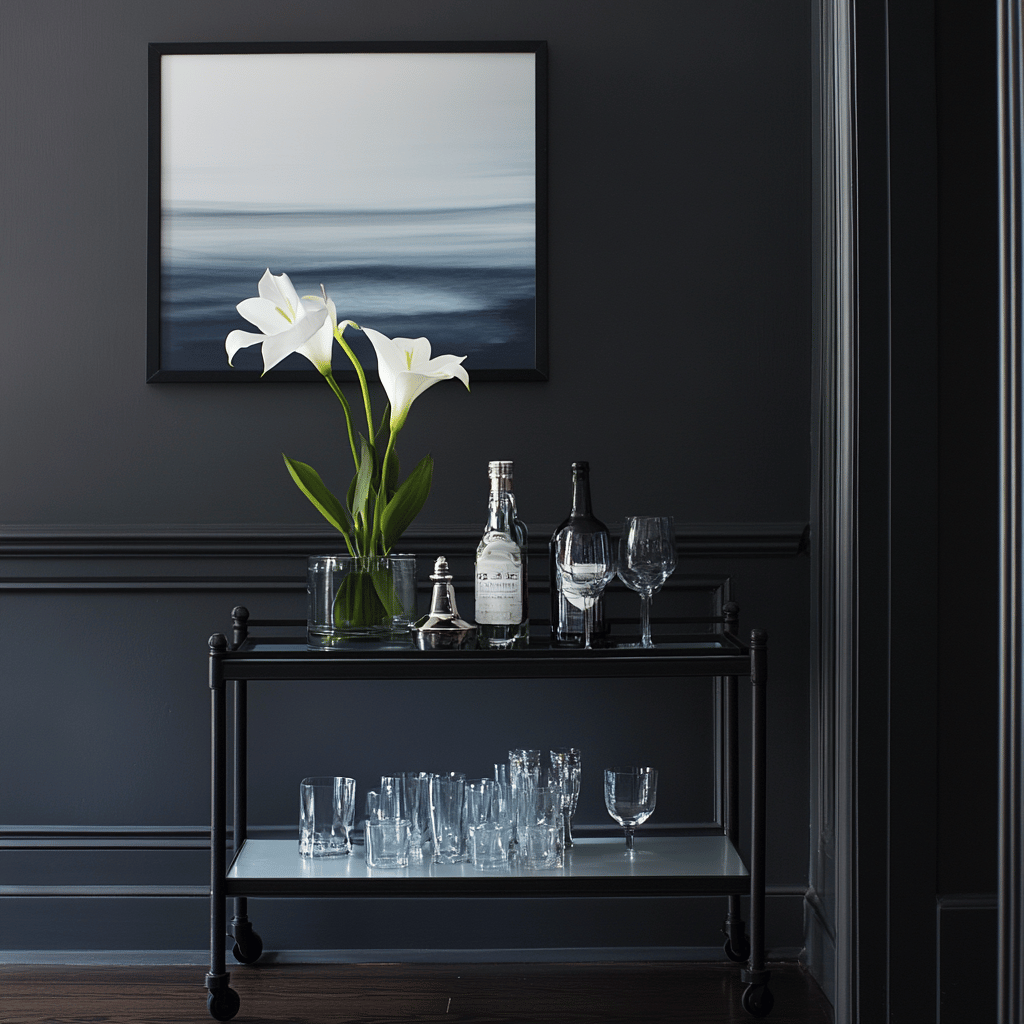
Don’t overcrowd your cart. It’s tempting to display everything you own, but negative space is important for both function and aesthetics.
Avoid placing it in direct sunlight. I learned this the hard way when some of my spirits changed color and taste after sitting in sun for too long.
Don’t forget about practicality. While that vintage crystal decanter looks beautiful, if it’s too heavy to lift easily, it’s not practical for regular use.
Final Thoughts
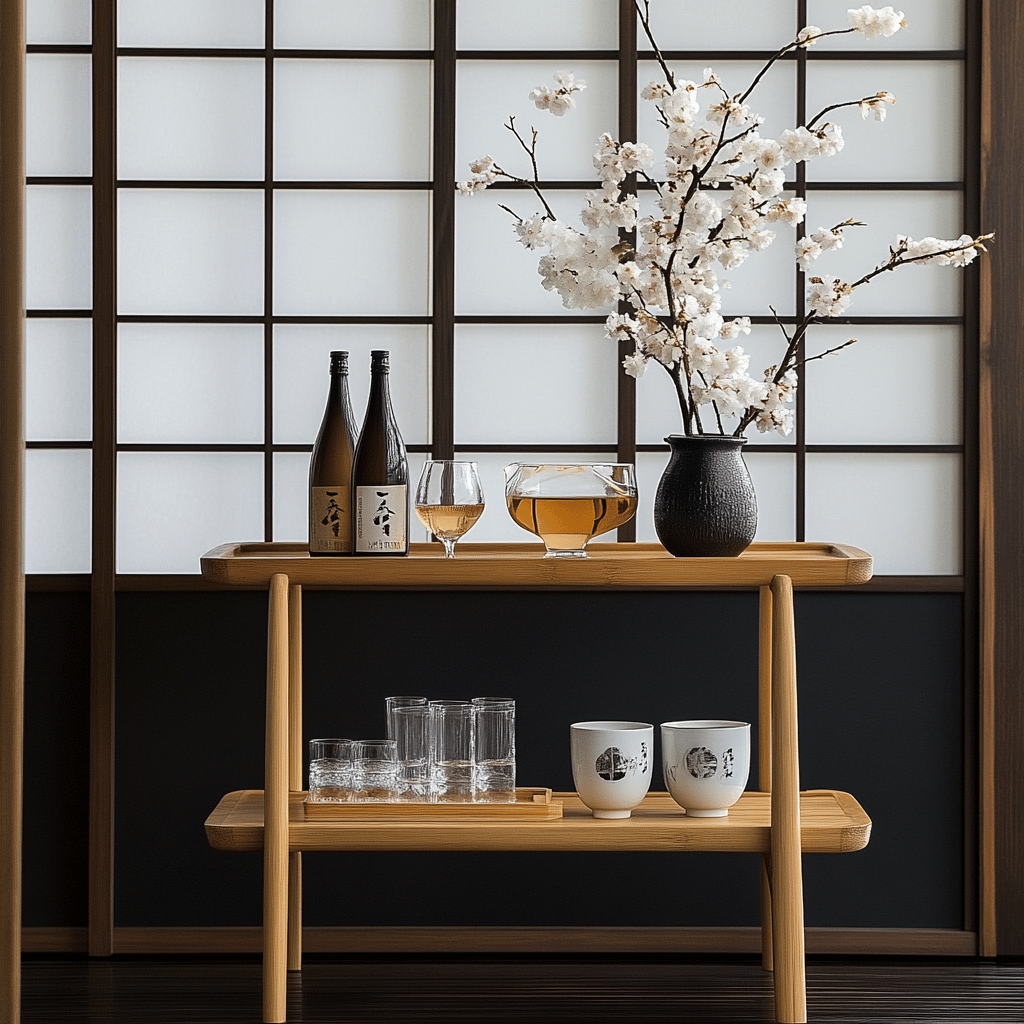
Creating the perfect bar cart display is an ongoing process. What works in summer might need adjusting in winter, and what works for one party might need tweaking for another. That’s part of the fun! The key is finding the right balance between functionality and style that works for your space and lifestyle.
Remember, your bar cart should reflect your personality while serving its purpose. Mine has become not just a practical addition to my dining room, but a piece of decor that truly makes the space feel complete. Whether you’re just starting out or looking to refresh your existing setup, I hope these insights help you create a bar cart display that brings both beauty and function to your dining room.
Start with these guidelines, but don’t be afraid to experiment and make it your own. After all, the best bar cart is one that works for you and your home. Happy styling!
If you love home decor and interior design as much as I do, check out these other articles I think you might like.
Statement Wall Design in a Bedroom: Paint Techniques
Coffee Table Styling Through Seasons: A Year-Round Guide

Joan Baumert
September 7, 2025 @ 12:18 pm
Howdy! Do you know if they make any plugins to help with Search Engine Optimization? I’m trying to get my blog to rank for some targeted keywords but I’m not seeing very good results. If you know of any please share. Appreciate it!
Live Football Streaming
September 10, 2025 @ 12:50 am
Its like you read my mind! You seem to know so much about this, like you wrote the book in it or something. I think that you can do with some pics to drive the message home a bit, but instead of that, this is excellent blog. A fantastic read. I’ll definitely be back.