DIY Bookends: Creative Ideas to Organize Your Books in 2024
Introduction
Are your bookshelves in need of a little organization and style? DIY bookends are the perfect solution! Not only do they keep your books neatly in place, but they also add a personal touch to your home decor. Whether you’re looking to create something chic and modern or quirky and fun, we’ve got plenty of ideas and step-by-step guides to get you started. Let’s dive into the world of DIY bookends and transform your shelves into a stylish, organized space!
Benefits of DIY Bookends
Cost Savings
One of the most significant benefits of DIY bookends is the cost savings. Buying decorative bookends can be pricey, but creating your own allows you to achieve a high-end look without the hefty price tag. Plus, you can use materials you already have or find affordable supplies at craft stores, thrift shops, or even dollar stores.
Customization
DIY projects give you the freedom to customize your bookends to match your personal style and home decor. Choose the colors, patterns, and materials that best suit your space, ensuring that each piece is unique and tailored to your tastes.
Sustainability
By reusing and repurposing materials, you’re contributing to a more sustainable lifestyle. Upcycling items helps reduce waste and minimizes the need for new resources, making it an eco-friendly way to decorate your home.
Creative Outlet
Engaging in DIY projects is a great way to unleash your creativity. Transforming simple materials into decorative masterpieces can be incredibly satisfying and therapeutic. Plus, it’s a fun activity that you can enjoy solo or with friends and family.
Functionality
Bookends aren’t just decorative; they serve a practical purpose by keeping your books organized and upright. This dual functionality makes them a valuable addition to any bookshelf, adding both style and utility to your space.
Essential Tools and Materials for DIY Bookends
Before you start your DIY bookend project, it’s important to gather all the necessary tools and materials. Here’s a list of essentials to get you started:
Basic Tools
- Glue Gun: For securely attaching decorative elements.
- Drill: Useful for creating holes and securing pieces together.
- Saw: To cut wood or other materials to size.
- Measuring Tape: For accurate measurements.
- Screwdriver: For assembling parts.
Building Materials
- Wood: Blocks or planks can be cut and painted for simple yet elegant bookends.
- Metal: Use metal sheets or rods for a modern look.
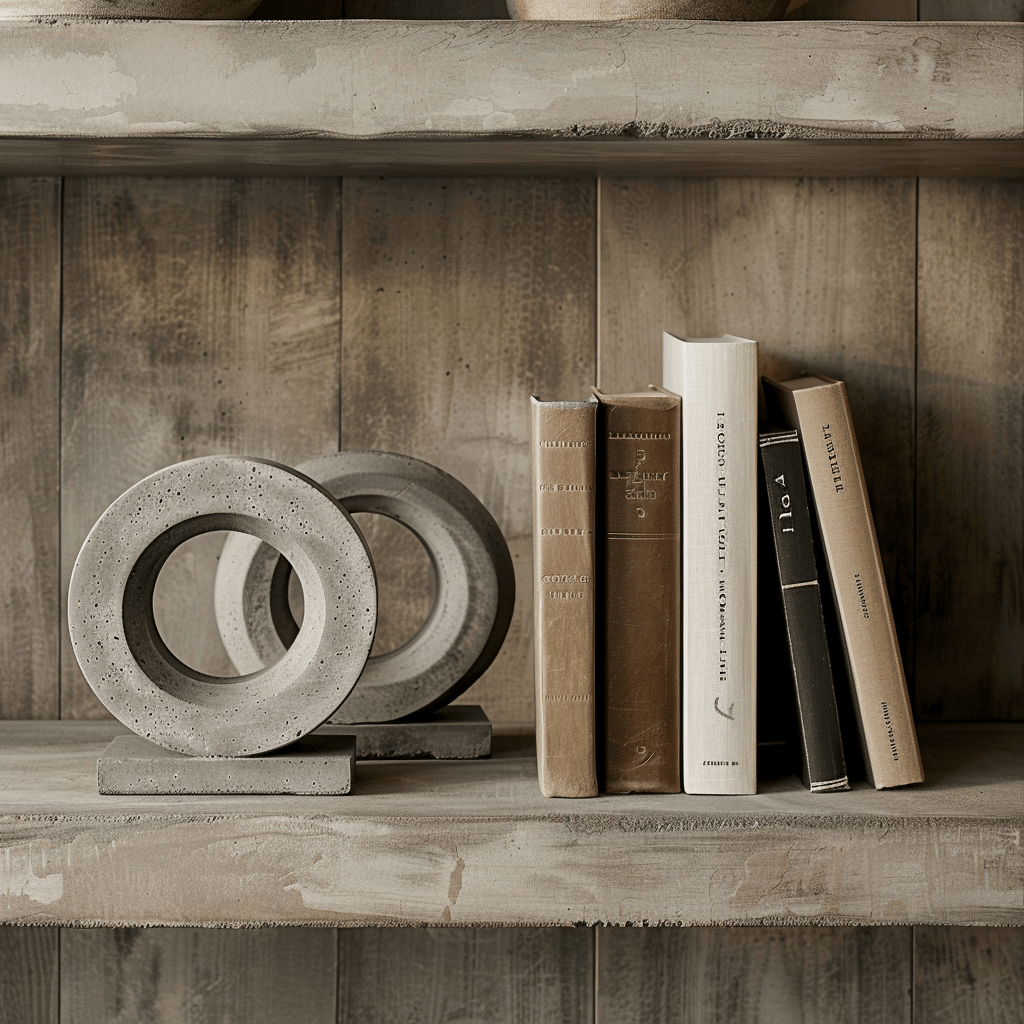
- Concrete: Durable and chic, perfect for sturdy bookends.
- Recycled Items: Old toys, figurines, or household items can be upcycled into creative bookends.
Decorative Elements
- Paint: Acrylic or spray paint in your chosen colors.
- Fabric: Scraps for wrapping or decoupage.
- Beads and Glitter: For a touch of sparkle.
- Stencils: For adding patterns or letters.
Adhesives and Fasteners
- Strong Glue: For attaching small decorative elements.
- Nails and Screws: For securing larger pieces together.
Where to Find Affordable Supplies
- Craft Stores: Look for sales and use coupons for discounts.
- Online Retailers: Websites like Amazon or Etsy offer a wide selection.
- Thrift Shops: Find unique items and materials at a low cost.
- Dollar Stores: Great for basic supplies and inexpensive materials.
DIY Bookend Project Ideas
Ready to get started? Here are some creative DIY bookend ideas to inspire you:
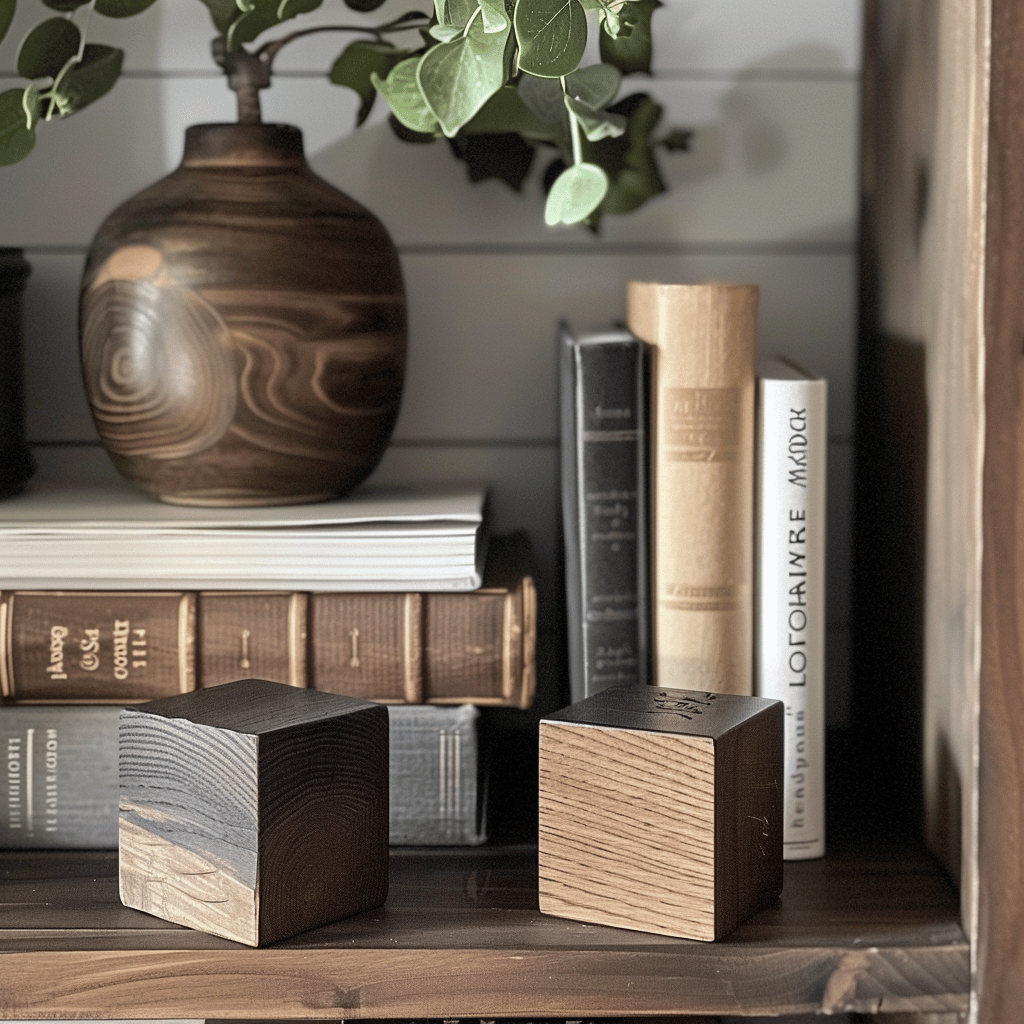
Wooden Block Bookends
Simple and rustic, wooden block bookends are easy to make and versatile in design.
- Materials Needed: Wooden blocks, sandpaper, paint, and a sealant.
- Step-by-Step Instructions:
- Sand the Blocks: Smooth the surfaces and edges of the wooden blocks.
- Paint or Stain: Apply your chosen paint or stain and let it dry completely.
- Seal: Use a sealant to protect the finish.
- Decorate: Add any decorative elements like stencils or fabric wrapping.
- Tips for Painting and Decorating: Use painter’s tape to create clean lines and patterns. Experiment with different colors and finishes for a unique look.
Concrete Bookends
Modern and sturdy, concrete bookends are perfect for a minimalist aesthetic.
- Choosing the Right Mold: Silicone molds work best for easy removal.
- Mixing and Pouring Concrete:
- Prepare the Mold: Spray the mold with a release agent.
- Mix Concrete: Follow the instructions on the concrete mix.
- Pour into Mold: Pour the mixture into the mold and tap to remove air bubbles.
- Let It Set: Allow the concrete to cure for at least 24 hours.
- Finishing Touches and Paint Options: Sand any rough edges once the concrete is set. You can leave it natural or paint it for a different look.
Upcycled Bookends
Using recycled materials like old toys or figurines can create unique and quirky bookends.
- Selecting the Right Items: Choose items that are sturdy and have a flat base.
- Preparing and Attaching Bases:
- Clean the Items: Ensure they are free from dust and grease.
- Attach Bases: Use a strong adhesive to attach the items to a wooden or metal base.
- Creative Painting and Decoration Ideas: Spray paint the items for a cohesive look or leave them as they are for a more eclectic feel.
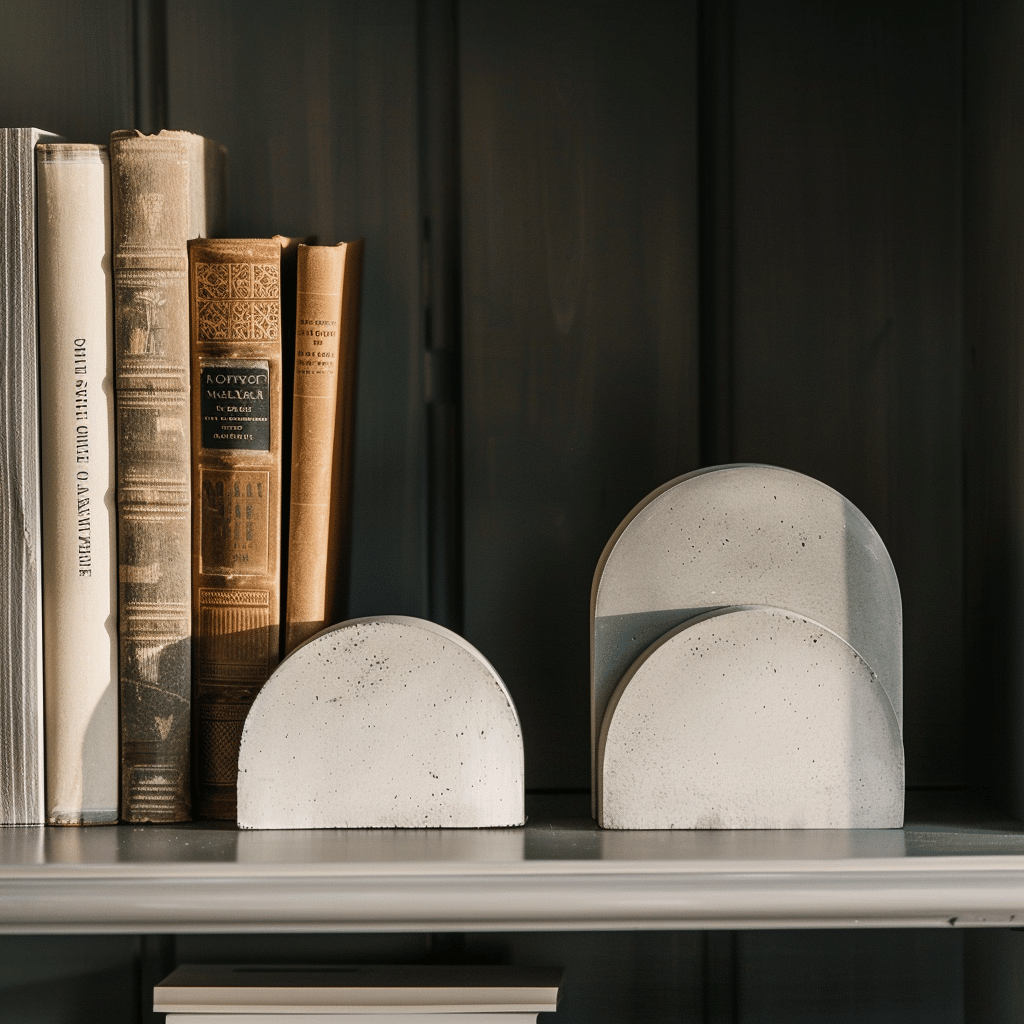
Geometric Bookends
Stylish geometric designs can be created using metal or wood.
- Cutting and Assembling Geometric Shapes: Use a saw to cut the shapes from wood or metal.
- Ensuring Stability and Balance: Make sure the shapes are balanced to prevent tipping.
- Decorative Finishes: Paint in metallic or matte colors for a modern look.
Personalized Bookends
Custom designs with monograms or favorite quotes add a personal touch.
- Materials and Tools Needed: Wooden blocks or metal sheets, stencils, paint.
- Techniques for Adding Personalized Details:
- Stencil Letters: Use stencils to paint monograms or quotes.
- Hand-Paint: For a more personal touch, hand-paint the details.
- Sealing and Protecting Your Designs: Apply a clear sealant to protect your work.
Tips for Customizing Your DIY Bookends
Personalize your bookends with these customization tips:
Color Coordination
Match the bookends to your home decor by choosing colors that complement your existing palette. Use a color wheel to find harmonious combinations.
Seasonal Themes
Create bookends for different seasons and holidays. Use pastel colors and floral patterns for spring, warm tones for fall, and glittery finishes for the holiday season.
Personalization
Add initials, quotes, or personalized messages using stencils, vinyl letters, or hand-painting. This adds a unique touch that reflects your personality.
Combining Materials
Use a mix of materials like wood and metal for a unique look. For example, combine wooden blocks with metal accents for a contemporary feel.
Adding Decorative Elements
Enhance your bookends with beads, fabric, or stencils. These small touches can elevate the design and make your bookends stand out.
Maintenance and Care for Your DIY Bookends
Keep your DIY bookends looking their best with these maintenance tips:
Regular Cleaning
Dust your bookends regularly with a soft cloth. For deeper cleaning, use a mild soap and water solution, but avoid harsh chemicals that can damage the finish.
Protecting Your Work
Use sealants to protect your designs from moisture and scratches. Apply a clear spray sealant after completing your project and reapply as needed.
Handling Repairs
Fix chips, scratches, or loose decorations promptly. Use strong glue to reattach any loose embellishments and touch up paint or decoupage areas as needed.
Storing Seasonal Bookends
Store seasonal bookends in a cool, dry place when not in use. Wrap them in tissue paper or bubble wrap to prevent damage.
Upcycling Ideas for DIY Bookends
Get creative with upcycling and repurposing items to make unique bookends:
Using Old Books
Turn old, unused books into creative bookends. Stack and glue them together, then decorate the covers for a unique literary touch.
Repurposing Household Items
Use items like bricks, bottles, or jars. Paint and decorate them to match your decor, creating a cohesive look.
Incorporating Natural Elements
Use stones, branches, or shells for a natural look. These elements add a rustic charm to your bookends.
Transforming Old Toys
Give new life to old toys by turning them into bookends. Attach them to a sturdy base and paint for a cohesive design.
Creative Uses for Fabric Scraps
Wrap vases with leftover fabric for a fresh look. Use Mod Podge to adhere the fabric to the vase and add ribbons or trim for extra detail.
Conclusion
DIY bookends are a fantastic way to add both functionality and style to your bookshelves. By using simple materials and following our creative ideas, you can craft unique bookends that reflect your personality and enhance your home decor. Ready to start your project? Share your DIY bookend creations on social media and inspire others to get creative with their home organization. Happy crafting!
Below are some articles that you may like.


DIY Bookshelves: Creative and Budget-Friendly Ideas for 2024
September 21, 2024 @ 10:56 pm
[…] DIY Bookends: Creative Ideas to Organize Your Books in 2024 […]
DIY Tufted Headboard: Create a Luxurious Bedroom on a Budget
September 22, 2024 @ 6:41 pm
[…] DIY Bookends: Creative Ideas to Organize Your Books in 2024 […]