Best DIY Floating Shelves for Your Laundry Room: Step-by-Step
Introduction
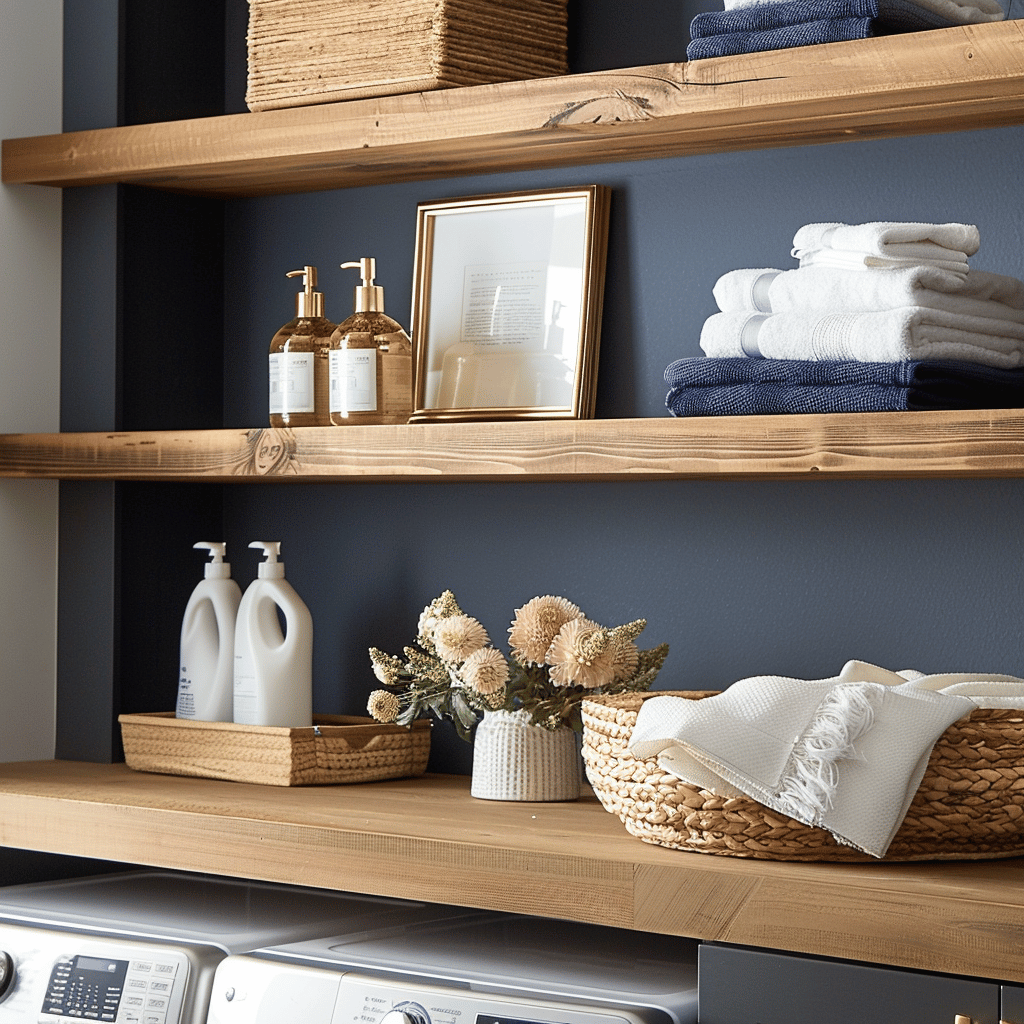
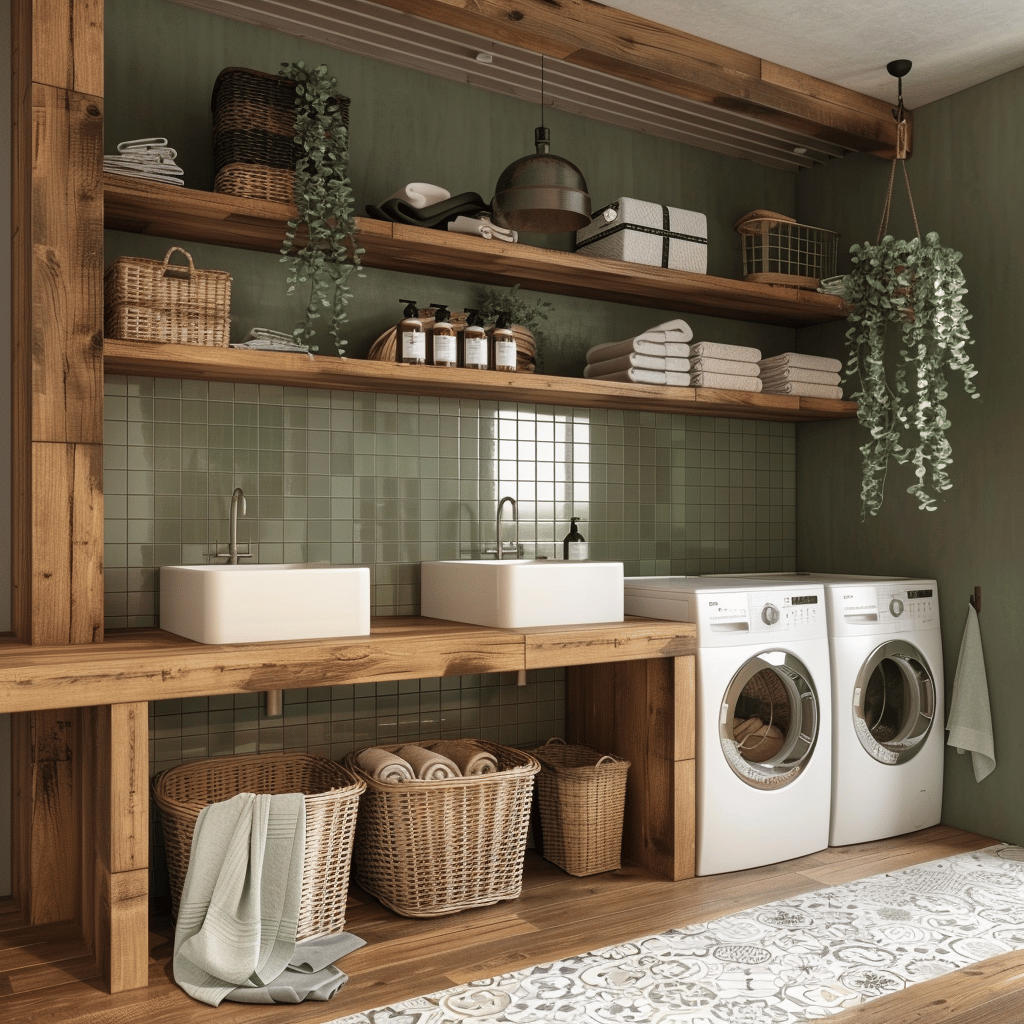
Transforming your laundry room into an organized and stylish space doesn’t have to break the bank. One of the best ways to maximize space and add a touch of elegance is by installing floating shelves. Not only are they cost-effective, but they also create a sleek, modern look that can make even the smallest laundry room feel more spacious. In this step-by-step guide, I’ll walk you through how to create your own DIY floating shelves, perfect for organizing your laundry essentials and adding a bit of luxury to your home.
Materials and Tools Needed
Materials
- Wooden boards: Choose the dimensions based on your space. For most laundry rooms, 1-inch thick boards with a width of 8-12 inches work well.
- Brackets or floating shelf supports: These will hold your floating shelves in place. Choose sturdy, invisible brackets for a clean look.
hidden floating shelf brackets
- Screws and wall anchors: Ensure you have the right size for your brackets and wall type.
- Wood stain or paint (optional): To match your laundry room decor.
- Sandpaper: For smoothing out the wood edges and surfaces.
Tools
- Measuring tape: To ensure your floating shelves are the right size and level.
- Level: To keep your shelves straight.
- Drill: For making pilot holes and securing brackets.
- Screwdriver: For tightening screws.
- Paintbrush: If you decide to paint or stain your floating shelves.
Step-by-Step Guide
-
Planning and Measuring
Start by deciding how many shelves you want and where you want to place them. Measure the wall space carefully and mark where each shelf will go. Ensure you account for the height of items you’ll be storing on the floating shelves.
-
Preparing the Wooden Boards
Cut your wooden boards to the desired length. If you don’t have the tools to do this at home, many home improvement stores will cut the boards for you. Once cut, sand the edges and surfaces to smooth out any rough spots. If you’re staining or painting the boards, do this now and allow them to dry completely before proceeding.
-
Installing the Brackets or Supports
Using a stud finder, locate the wall studs where you’ll be mounting the floating shelves. Mark these locations on the wall. Align the brackets with the stud marks, ensuring they are level. Drill pilot holes and secure the brackets to the wall with screws. If you can’t align with studs, use wall anchors to ensure your shelves are sturdy.
-
Mounting the Shelves
Place the wooden boards onto the brackets. Double-check that the shelves are level. Secure the boards to the brackets with screws for added stability. If you’re using invisible brackets, make sure they’re properly aligned inside the boards.
-
Styling and Organizing
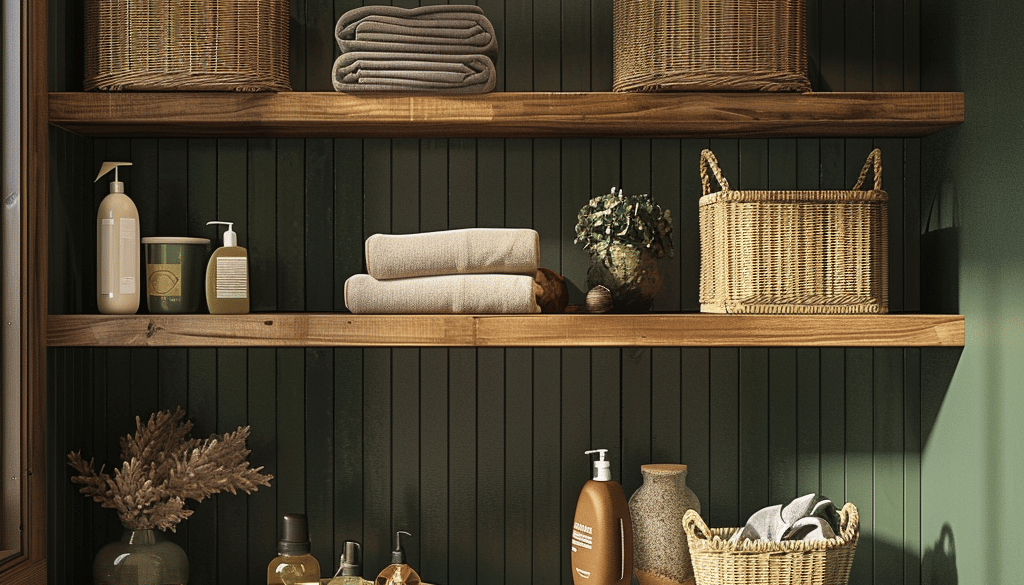
Now that your floating shelves are installed, it’s time to style and organize them. Use decorative bins, jars, and baskets to keep items neatly stored and add a touch of elegance. Place laundry essentials like detergents, fabric softeners, and cleaning supplies in attractive containers to keep the space looking tidy and organized.
Additional Tips and Tricks
- Choosing the Right Wood: Pine is an affordable option that works well for most projects. For a more luxurious look, consider oak or walnut.
- Alternative Bracket Options: If you prefer a different style, L-brackets or industrial pipe brackets can offer a unique look.
industrial pipe shelf brackets
- Maintaining Your Shelves: Regularly dust and clean the shelves to keep them looking fresh. Avoid placing excessively heavy items on them to prevent sagging.
Conclusion
DIY floating shelves are a fantastic way to add both functionality and style to your laundry room without spending a fortune. With this step-by-step guide, you can create custom floating shelves that fit your space perfectly and elevate the look of your home. Give it a try and see how such a simple project can make a big difference! And remember, you can find all the materials you need on Amazon – check out the links below to get started. Happy decorating!
Want to build a bookshelf instead of floating shelves? Check out this article.
DIY Bookshelves: Creative and Budget-Friendly Ideas for 2024

5 Easy DIY Laundry Room Pegboard Projects
September 22, 2024 @ 7:07 pm
[…] DIY Floating Shelves for Your Laundry Room: Step-by-Step […]