DIY Tufted Headboard: Create a Luxurious Bedroom on a Budget
Introduction
Looking to add a touch of luxury to your bedroom without breaking the bank? A DIY tufted headboard might be just what you need! This project is perfect for those who want to combine elegance with personal craftsmanship. Not only will it elevate the look of your bedroom, but it’s also a fun and rewarding DIY project. Whether you’re a seasoned DIY enthusiast or just starting out, we have the perfect guide to help you create a beautiful tufted headboard. Let’s dive in and start transforming your bedroom!
Benefits of a DIY Tufted Headboard
Cost Savings
One of the most significant benefits of making your own tufted headboard is the cost savings. High-end, store-bought tufted headboards can be very expensive. By creating one yourself, you can achieve the same luxurious look for a fraction of the price. You can find affordable materials at local hardware stores, fabric shops, or even online.
Customization
When you create your own headboard, you have complete control over the design. You can choose the size, fabric, and style that perfectly matches your personal taste and bedroom decor. Whether you prefer a classic, modern, or rustic look, you can tailor every detail to fit your vision.
Personal Satisfaction
There’s nothing quite like the satisfaction of creating something with your own hands. Completing a DIY tufted headboard project gives you a sense of accomplishment and pride. Every time you walk into your bedroom, you’ll be reminded of your creativity and hard work.
Enhanced Comfort
A tufted headboard adds a soft, padded surface to lean against, making your bed even more comfortable. It’s perfect for reading, watching TV, or simply relaxing in bed. Plus, it adds a cozy, inviting feel to your bedroom.
Increased Home Value
A stylish headboard can enhance the overall appeal of your home. If you ever decide to sell, a well-designed bedroom with unique features like a tufted headboard can make your property more attractive to potential buyers.
Materials and Tools Needed for a DIY Tufted Headboard
Before you start your DIY project, it’s important to gather all the necessary materials and tools. Here’s a list of what you’ll need:
Basic Tools
- Measuring Tape: For accurate measurements.
- Scissors: To cut fabric and batting.
- Staple Gun: To secure fabric and batting to the plywood.
- Drill: For making holes for tufting and attaching hardware.
- Screwdriver: To assemble and mount the headboard.
Building Materials
- Plywood: This will serve as the base of your headboard. Choose a size that fits your bed.
- Foam: For padding the headboard. You can find foam at fabric or craft stores.
- Batting: To wrap around the foam for a smooth finish.
- Fabric: Upholstery-grade fabric is recommended for durability.
- Buttons: Matching or contrasting buttons for tufting.
Hardware
- Screws and Washers: To attach the headboard to the bed frame.
- Mounting Brackets: For securing the headboard to the wall if needed.
Decorative Elements
- Trim: Nailhead trim or other decorative trim.
- Nailhead Trim: For adding a polished, professional look.
- Decorative Tacks: For extra embellishments.
Where to Find Affordable Supplies
- Local Hardware Stores: For basic building materials and tools.
- Fabric Shops: For a wide selection of fabrics and foam.
- Online Retailers: Websites like Amazon and Etsy offer various materials at competitive prices.
Step-by-Step Guide to Making Your DIY Tufted Headboard
Now that you have your materials and tools ready, let’s go through the step-by-step process of creating your tufted headboard.
Planning and Measuring
- Determine the Size and Shape: Measure the width of your bed to decide how wide your headboard should be. Consider the height as well, depending on your room’s proportions and personal preference.
- Sketch the Design: Draw a rough sketch of your headboard, including dimensions and any decorative elements you plan to add.
Cutting and Preparing the Materials
- Cut the Plywood: Using your measurements, cut the plywood to the desired size.
- Cut the Foam: Lay the plywood on the foam and trace the outline. Cut the foam to match the size of the plywood.
- Prepare the Batting: Cut the batting slightly larger than the plywood and foam, allowing enough to wrap around the edges.
Assembling the Headboard
- Attach the Foam: Spray adhesive on the plywood and place the foam on top, pressing firmly to secure.
- Wrap with Batting: Lay the batting over the foam, pull it tight around the edges, and staple it to the back of the plywood.
- Cover with Fabric: Place your fabric over the batting, making sure it’s centered. Pull the fabric tight and staple it to the back of the plywood, starting from the center and working your way out to avoid wrinkles.
Tufting the Headboard
- Mark the Tufting Points: Measure and mark where you want each tuft to be. Evenly spaced tufts create a symmetrical look.
- Drill Holes: Drill small holes through the plywood at each tufting mark.
- Thread the Buttons: Thread a long upholstery needle with strong thread or upholstery twine. Push the needle through a button, then through the fabric, batting, foam, and plywood, pulling it tight.
- Secure the Buttons: Pull the thread tight on the back of the plywood and staple it to secure the button in place. Repeat for all tufting points.
Finishing Touches
- Add Trim: Attach any decorative trim or nailhead trim around the edges of the headboard using a hammer or mallet.
- Check for Security: Ensure all staples and tacks are secure and the fabric is taut.
Mounting the Headboard
- Choose the Mounting Method: Decide whether you’ll attach the headboard to the bed frame or mount it on the wall.
- Attach Mounting Brackets: If attaching to the wall, use sturdy mounting brackets. For bed frame attachment, secure the headboard using screws and washers through the bed frame’s mounting holes.
Tips for Customizing Your DIY Tufted Headboard
Choosing the Right Fabric
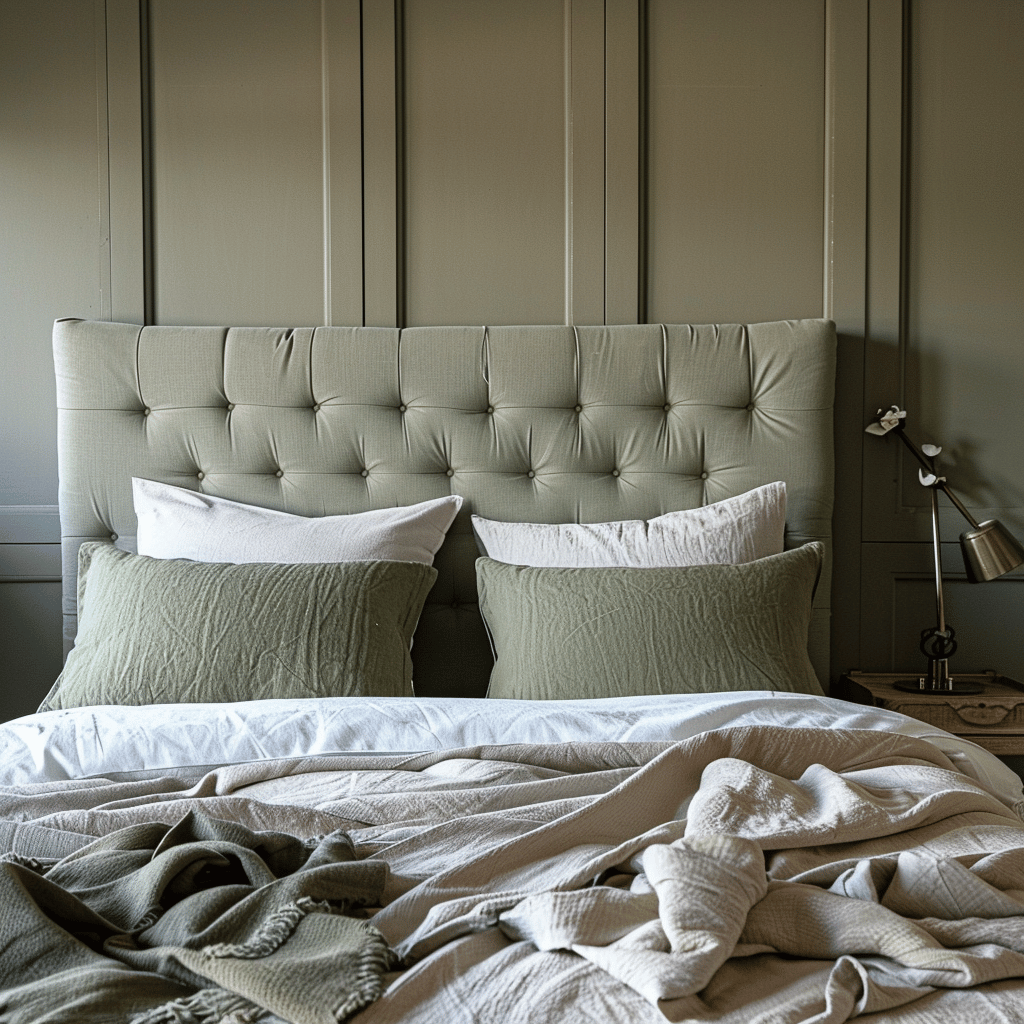
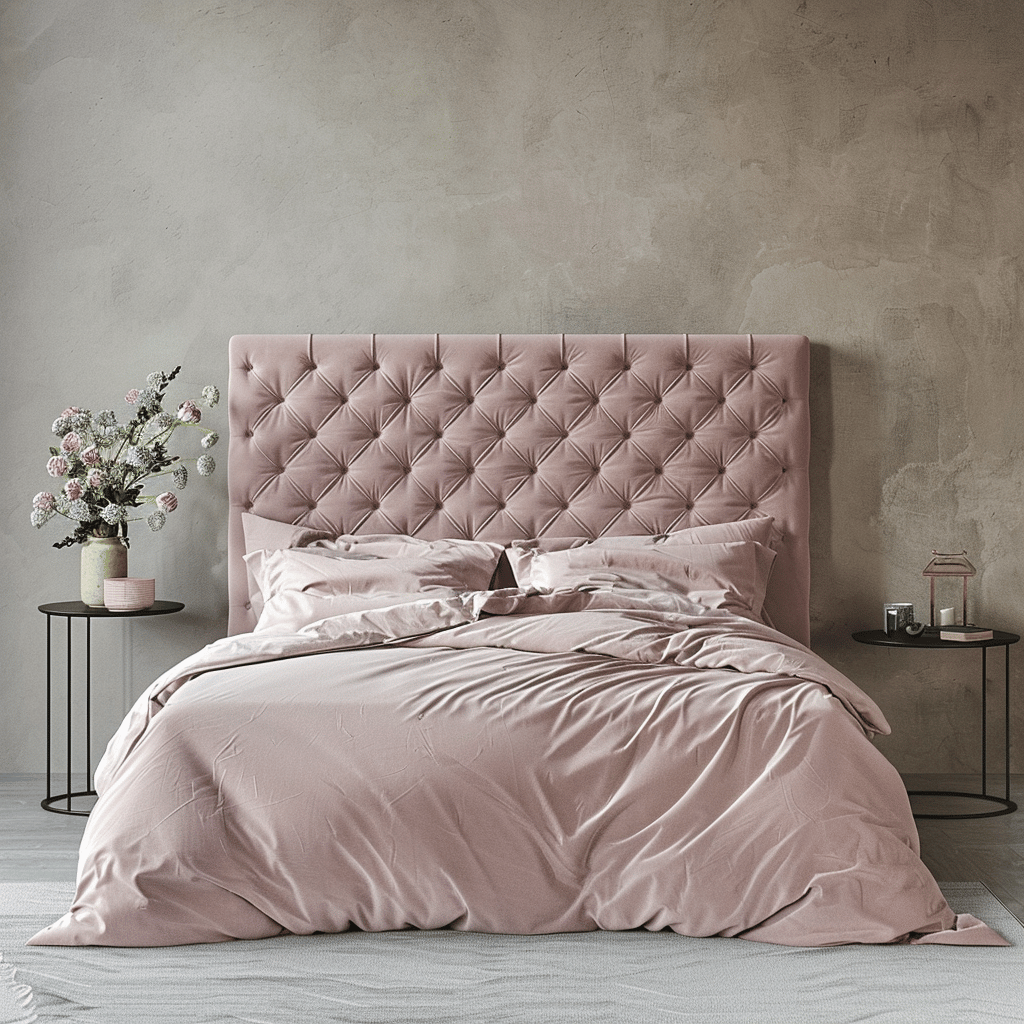
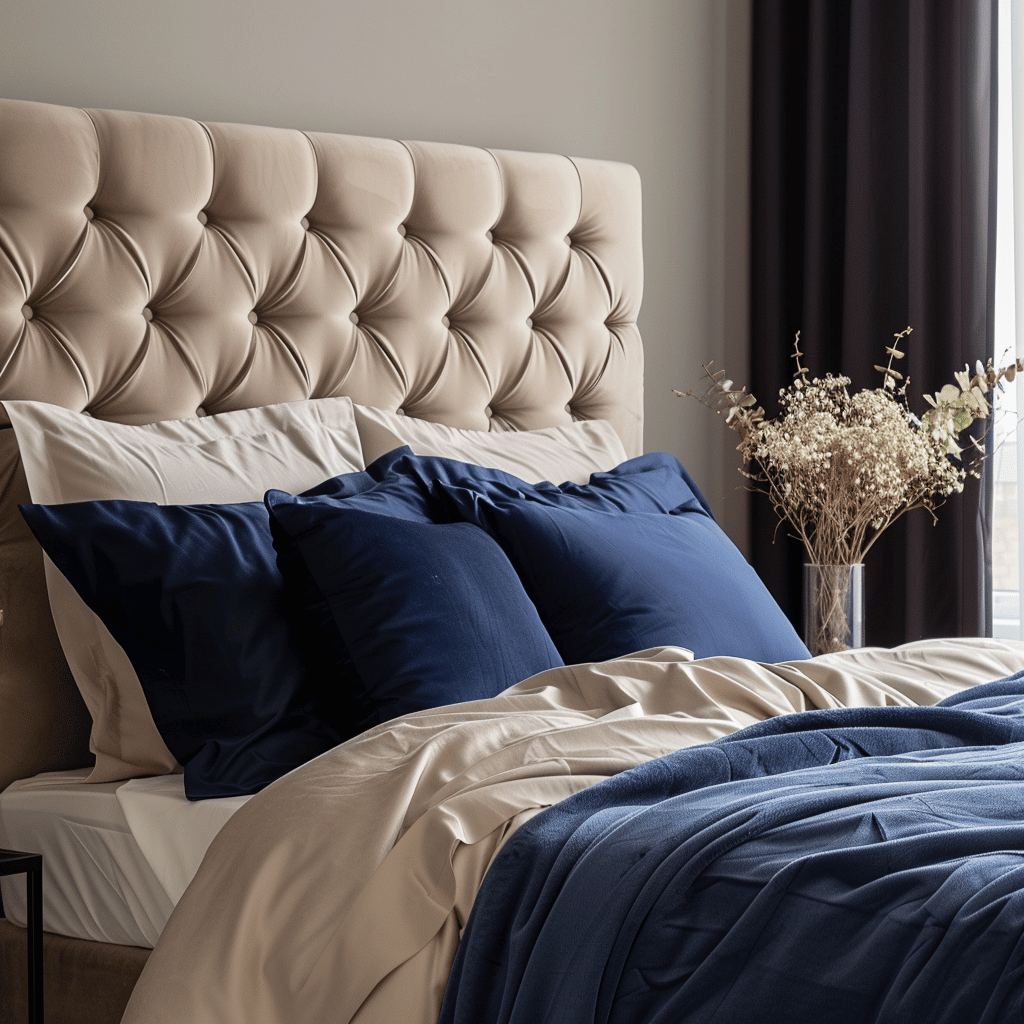
Opt for durable, upholstery-grade fabric that can withstand daily use. Consider velvet, linen, or leather for a luxurious look. Patterns and textures can add visual interest and hide minor imperfections.
Selecting Button Styles
Covered buttons offer a cohesive look, while decorative buttons can add a touch of flair. Choose buttons that complement or contrast with your fabric for added style.
Adding Extra Padding
For an ultra-comfortable headboard, use thicker foam or add an extra layer of batting. This will make the headboard softer and more inviting.
Incorporating Decorative Trim
Enhance your headboard with nailhead trim, piping, or ribbon. These details can add a professional, finished look and highlight the shape of the headboard.
Experimenting with Shapes
While rectangular and square headboards are classic choices, consider experimenting with different shapes like arched, scalloped, or custom designs to make a unique statement.
Maintenance and Care for Your DIY Tufted Headboard
Regular Cleaning
Dust your headboard regularly with a soft cloth or vacuum with a brush attachment to keep it looking fresh. For fabric headboards, use a fabric cleaner as needed.
Spot Cleaning
Address stains promptly with appropriate fabric cleaners. Test the cleaner on a small, hidden area first to ensure it doesn’t damage the fabric.
Protecting the Fabric
Use fabric protectors to prevent stains and spills. Reapply as needed to maintain protection.
Checking for Loose Elements
Regularly inspect your headboard for loose buttons or trim. Tighten or reattach any loose parts to keep your headboard looking pristine.
Re-securing Loose Parts
If buttons or trim become loose, re-secure them using a needle and thread or additional staples. For more extensive repairs, you may need to remove and reapply certain sections.
Creative Ideas for DIY Tufted Headboards
Vintage Look
Use distressed fabric or antique buttons to create a vintage-inspired headboard. Add decorative trim or lace for a charming, old-world feel.
Modern Minimalist
Opt for a sleek, monochromatic design using solid colors and clean lines. Choose a fabric like leather or faux leather for a modern touch.
Rustic Charm
Incorporate burlap or linen fabrics for a rustic look. Add wooden accents or reclaimed wood trim to enhance the rustic feel.
Glamorous Touch
Add metallic fabrics or rhinestone buttons for a glamorous, high-end look. Use luxurious fabrics like velvet or silk for added opulence.
Bohemian Style
Use vibrant colors and eclectic patterns to create a bohemian-inspired headboard. Mix and match fabrics and embellishments for a unique, artistic design.
Conclusion
Creating a DIY tufted headboard is a fantastic way to add luxury and personal flair to your bedroom decor. By following our detailed guide, you can craft a beautiful and unique headboard that reflects your style and creativity. Not only will it enhance the aesthetic appeal of your room, but it will also provide a comfortable and stylish focal point. Ready to start your project? Share your DIY tufted headboard creations on social media and inspire others to get creative with their home decor. Happy crafting!
Here are a few articles I think you might like.
Wallpaper Wonders: A Guide to Transforming Your Walls


Wallpaper Wonders: A Guide to Transforming Your Walls
August 13, 2024 @ 3:54 am
[…] DIY Tufted Headboard: Create a Luxurious Bedroom on a Budget […]
Luxury Home Decor on a Budget: Tips, Tricks, and Ideas
September 17, 2024 @ 1:24 pm
[…] for affordable options or create a DIY upholstered headboard. Here is an article on how to create a DIY headboard on a […]
DIY Vase Makeovers: Transform Your Home Decor on a Budget
September 22, 2024 @ 4:37 pm
[…] DIY Tufted Headboard: Create a Luxurious Bedroom on a Budget […]