Best DIY Wall Art: Transform Your Home with Budget-Friendly Decor
Introduction
Are you looking to add a personal touch to your home decor without spending a fortune? DIY wall art is the perfect solution! With a little creativity and some basic materials, you can transform blank walls into stunning displays that reflect your unique style. Whether you’re a seasoned crafter or just starting out, we’ve got a range of DIY wall art ideas to inspire you. Let’s dive in and start making your walls come alive with art!
If you are looking for some affordable options for wall art, see the below products.
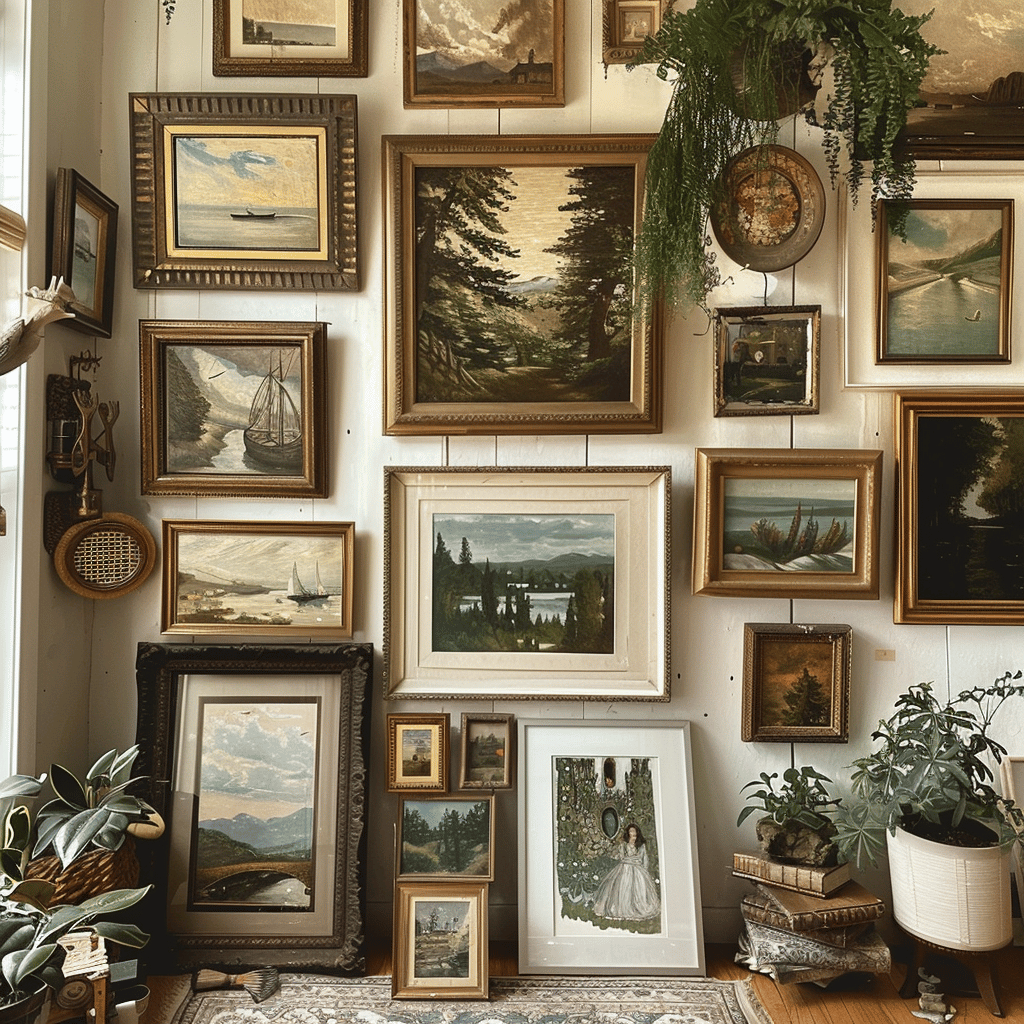
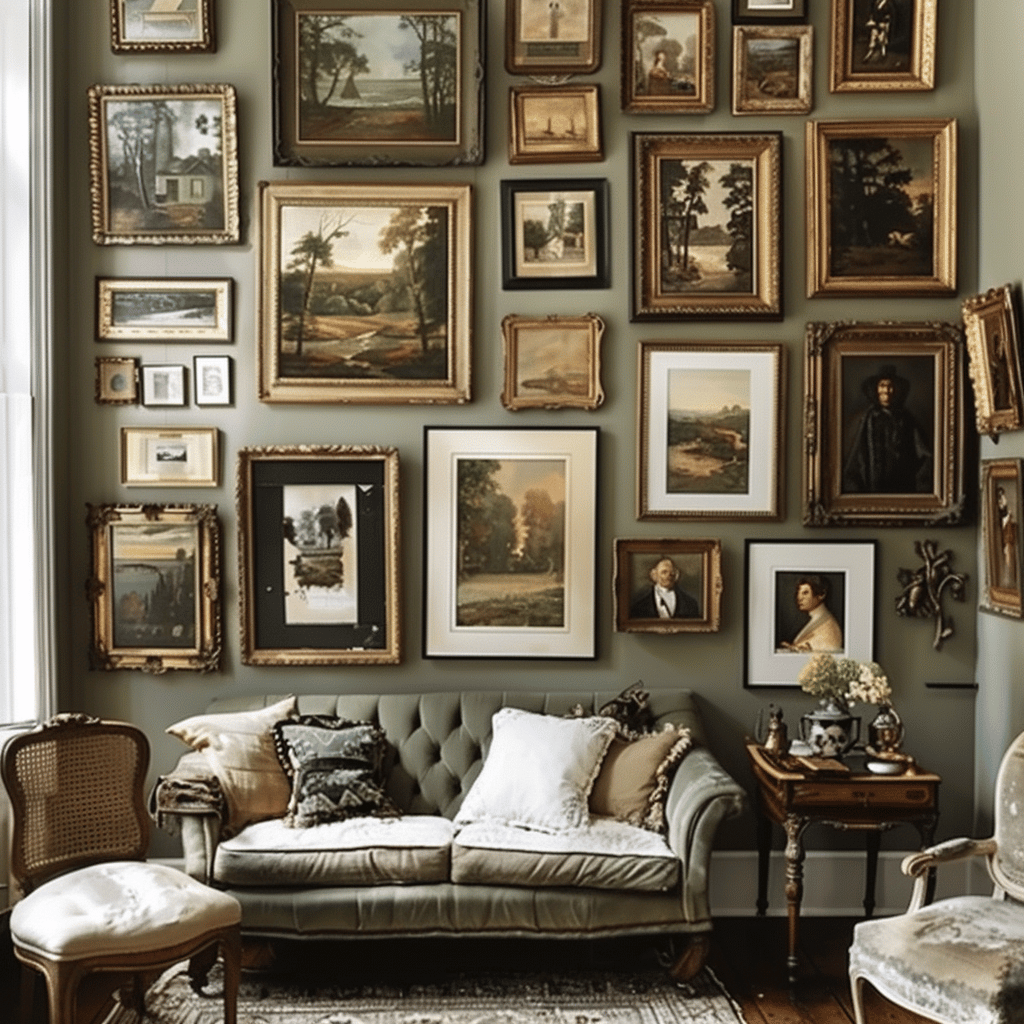
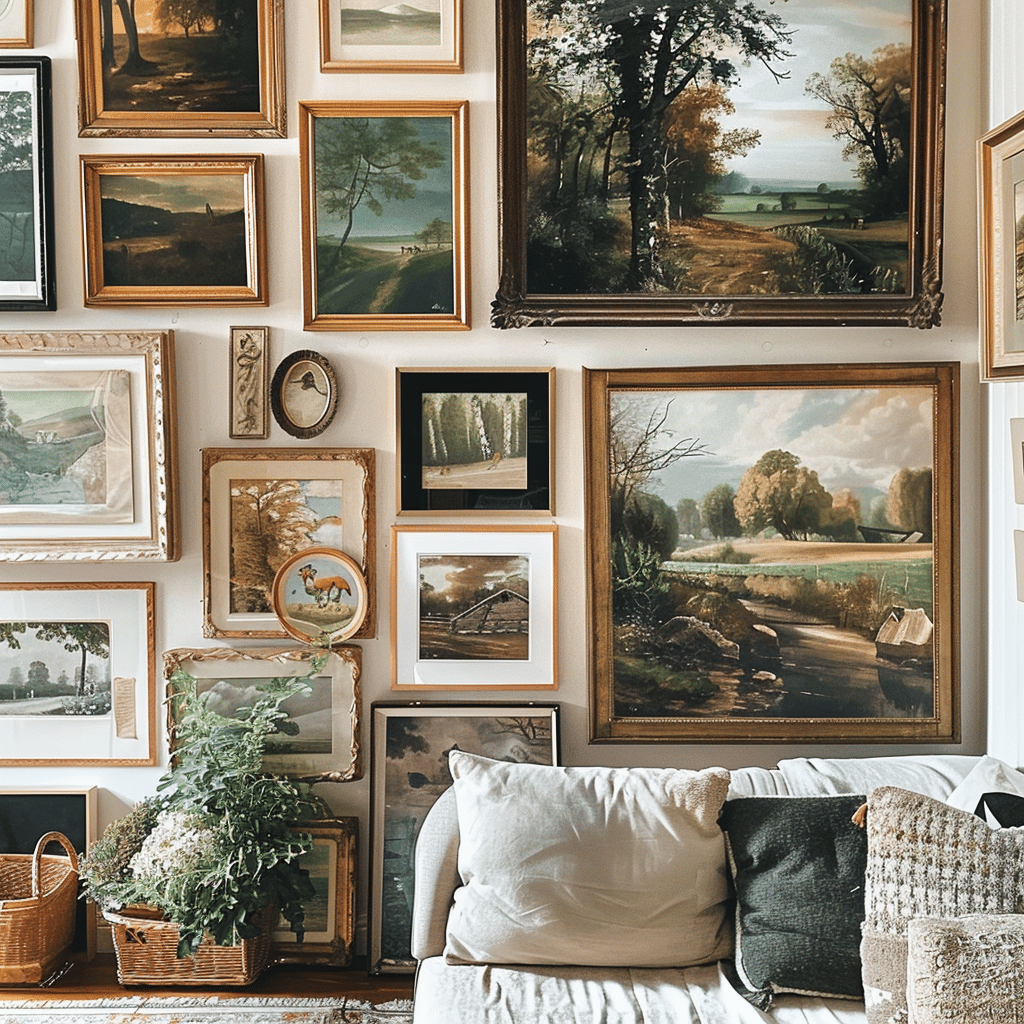
-vintage framed canvas wall art landscape
Benefits of DIY Wall Art
Cost Savings
One of the biggest advantages of DIY wall art is the cost savings. Purchasing artwork can be expensive, but creating your own allows you to save money while still achieving a high-end look. You can find affordable supplies at craft stores, online retailers, thrift shops, and dollar stores.
Customization
DIY projects give you complete control over the design. You can tailor your wall art to fit your personal style and home decor. Whether you prefer modern, rustic, or eclectic designs, you can create pieces that perfectly match your vision.
Sustainability
By using recycled and repurposed materials, you’re contributing to a more sustainable lifestyle. Upcycling items helps reduce waste and minimizes the need for new resources, making it an eco-friendly way to decorate your home.
Creative Outlet
Engaging in DIY projects is a great way to unleash your creativity. Transforming simple materials into beautiful artwork can be incredibly satisfying and therapeutic. Plus, it’s a fun activity that you can enjoy solo or with friends and family.
Unique Decor
DIY wall art allows you to create one-of-a-kind pieces that stand out. Unlike mass-produced art, your creations will be unique and personal, adding a special touch to your home decor.
Essential Tools and Materials for DIY Wall Art
Before you start your DIY wall art project, it’s important to gather all the necessary tools and materials. Here’s a list of essentials to get you started:
Basic Tools
- Scissors: For cutting paper, fabric, and other materials.
- Craft Knives: For precise cutting and trimming.
- Rulers: For measuring and ensuring straight lines.
- Paintbrushes: Various sizes for different painting techniques.
Art Supplies
- Paint: Acrylic, watercolor, or spray paint in your chosen colors.
- Markers: Permanent markers for detailed designs.
- Canvas: Blank canvases for painting.
- Paper: Heavyweight paper for various projects.
Decorative Elements
- Fabric: Scraps for wrapping or creating texture.
- Beads and Glitter: For adding sparkle and dimension.
- Stencils: For creating patterns and designs.
Adhesives
- Glue: Hot glue, craft glue, and adhesive dots.
- Tape: Double-sided tape and painter’s tape.
- Mod Podge: For decoupage and sealing.
Where to Find Affordable Supplies
- Craft Stores: Look for sales and use coupons for discounts.
- Online Retailers: Websites like Amazon and Etsy offer a wide selection.
- Thrift Shops: Find unique items and materials at a low cost.
- Dollar Stores: Great for basic supplies and inexpensive materials.
DIY Wall Art Project Ideas
Ready to get started? Here are some creative DIY wall art ideas to inspire you:
Abstract Canvas Art
Abstract canvas art is a simple yet impactful way to add modern decor to your home.
- Choosing Colors and Tools: Select a color palette that complements your existing decor. Gather brushes, palette knives, and sponges for different effects.
- Step-by-Step Guide:
- Prepare Your Canvas: Prime the canvas with a base color if desired.
- Start Painting: Use broad strokes, splatters, or drips to create an abstract design.
- Layer and Texture: Add layers of paint to create depth and texture.
- Tips for Layering and Texture: Allow each layer to dry before adding another. Use a variety of tools to achieve different textures and effects.
Framed Fabric Art
Using fabric scraps to create framed art is a great way to add color and texture to your walls.
- Selecting and Preparing Fabric: Choose fabrics with interesting patterns and colors. Iron the fabric to remove any wrinkles.
- Stretching Fabric Over Frames:
- Cut Fabric to Size: Leave enough fabric to wrap around the frame edges.
- Stretch and Secure: Stretch the fabric tightly over the frame and staple it to the back.
- Adding Decorative Elements: Enhance your fabric art with beads, buttons, or embroidery for added detail.
Geometric Wall Art
Geometric designs are striking and can be created using paint or paper.
- Planning Your Design: Sketch your geometric pattern on paper. Decide on the shapes and colors you want to use.
- Cutting and Assembling Shapes:
- Cut Shapes: Use a craft knife and ruler to cut precise shapes from paper or cardstock.
- Assemble and Mount: Arrange the shapes on a canvas or board and secure them with glue or double-sided tape.
- Mounting and Finishing Touches: Frame your geometric art or add a varnish to protect and enhance the colors.
Nature-Inspired Art
Using natural materials like leaves, flowers, and branches can create beautiful and organic wall art.
- Collecting and Preparing Natural Elements: Gather leaves, flowers, and branches from your garden or a nature walk. Press and dry the materials if needed.
- Arranging and Securing Materials:
- Plan Your Layout: Arrange the natural elements on your canvas or board.
- Secure with Adhesive: Use glue or Mod Podge to attach the materials.
- Preserving and Displaying Your Artwork: Seal the artwork with a clear varnish to protect it from damage.
String Art
String art involves creating intricate designs with nails and thread, resulting in stunning and unique pieces.
- Setting Up Your String Art Base: Choose a sturdy board and paint or stain it as desired.
- Planning and Outlining Your Design:
- Draw Your Design: Sketch your design lightly on the board.
- Place the Nails: Hammer nails into the board along the design outline.
- Wrapping and Securing the Thread:
- Choose Your Thread: Select colors that complement your design.
- Wrap the Thread: Wrap the thread around the nails, following your design pattern.
- Secure the Ends: Tie off and secure the thread ends.
Tips for Customizing Your DIY Wall Art
Color Coordination
Match your wall art to your home decor by choosing colors that complement your existing palette. Use a color wheel to find harmonious combinations.
Seasonal Themes
Create wall art for different seasons and holidays. Use pastel colors and floral patterns for spring, warm tones for fall, and glittery finishes for the holiday season.
Personalization
Add initials, names, or quotes to your wall art using stencils, vinyl letters, or hand-painting. This adds a unique touch that reflects your personality.
Layering Techniques
Combine different materials and textures to create depth and interest. Layering paint, fabric, and other elements can add complexity to your designs.
Finishing Touches
Use varnish or sealant to protect your art from dust and damage. This will also enhance the colors and give your art a polished look.
Maintenance and Care for Your DIY Wall Art
Regular Cleaning
Dust your wall art regularly with a soft cloth or feather duster. For more thorough cleaning, use a slightly damp cloth, but avoid harsh chemicals that can damage the materials.
Protecting Your Work
Use sealants to protect your designs from moisture and UV damage. Reapply as needed to maintain protection and keep your art looking fresh.
Handling Repairs
Fix any loose or damaged elements promptly. Use glue to reattach any pieces that have come loose and touch up any paint or fabric areas as needed.
Storing Seasonal Art
Store seasonal wall art in a cool, dry place when not in use. Wrap the pieces in tissue paper or bubble wrap to prevent damage.
Upcycling Ideas for DIY Wall Art
Using Recycled Materials
Create art from old magazines, newspapers, or cardboard. Cut and assemble these materials into collages or mosaics for a unique look.
Repurposing Household Items
Turn items like plates, silverware, or old frames into art. Paint and decorate them to match your decor, creating a cohesive look.
Incorporating Natural Elements
Use stones, wood, or shells for a rustic and natural look. These elements add texture and depth to your wall art.
Transforming Old Art
Refresh old paintings or prints with new designs. Paint over them or add new elements to give them a fresh, updated look.
Creative Uses for Fabric Scraps
Wrap canvases or create fabric collages using leftover fabric scraps. This is a great way to add color and texture to your walls.
Conclusion
DIY wall art is a fantastic way to personalize your home decor while staying within budget. From abstract canvas art to nature-inspired pieces, there are endless possibilities to explore. By using simple materials and following our creative ideas, you can transform your walls into stunning displays that reflect your unique style. Ready to start your project? Share your DIY wall art creations on social media and inspire others to get creative with their home decor. Happy crafting!
Love DIY? Check out these other articles.
5 DIY Natural Air Fresheners for Your Bathroom


10 Home Office Accent Wall Ideas to Inspire Productivity
September 22, 2024 @ 9:12 pm
[…] DIY Wall Art: Transform Your Home with Budget-Friendly Decor […]
10 Astounding Home Office Accent Wall Ideas to Inspire Productivity
November 6, 2025 @ 3:20 pm
[…] DIY Wall Art: Transform Your Home with Budget-Friendly Decor […]