Vintage Ornaments: DIY Techniques for an Authentic Look
There’s something magical about vintage Christmas ornaments. They carry with them a sense of nostalgia, history, and charm that modern decorations often lack. But what if you can’t find authentic vintage pieces or they’re out of your budget? Don’t worry! I’ve got you covered. In this guide, I’ll show you how to age new ornaments to give them that coveted vintage look. It’s easier than you might think, and the results can be truly stunning.
Below are some of my favorite products for decorating for Christmas.


Why Age New Ornaments?
Before we dive into the techniques, let’s talk about why you might want to age new ornaments in the first place. For me, it’s all about creating a cohesive holiday aesthetic. Maybe you have a few cherished vintage ornaments passed down from your grandparents, but not enough to fill a tree. By aging new ornaments, you can create a unified look that tells a story.
Plus, there’s something deeply satisfying about transforming a shiny, mass-produced bauble into something that looks like it’s been treasured for generations. It’s a creative process that allows you to put your personal stamp on your holiday decor.

Gathering Your Supplies
To get started, you’ll need a few basic supplies. Don’t worry – most of these are probably already in your home:
- New glass or plastic ornaments
- White vinegar
- Salt
- Baking soda
- Coffee grounds
- Tea bags
- Sandpaper (fine grit)
- Paint (acrylic or spray paint in matte finishes)
- Clear matte spray sealant
- Soft cloths or paper towels
- Gloves (to protect your hands)
Once you’ve gathered these items, you’re ready to start aging your ornaments. Remember, the key is to experiment and have fun. Each ornament will turn out slightly different, which adds to the authentic vintage feel.
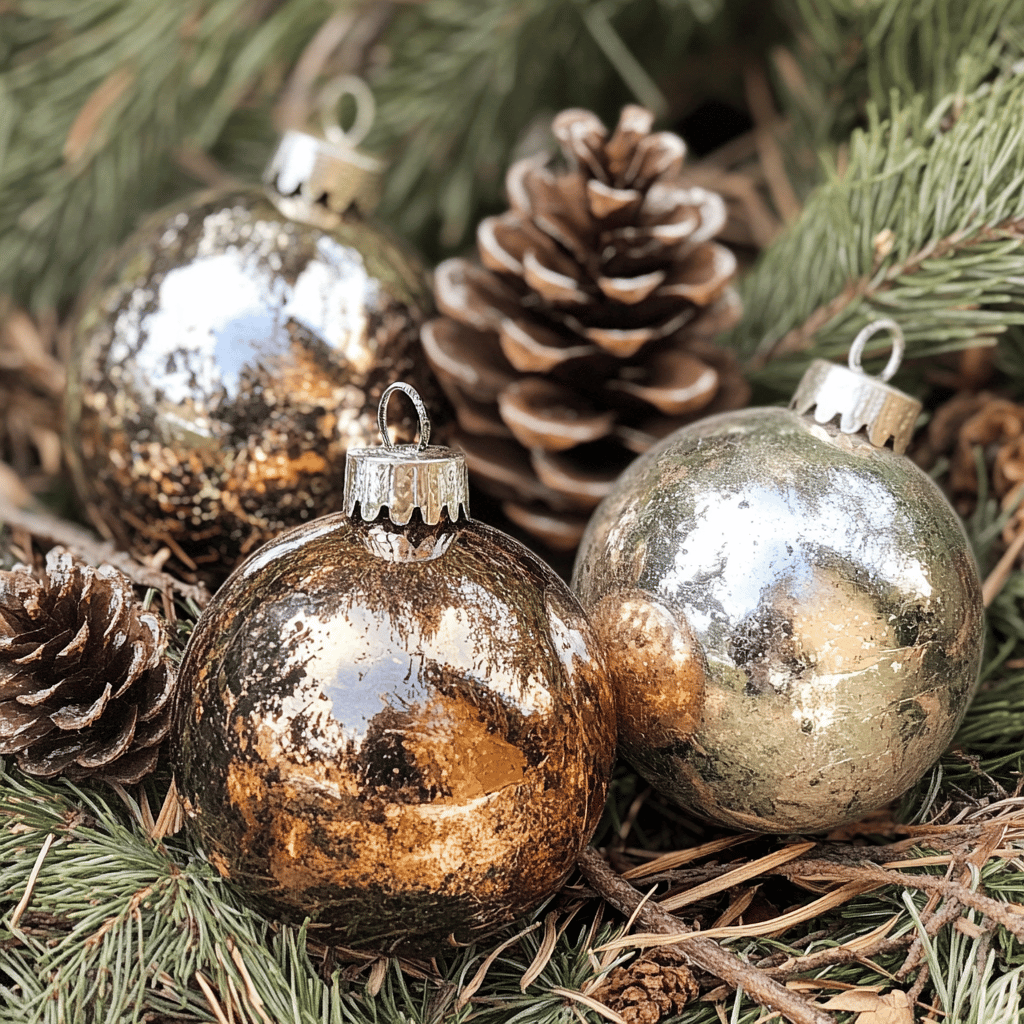
Technique 1: The Vinegar and Salt Method
This is my go-to method for creating a weathered, antique look on glass ornaments. Here’s how to do it:
- Mix equal parts white vinegar and water in a bowl.
- Add a tablespoon of salt and stir until dissolved.
- Gently place your ornaments in the solution.
- Leave them for about 15-20 minutes, checking periodically.
- Remove the ornaments and pat dry with a soft cloth.
What happens is pretty cool. The vinegar solution starts to eat away at the shiny coating on the ornaments, while the salt creates a subtle, mottled pattern. The result? Ornaments that look like they’ve been stored in an attic for decades.
Technique 2: The Coffee Stain Technique
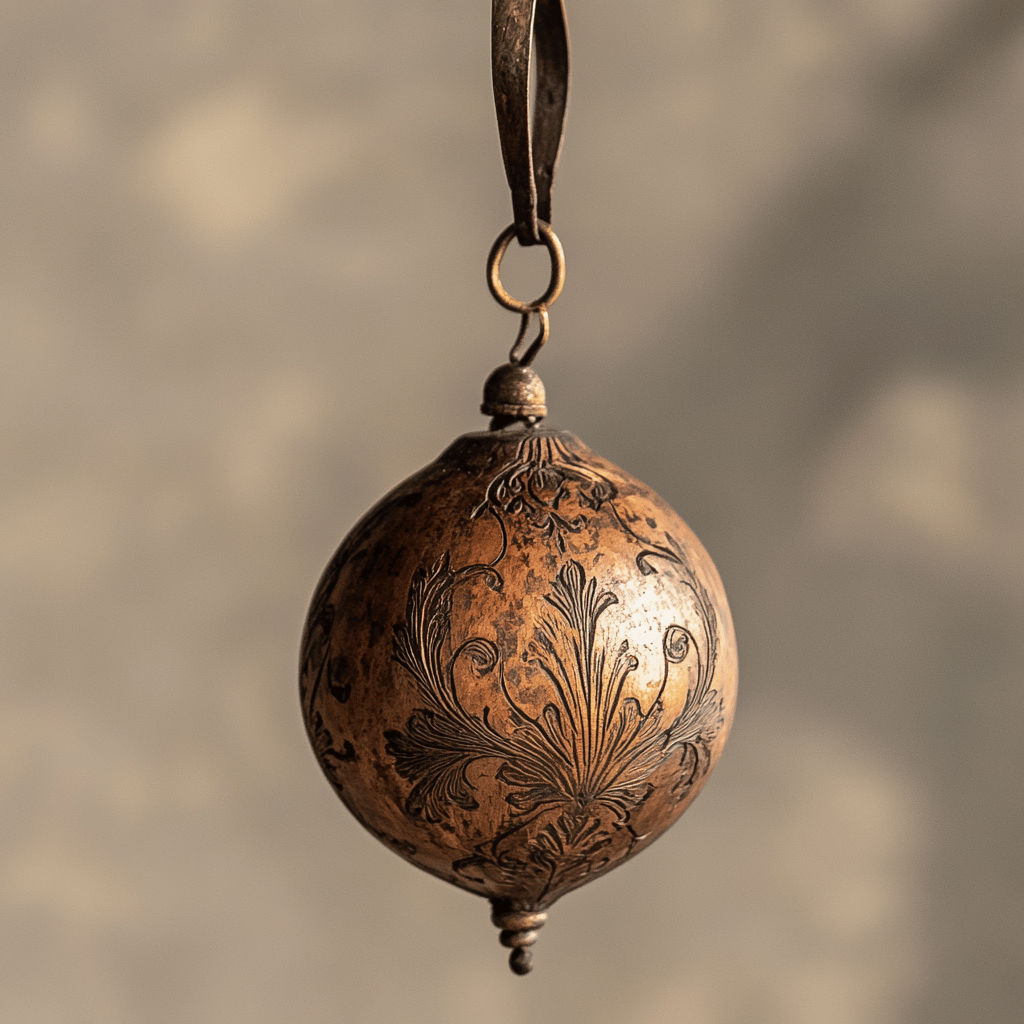
If you’re looking to give your ornaments a warm, aged patina, coffee is your best friend. Here’s the process:
- Brew a strong pot of coffee and let it cool.
- Dip a soft cloth into the coffee and gently dab it onto the ornament.
- For a more intense effect, you can submerge the ornament in the coffee for a few minutes.
- Let the ornament dry completely.
This technique works especially well on white or light-colored ornaments. The coffee creates a subtle, warm tone that mimics the natural aging process of vintage decorations.
Technique 3: The Baking Soda Frost
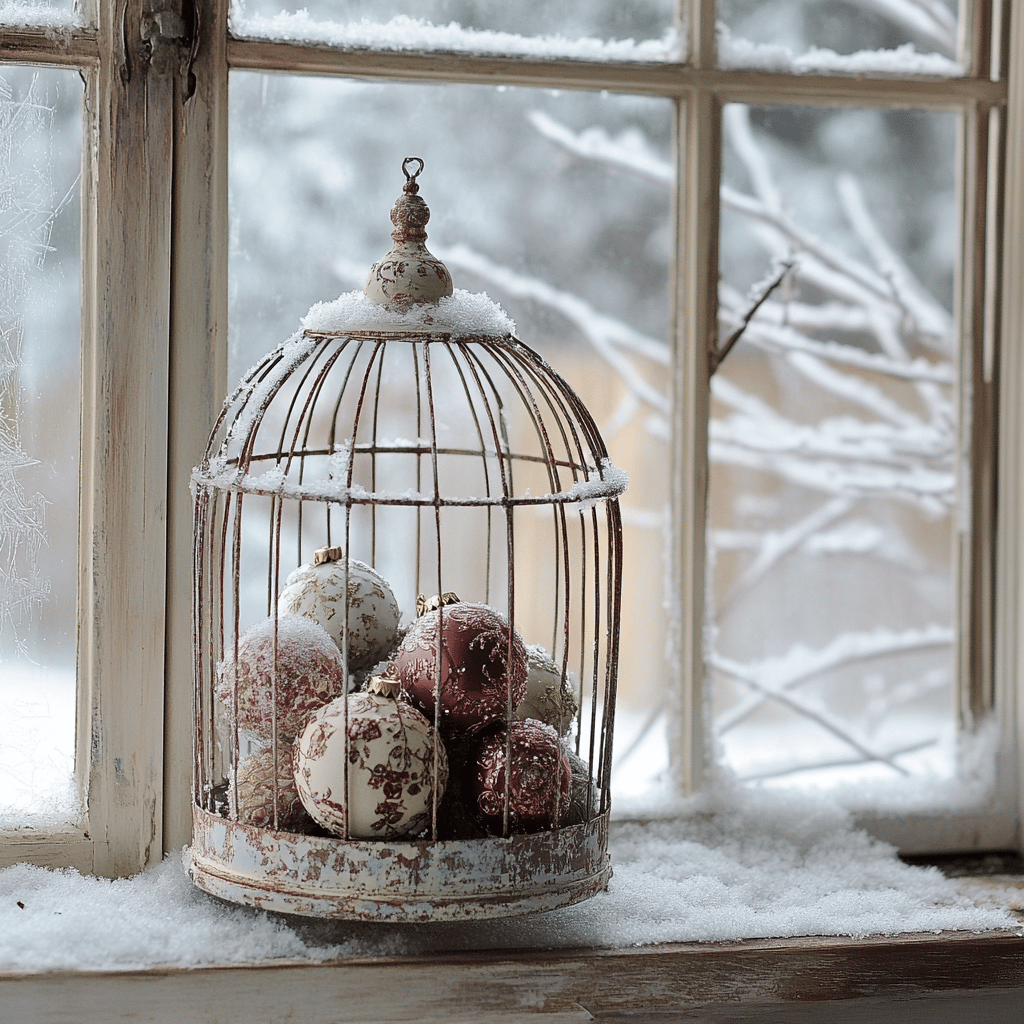
Want to create ornaments that look like they’ve been through decades of chilly winters? Try this baking soda frost technique:
- Mix baking soda with a small amount of water to create a paste.
- Apply the paste to your ornaments in a thin, even layer.
- Let it dry completely.
- Gently brush off excess baking soda.
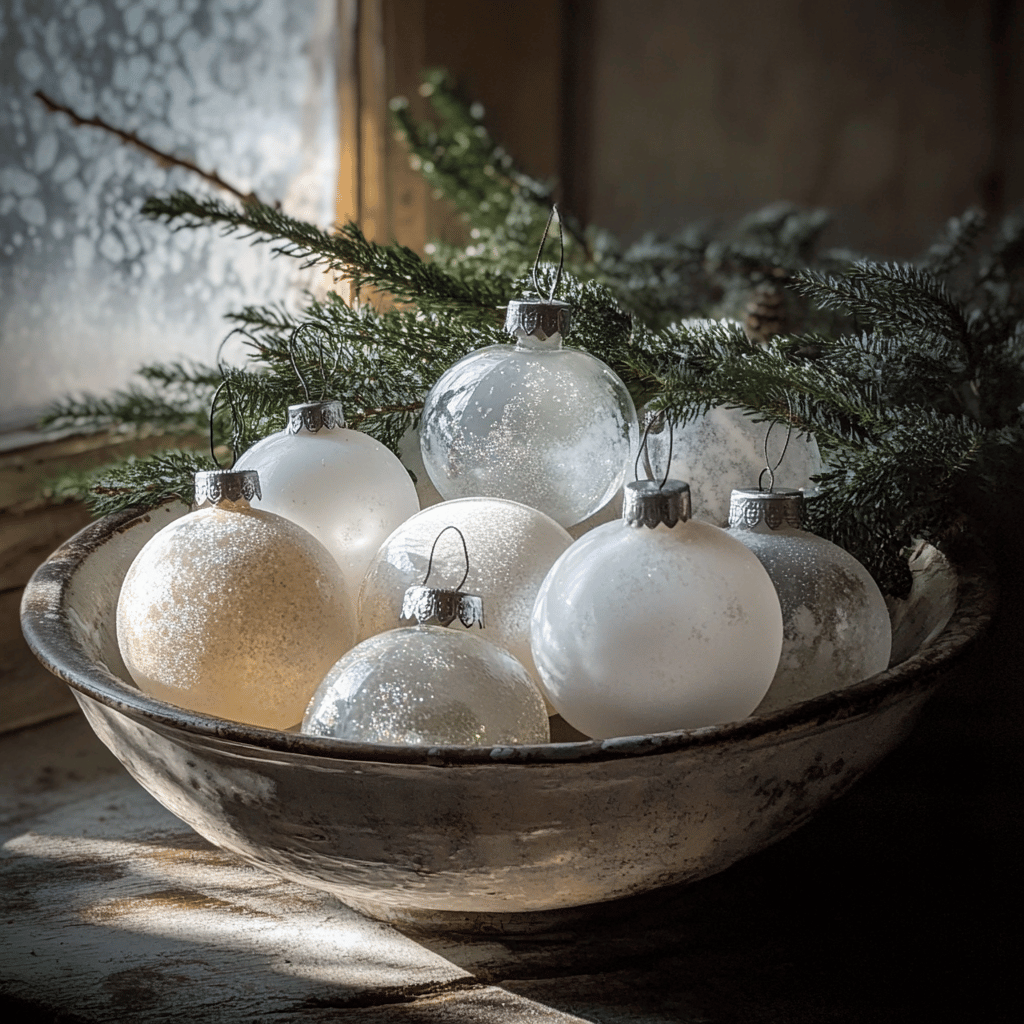
The result is a frosted, slightly textured surface that looks remarkably like ornaments that have been exposed to many cold seasons.

Technique 4: The Sandpaper Scuff
Sometimes, the best way to make something look old is to actually age it a bit. That’s where sandpaper comes in:
- Using fine-grit sandpaper, gently scuff the surface of your ornament.
- Focus on areas that would naturally show wear – the top near the hanger, for example.
- Wipe away any dust with a soft cloth.
This technique works particularly well on painted ornaments or those with a metallic finish. The scuffs and scratches give the impression of an ornament that’s been handled and loved for many years.

Technique 5: The Tea Stain Method
Similar to the coffee technique, tea can create a beautiful aged effect:
- Brew some strong black tea and let it cool.
- Dip your ornament in the tea or use a cloth to apply it.
- For a mottled effect, sprinkle some of the tea leaves onto the wet surface.
- Let it dry completely, then brush off any remaining tea leaves.
Tea creates a slightly different color than coffee, often with more reddish or yellowish tones. It’s great for simulating the look of old, yellowed varnish.
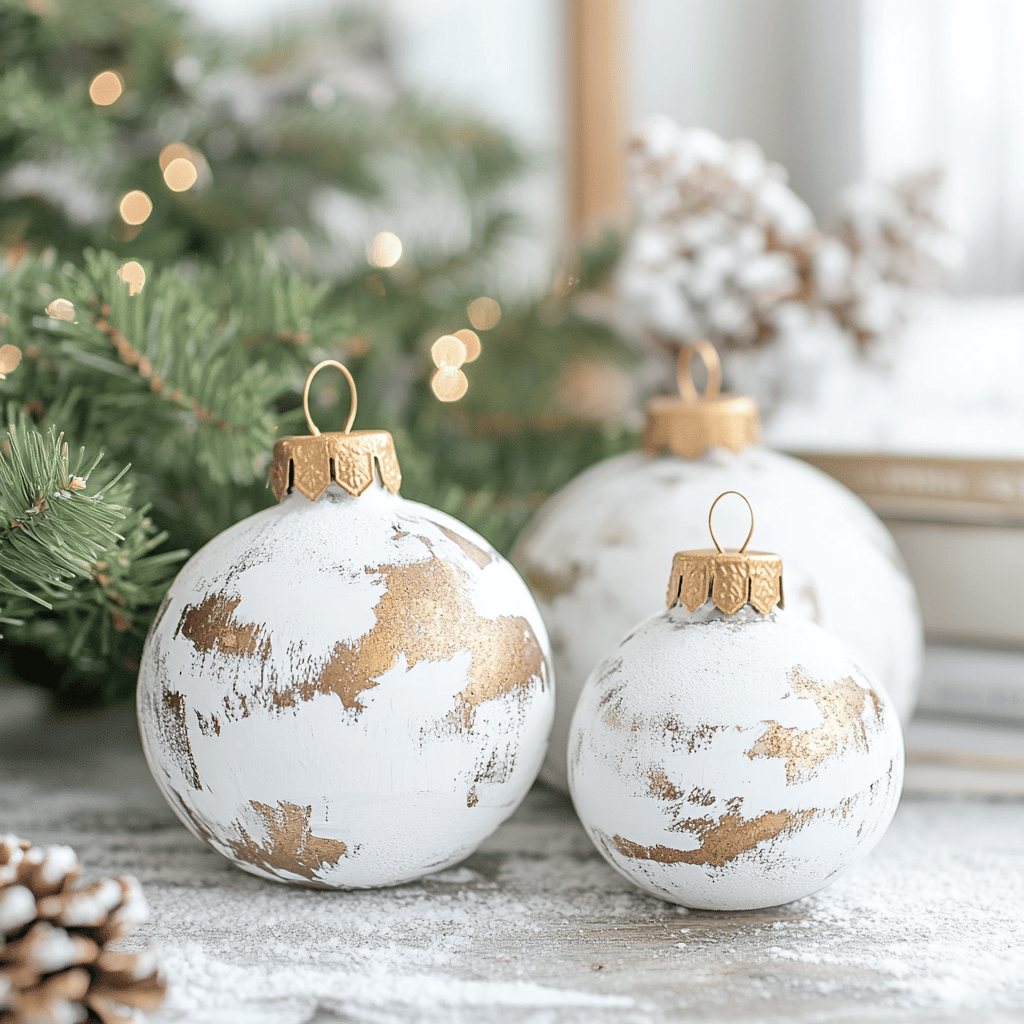
Technique 6: The Paint Distressing Method
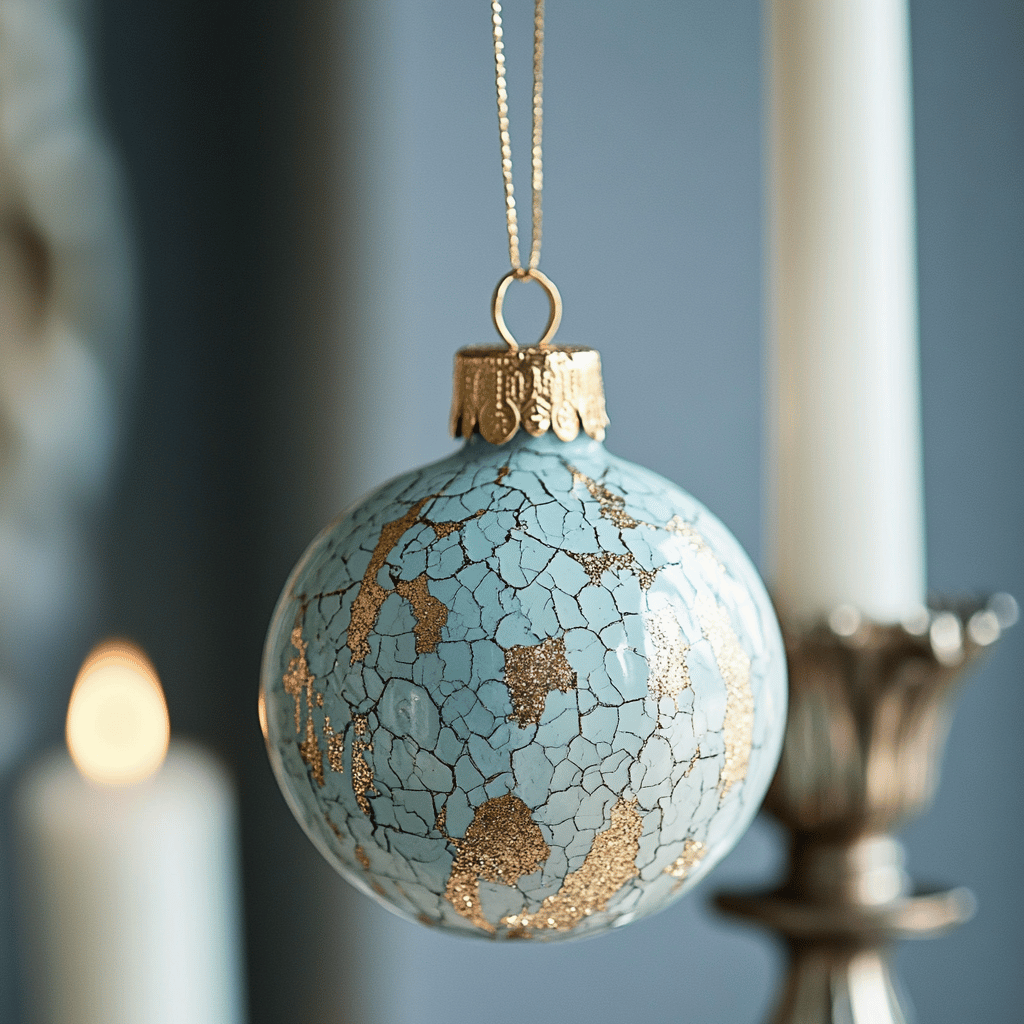
If you’re working with colored ornaments, or want to completely change the color of your pieces, paint distressing is the way to go:
- Apply a base coat of paint in your chosen color. Matte finishes work best for a vintage look.
- Once dry, apply a second coat in a contrasting color.
- Before the second coat is fully dry, use a damp cloth to gently rub away some of the top layer, revealing the base coat underneath.
- Focus on edges and raised areas where natural wear would occur.
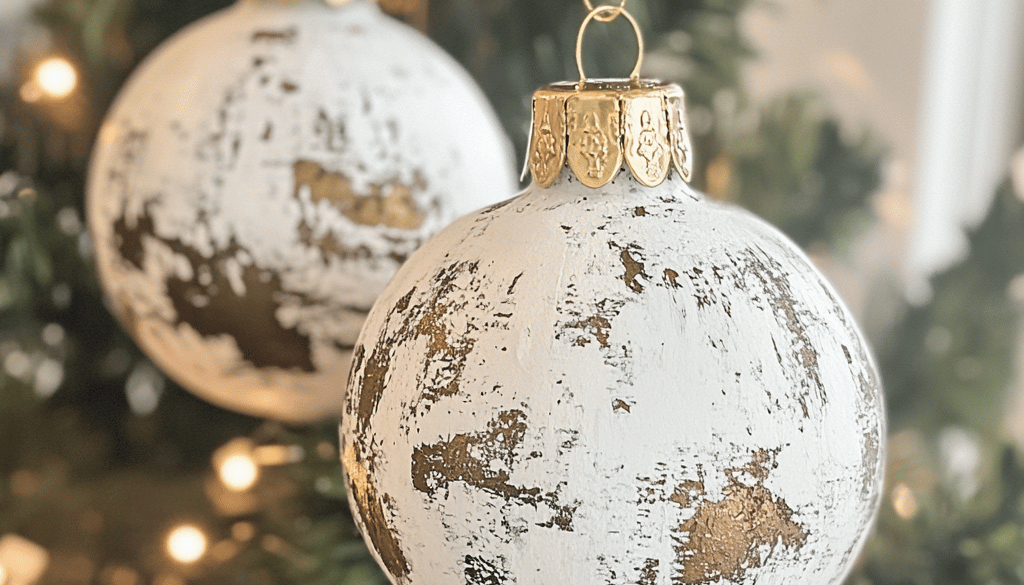
This technique allows you to create ornaments that look like they’ve been repainted over the years, with the original color peeking through in places.

Combining Techniques for Authenticity
Now, here’s where it gets really fun. To create truly authentic-looking vintage ornaments, try combining these techniques. For example:
- Start with the vinegar and salt method to create a weathered base.
- Follow up with a light coffee stain for warmth.
- Add some strategic scuffs with sandpaper.
- Finish with a light dusting of the baking soda frost.
The key is to build up layers of age and wear gradually. Real vintage ornaments have been through a lot over the years, and your faux vintage pieces should reflect that.
Sealing Your Work
Once you’re happy with the aged look of your ornaments, it’s important to seal them. This will protect your hard work and prevent any further unwanted aging. I recommend using a clear matte spray sealant. The matte finish is key here – it maintains that vintage look without adding shine.
Displaying Your Aged Ornaments
Now that you’ve created your beautiful vintage-inspired ornaments, it’s time to show them off! Here are a few ideas:
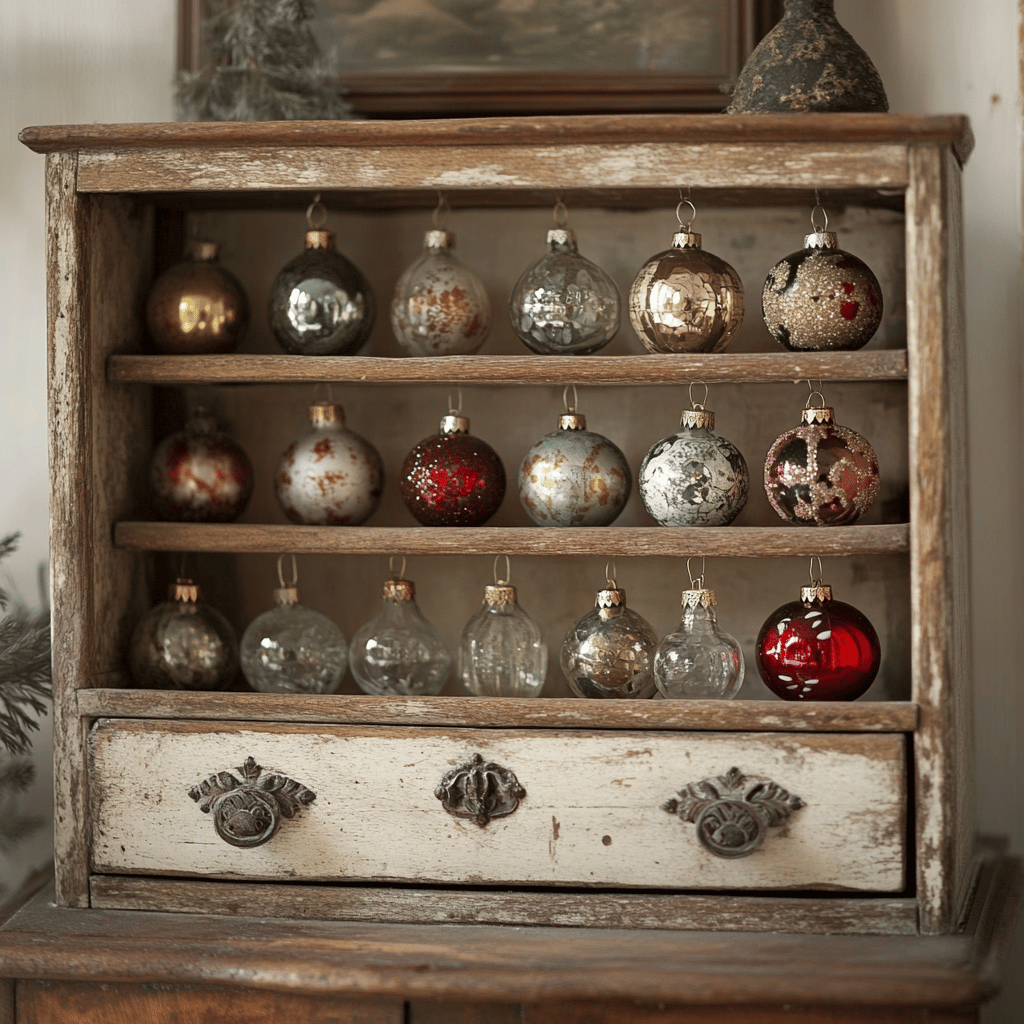
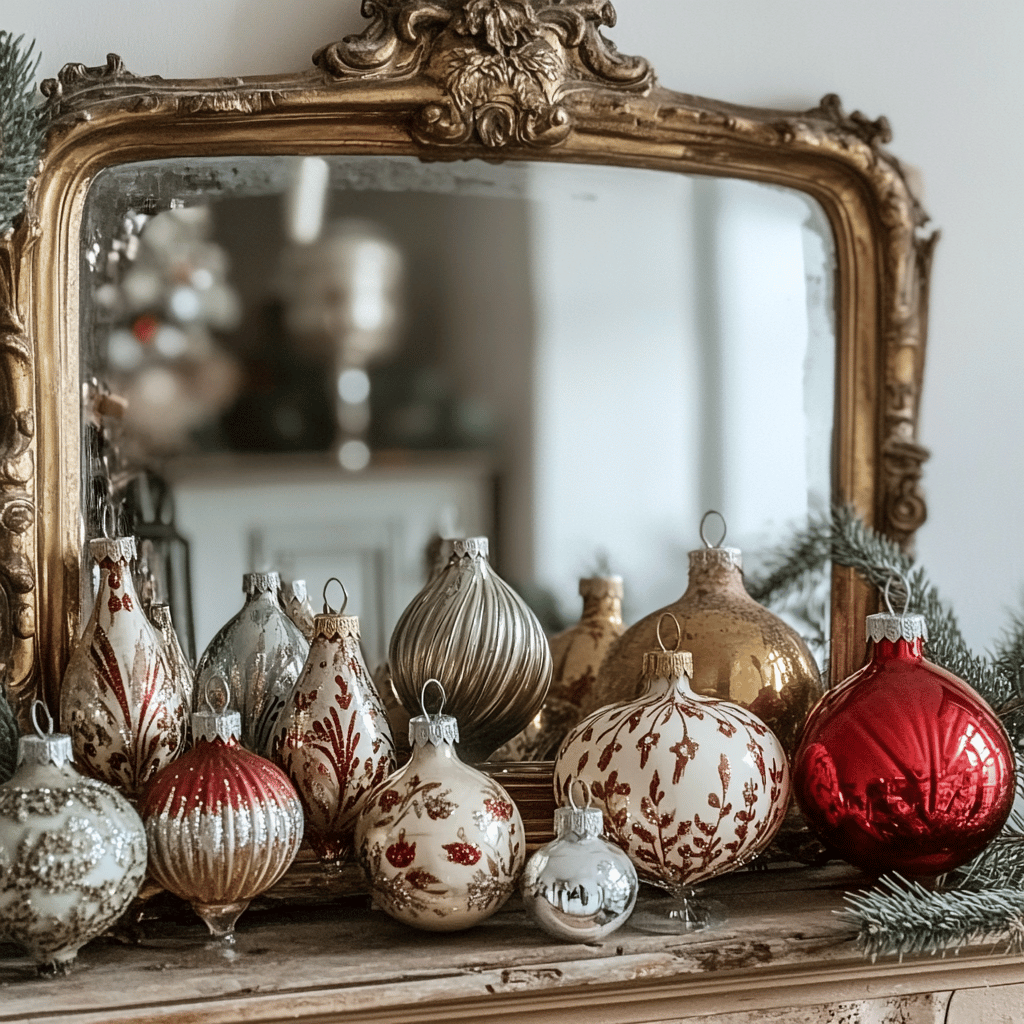
- Mix them with genuine vintage pieces for a cohesive look.
- Create a themed tree with all aged ornaments.
- Display them in a vintage bowl or on an antique tray.
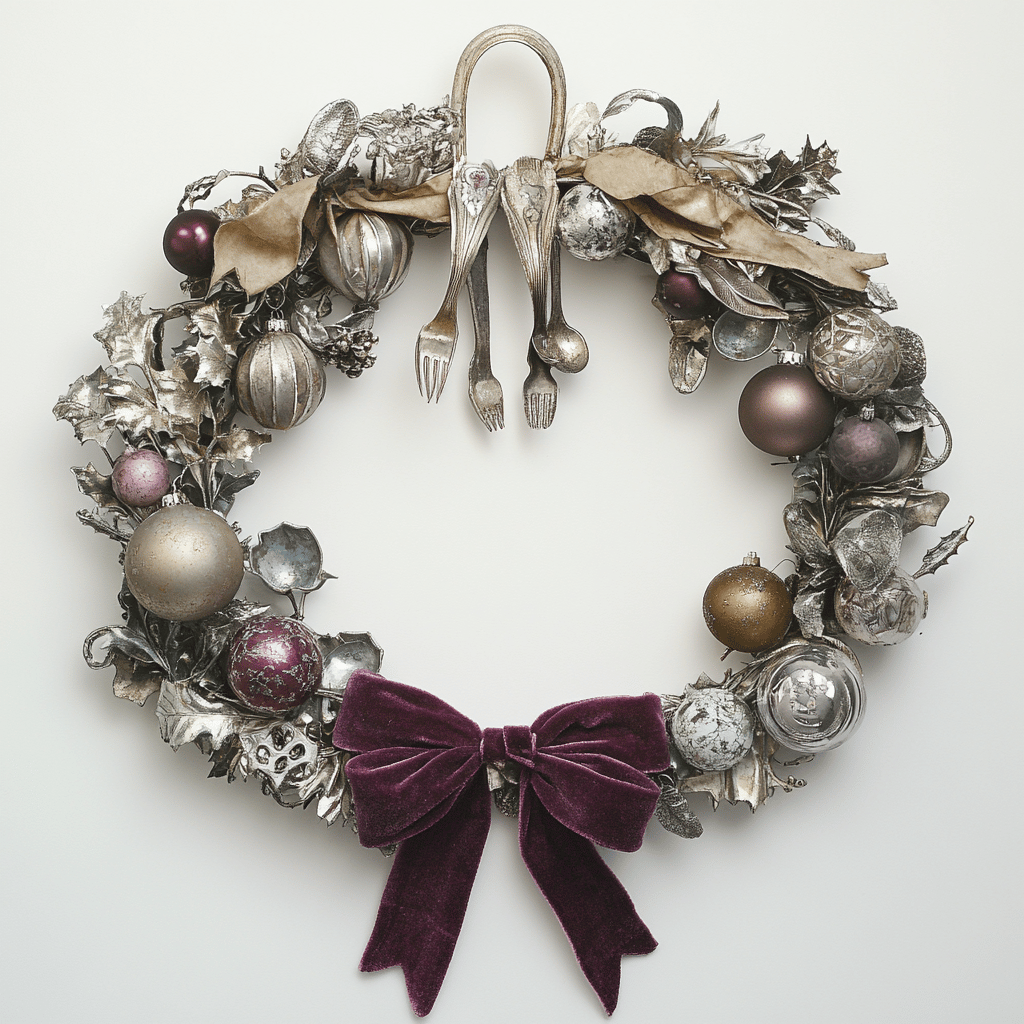
- Use them to decorate a wreath or garland.
Remember, the beauty of vintage-style decorations is in their imperfections. Don’t aim for uniformity – embrace the unique character of each piece.
Tips for a Natural Vintage Look
As you’re working on your ornaments, keep these tips in mind:
- Less is more. It’s easy to go overboard with aging techniques. Sometimes, a subtle approach is more convincing.
- Study real vintage ornaments. Pay attention to where they show wear, how their colors have changed, and what kind of imperfections they have.
- Think about the story. Imagine where your ornament might have been stored, how it might have been handled over the years. Let this guide your aging process.
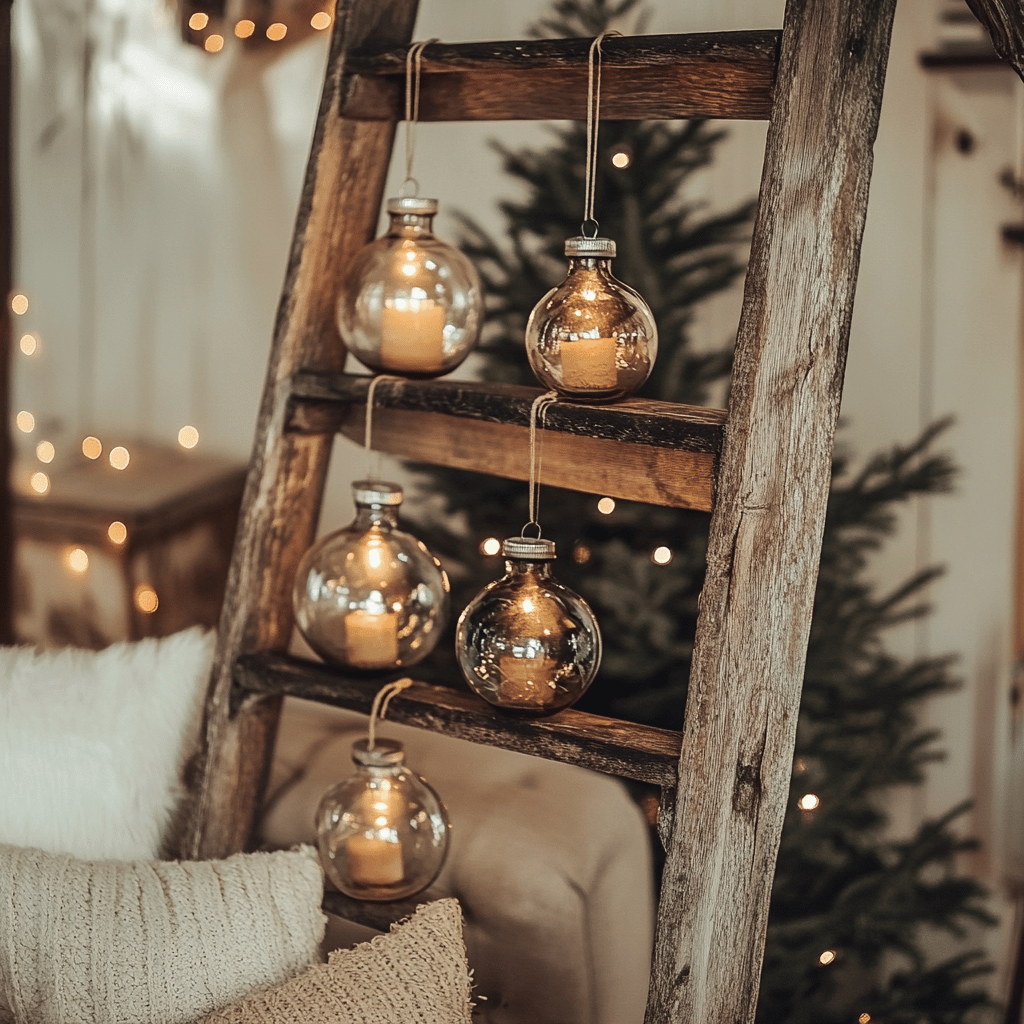
- Don’t forget the hangers! Old ornament hangers were often made of thin wire or string. Replacing modern plastic hangers with these can really enhance the vintage look.
A Note on Safety
While these techniques are generally safe, it’s important to take some precautions:
- Work in a well-ventilated area, especially when using paints or sealants.
- Wear gloves to protect your hands from stains and chemicals.
- If you’re working with glass ornaments, be careful of chips or cracks that might occur during the aging process.
- Keep your aging materials away from children and pets.
The Joy of DIY Vintage Ornaments
Creating your own vintage-style ornaments is more than just a craft project. It’s a way to connect with holiday traditions of the past, to slow down and appreciate the small details that make Christmas decorations special. In our fast-paced world of mass-produced everything, there’s something truly special about holding an ornament you’ve carefully aged yourself.
Plus, these make fantastic gifts! Imagine giving a set of “vintage” ornaments to a friend or family member, along with a made-up story about their history. It’s a gift that’s sure to be treasured for years to come.
Conclusion
Aging new ornaments to create a vintage look is a rewarding and enjoyable process. With a little patience and creativity, you can transform ordinary decorations into extraordinary pieces that look like they’ve been part of your family’s holiday traditions for generations.
Remember, there’s no right or wrong way to do this. Each ornament will turn out unique, and that’s part of the charm. So gather your supplies, put on some holiday music, and start creating your own “vintage” Christmas treasures. Who knows? Maybe in a few decades, these ornaments really will be vintage, with a special story of how they were made with love.
Happy crafting, and merry Christmas!
P.S. – If you love Christmas decorating as much as I do, check out these other articles I think you might like.
Nature-Inspired Green and Brown Christmas Decor Ideas



Christmas Glass Ornament Fillers: Creative DIY Guide
November 17, 2024 @ 3:24 pm
[…] How to Age New Ornaments for an Authentic Vintage Look […]
Ginger Nowakowski
November 17, 2025 @ 2:09 am
But How did you make the white distressed balls. Which technique. Did you start with white balls and then use sandpaper on them. Or did you paint gold balls over with white paint. I’m confused.
NikkiAnne
November 17, 2025 @ 1:44 pm
This one is very simple to achieve, you just use a combo of white paint, a small amount of brown paint or wax to add some aging to the white paint and some gold antiquing wax for the gold accents. I like go go for the antique gold colour but there are many different options for antiquing waxes. Thank you for your interest!