Best Way to Build and Decorate a Charming Christmas Village
There’s something magical about a miniature Christmas village. The twinkling lights, the snow-capped roofs, and the tiny figurines all come together to create a festive wonderland. I’ve been creating these enchanting displays for years, and I’m excited to share my tips and tricks with you. In this guide, I’ll walk you through the process of building and decorating your own charming Christmas village, step by step.
Below are some of my favorite products for styling a magical Christmas village.


Getting Started: Planning Your Village
Before you dive into building your Christmas village, it’s important to have a plan. This will help you create a cohesive and stunning display. Here are some things to consider:
- Choose a theme: Do you want a traditional Victorian village? A modern winter wonderland? A rustic mountain town? Deciding on a theme will guide your choices for buildings and accessories.
- Determine your space: Measure the area where you’ll set up your village. This will help you decide how many buildings and accessories you can include.
- Set a budget: Christmas villages can range from budget-friendly to quite expensive. Decide how much you’re willing to spend before you start shopping.
- Make a list: Jot down the essential elements you want in your village. This might include houses, shops, a church, trees, and figurines.
With these basics in mind, let’s move on to the fun part – building your village!
Selecting Your Buildings
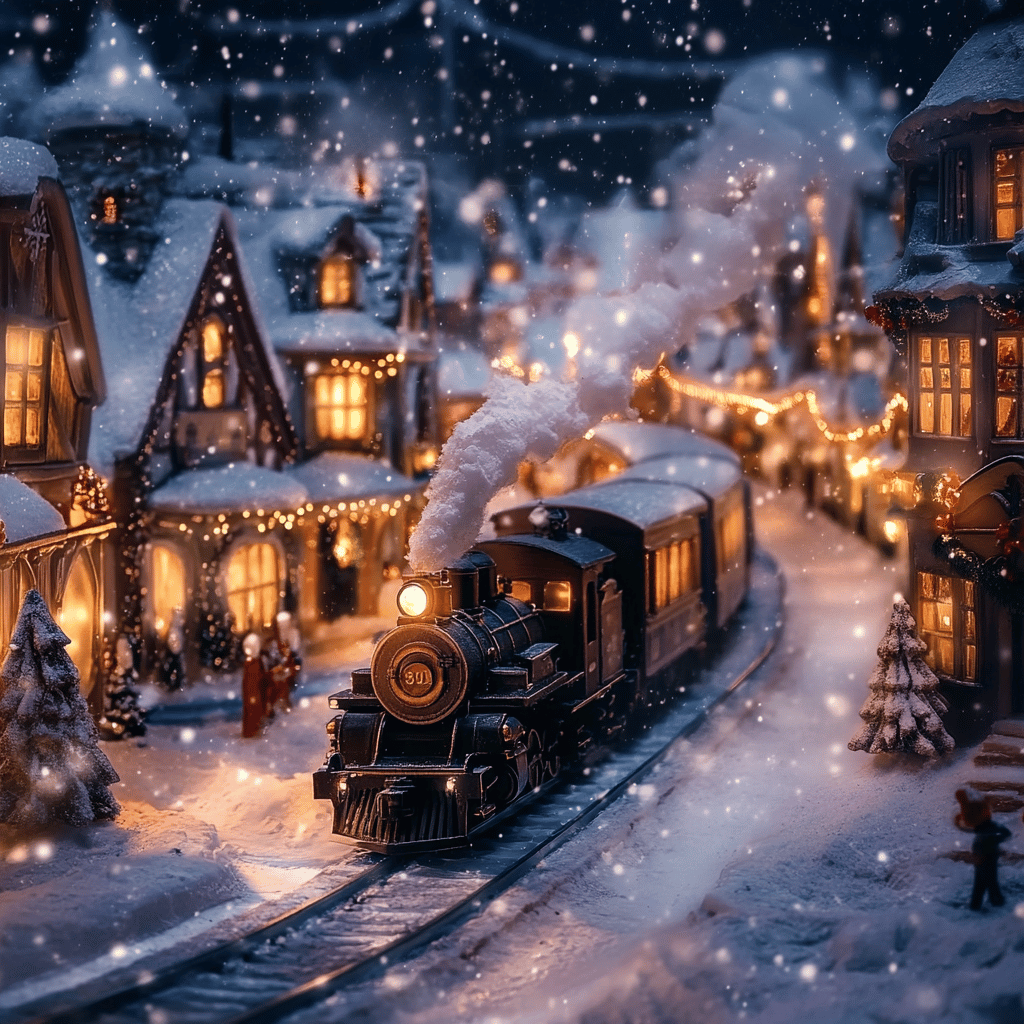
The buildings are the heart of your Christmas village. Here’s how to choose the perfect pieces:
- Start with a focal point: Every village needs a centerpiece. This could be a grand church, a town hall, or a beautifully lit Christmas tree in the town square.
- Mix and match: Include a variety of building types. A few houses, some shops, and maybe a school or post office will add interest to your village.
- Consider scale: Make sure all your buildings are roughly the same scale. Mixing vastly different sizes can make your village look disjointed.
- Look for lighting: Many Christmas village buildings come with built-in lighting. This adds a warm glow to your display and brings it to life.
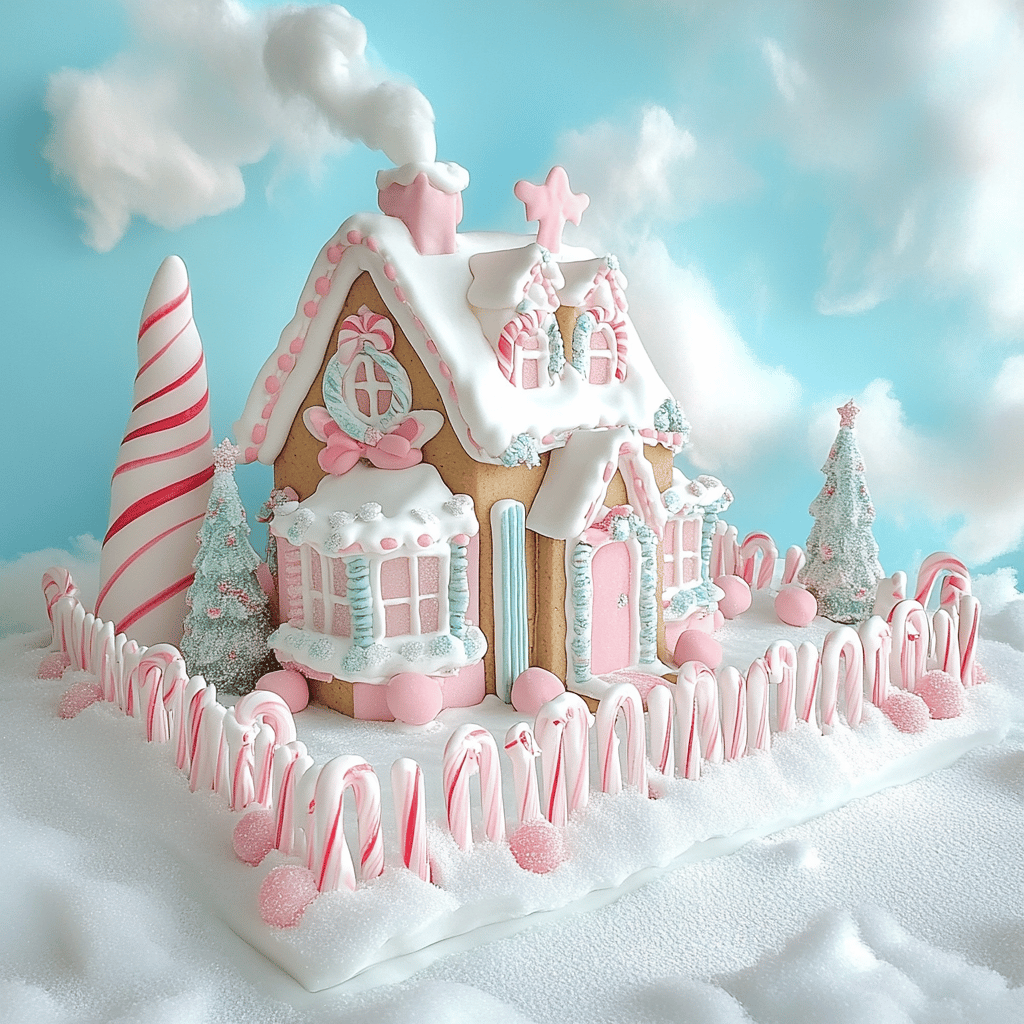
- Add some whimsy: Don’t be afraid to include fun, quirky buildings like a gingerbread house or Santa’s workshop.
Pro tip: If you’re on a budget, start with a few key pieces and add to your collection over time. You can often find great deals on Christmas village buildings after the holidays.
Creating the Perfect Base
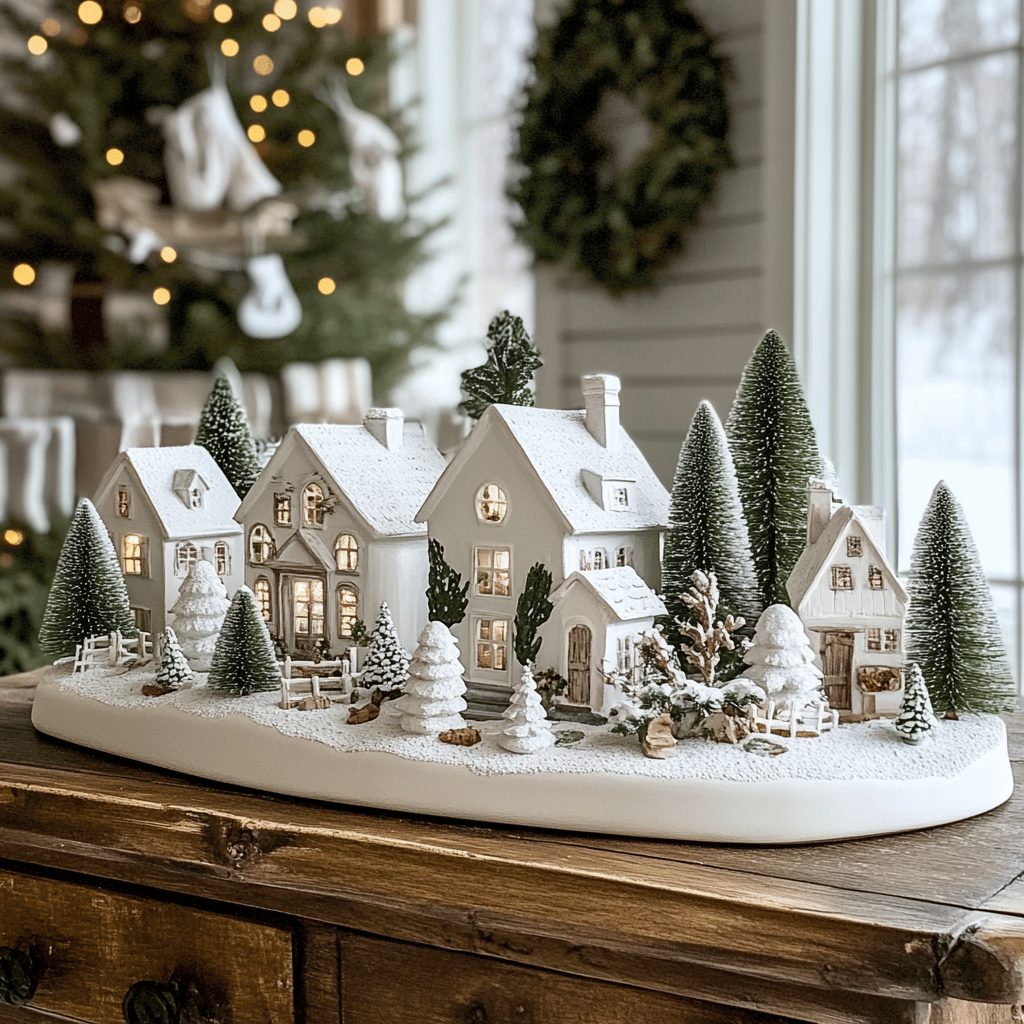
Now that you’ve chosen your buildings, it’s time to create a base for your village. This step is crucial for achieving a polished, professional look.
- Choose your material: I like to use foam board or plywood as a base. It’s sturdy enough to support your buildings and easy to work with.
- Add elevation: To create visual interest, consider adding hills or different levels to your village. You can do this by stacking foam board or using papier-mâché.
- Cover the base: Once you’ve created your landscape, cover it with white felt or batting to simulate snow. Make sure it’s secured well with glue or pins.
- Create paths: Use brown or gray felt to create roads and paths through your village. This will help define spaces and make your village look more realistic.
- Add water features: Blue cellophane or mirror pieces can be used to create ponds or rivers in your village.
Remember, the base is like the canvas for your Christmas village painting. Taking the time to create a good foundation will make your entire display more impressive.
Arranging Your Buildings
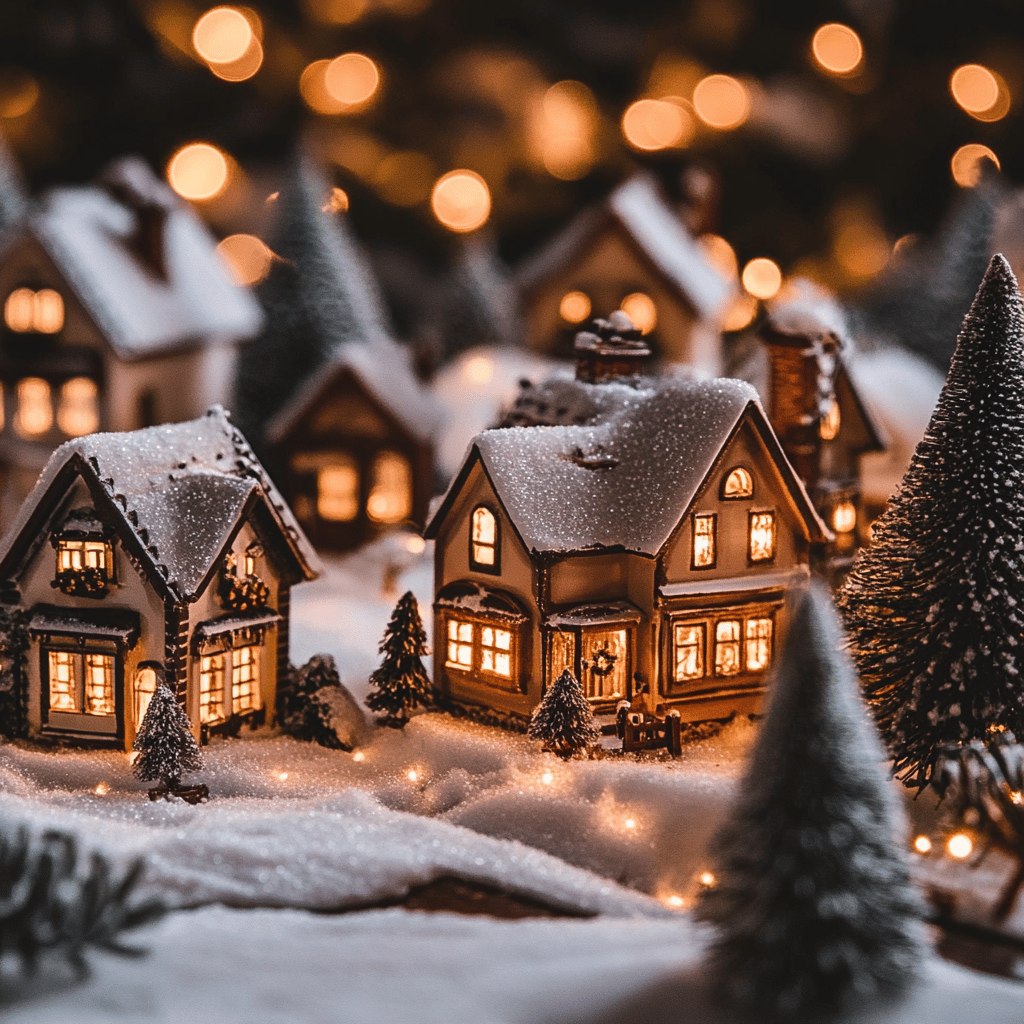
With your base prepared, it’s time to start arranging your buildings. This is where your village really starts to come to life!
- Start with your focal point: Place your main building or centerpiece first. This will help you organize the rest of the village around it.
- Create neighborhoods: Group similar buildings together. For example, put houses in one area and shops in another.
- Leave space between buildings: Don’t crowd your buildings too close together. Leave room for accessories and figurines.
- Consider sight lines: Make sure taller buildings don’t block the view of smaller ones. Arrange them so that each piece can be seen and appreciated.
- Hide cords: If your buildings are lit, try to hide the cords as much as possible. You can run them under the “snow” or behind buildings.
Don’t be afraid to rearrange things a few times until you’re happy with the layout. It’s all part of the creative process!

Adding the Magic: Accessories and Details
Now comes my favorite part – adding all the little details that bring your Christmas village to life. This is where you can really let your creativity shine!
- Trees and greenery: No village is complete without trees. Use a variety of sizes and types. Bottle brush trees work well for a vintage look, while more realistic miniature trees can create a forest feel.
- Figurines: People and animals add life to your village. Place them strategically – children building a snowman, carolers outside the church, shoppers carrying presents.
- Vehicles: Vintage cars, horse-drawn carriages, or even a train can add movement and interest to your scene.
- Street lamps: These add a cozy glow and help define paths and roads in your village.
- Snow and ice: Use artificial snow or white glitter to add sparkle and texture to your village. Clear icicles can be hung from building eaves for a wintry touch.
- Miniature accessories: Tiny wreaths on doors, park benches, street signs, and fences all contribute to the realism of your village.
- Water features: If you’ve created a pond or river, add some ducks or a bridge to enhance the scene.
Remember, less is often more. It’s easy to get carried away with accessories, but too many can make your village look cluttered. Add them gradually and step back often to assess the overall effect.

Lighting Your Village
Lighting is what truly brings a Christmas village to life. Here’s how to create a warm, inviting glow:
- Building lights: If your buildings have built-in lights, make sure they’re all working before you set them up.
- String lights: Tiny LED string lights can be woven through trees or along the base of your village for extra sparkle.
- Spotlight effect: Small, adjustable LED spotlights can be used to highlight specific areas or buildings in your village.
- Fiber optics: For a starry sky effect, consider adding a fiber optic background behind your village.
- Dimmer switch: If possible, connect your village lights to a dimmer switch. This allows you to adjust the brightness and create a cozy atmosphere.
Safety tip: Always check that your electrical connections are secure and not overloaded. It’s better to use multiple outlets than to risk overheating one.
Creating a Backdrop
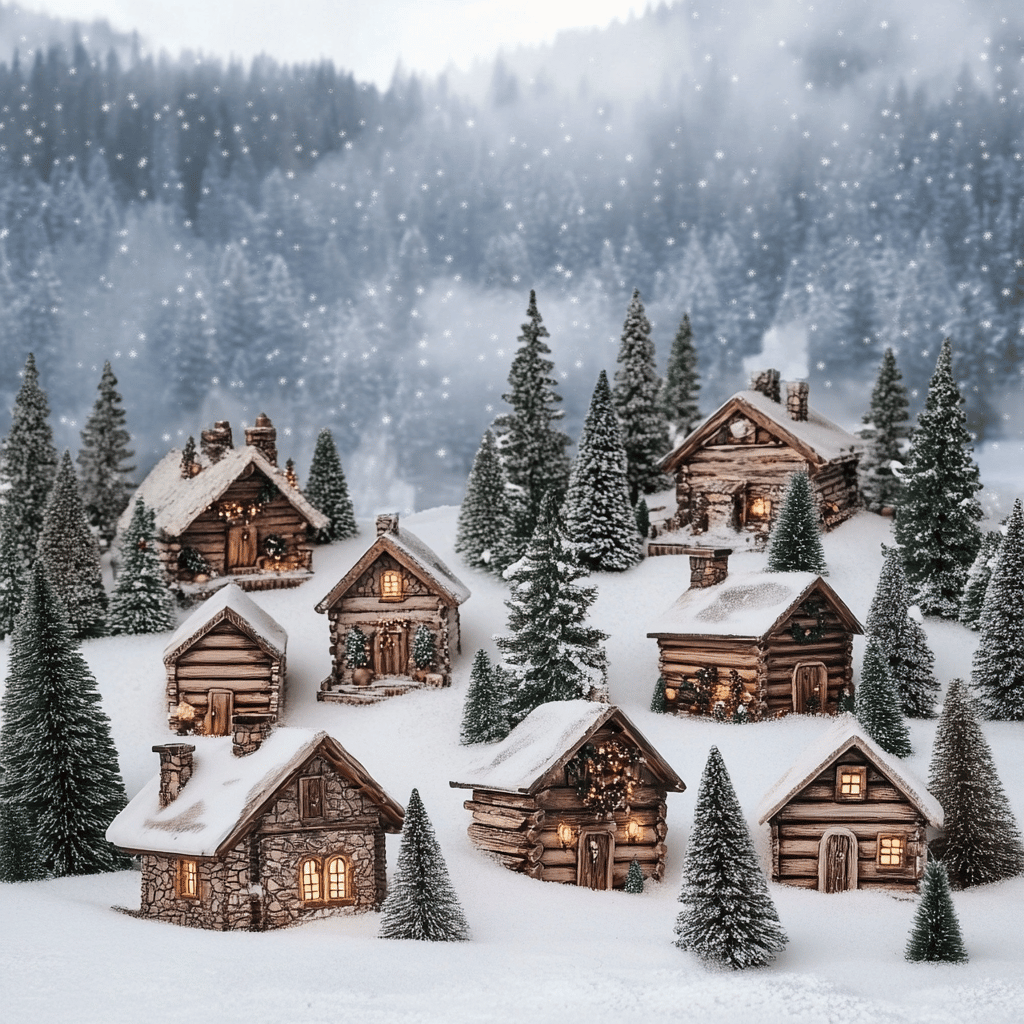
A backdrop can take your Christmas village from great to spectacular. It sets the scene and creates depth in your display. Here are some ideas:
- Paint a scene: If you’re artistic, paint a winter scene on a large piece of cardboard to place behind your village.
- Use a photo backdrop: You can find large printed backdrops of winter scenes online or in craft stores.
- Create a night sky: Paint a piece of black foam board with glow-in-the-dark paint to create stars, or use fiber optics for a twinkling effect.
- Add dimension: Cut out silhouettes of distant mountains or trees from black cardboard and place them behind your village for a layered effect.
- Use mirrors: Placing small mirrors behind your village can create the illusion of depth and reflect the twinkling lights.
Your backdrop doesn’t need to be elaborate – even a simple blue or black background can make your village pop.

Maintaining Your Christmas Village
Once your village is set up, you’ll want to keep it looking its best throughout the holiday season:
- Dust regularly: Use a soft brush or compressed air to gently remove dust from your buildings and accessories.
- Check the lights: Replace any burnt-out bulbs promptly to keep your village glowing.
- Touch up the snow: If your artificial snow starts to look flat, fluff it up or add a little more.
- Rotate pieces: If you have more buildings than you can display at once, consider rotating them every week to keep your display fresh.
- Careful storage: When the season is over, store your village pieces carefully in their original boxes or in padded storage containers.
Personalizing Your Village
While there are many beautiful pre-made Christmas village pieces available, adding some personal touches can make your display truly unique:
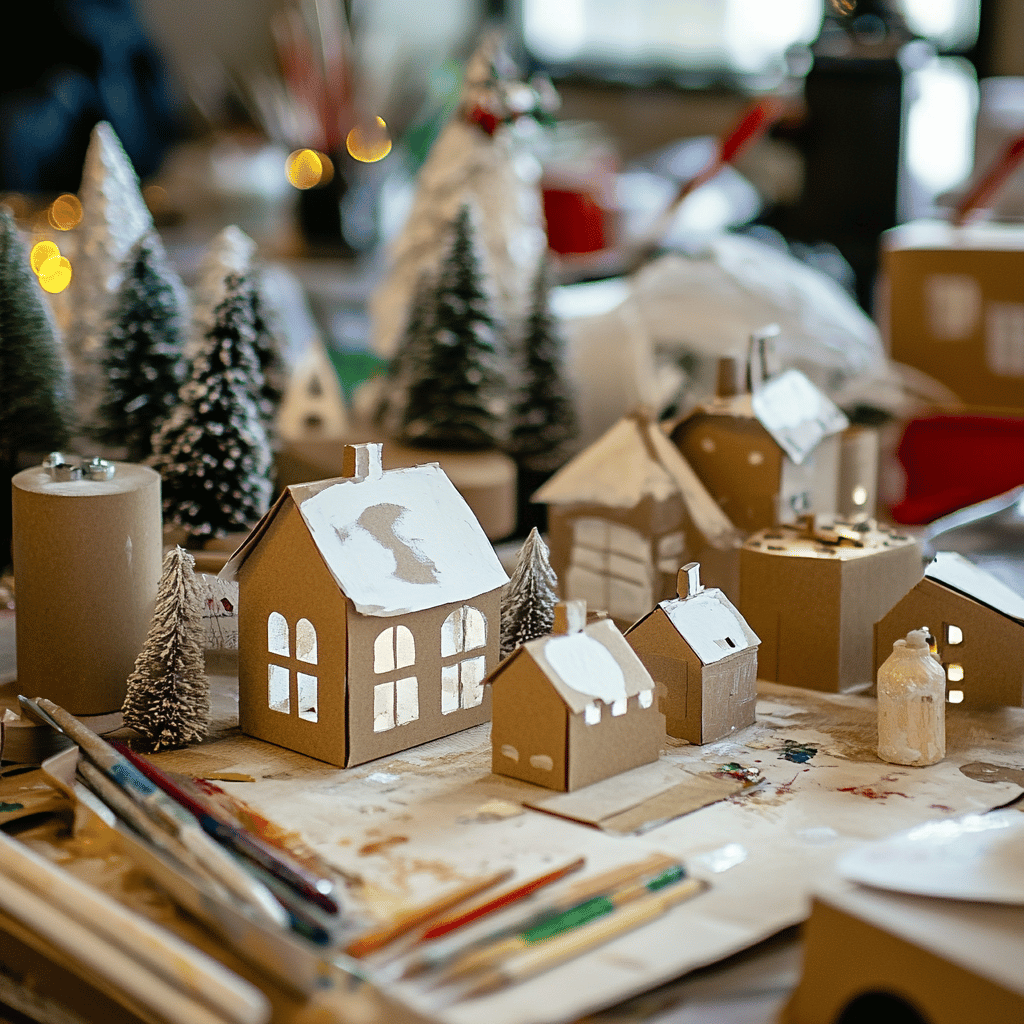
- DIY buildings: Try creating some of your own buildings using cardboard, paint, and a bit of creativity.
- Family photos: Print tiny versions of family photos and place them in the windows of your village houses.
- Local landmarks: If you’re crafty, try recreating miniature versions of landmarks from your own town to include in your village.
- Custom signs: Create tiny signs with family members’ names for shops or street names.
- Heirloom pieces: Incorporate small family heirlooms or keepsakes into your village scene for added sentimental value.
Remember, your Christmas village is a reflection of you. Don’t be afraid to break the “rules” and create something that truly speaks to your personal style and memories.
Conclusion: Your Own Winter Wonderland
Creating a Christmas village is more than just setting up decorations – it’s about crafting a miniature world full of wonder and holiday magic. It’s a chance to let your imagination run wild and create something truly special.
As you build your village, remember that there’s no right or wrong way to do it. Whether you prefer a traditional setup or something more whimsical, the most important thing is that it brings you joy.
Take your time, enjoy the process, and don’t be afraid to make changes as you go. Your Christmas village will likely evolve over the years, growing and changing just like your holiday traditions.
I hope this guide has inspired you to create your own charming Christmas village. It’s a wonderful way to get into the holiday spirit and create lasting memories. Happy decorating, and may your tiny village bring big holiday cheer to your home!
I love decorating my home for the holidays. If you love it as much as I do, check out these other articles you might like.
17 Elegant Minimalist Christmas Ornaments You Can Make
Minimalism: Your Guide to Scandinavian-Style Christmas Decor
How to Decorate Your Christmas Mantel: A Step-by-Step Guide




How to Create a Stunning Pink Christmas: Decor Ideas
October 29, 2024 @ 12:59 pm
[…] How to Build and Decorate a Charming Christmas Village […]
Minimalist Christmas: Black, White, and Metallics
October 30, 2024 @ 12:58 pm
[…] How to Build and Decorate a Charming Christmas Village […]
Nature-Inspired Green and Brown Christmas Decor Ideas
November 1, 2024 @ 12:57 pm
[…] How to Build and Decorate a Charming Christmas Village […]
Creating a Cozy Gray and Cream Christmas Color Scheme
November 2, 2024 @ 1:42 pm
[…] How to Build and Decorate a Charming Christmas Village […]
Rustic Christmas Table Decor for a Cozy Holiday Gathering
November 5, 2024 @ 1:52 pm
[…] How to Build and Decorate a Charming Christmas Village […]
How to Create a Festive Front Porch with Christmas Lights
November 7, 2024 @ 2:08 pm
[…] How to Build and Decorate a Charming Christmas Village […]