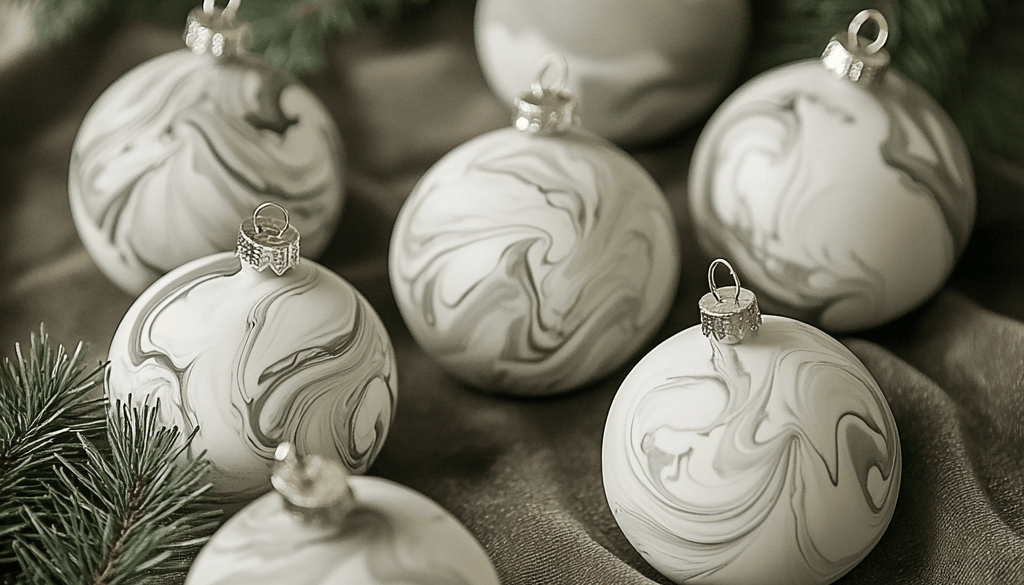
Best Way to Make Marble Effect Clay Baubles
Hey there! Some links on this page are affiliate links which means that, if you choose to make a purchase, I may earn a small commission at no cost to you. I greatly appreciate your support!
These ornaments look high-end but are surprisingly easy to make. The swirled pattern of these marble effect clay baubles is subtle yet sophisticated, perfect for a minimalist Christmas tree.
I love decorating for Christmas. Below are some of my favorite products for decorating.


Materials You’ll Need:
- White and gray polymer clay
- Rolling pin
- Round cookie cutter or glass
- Oven
- Thin ribbon or ornament hooks
- Optional: Gold leaf or metallic paint
Step-by-step Instructions:
- Prepare the clay: Soften both colors of clay by kneading them separately.
- Create the marble effect: Twist and fold the two colors together, but don’t overmix – you want to see distinct swirls.
- Roll out the clay: Using a rolling pin, roll the marbled clay to about 1/4 inch thickness.
- Cut out circles: Use a round cookie cutter or glass to cut out circular shapes.
- Create hanging holes: Use a toothpick to make a small hole near the top of each bauble.
- Bake the clay: Follow the clay package instructions for baking time and temperature.
- Optional – Add accents: Once cool, add touches of gold leaf or metallic paint if desired.
- Add hanging ribbon: Thread thin ribbon through the holes or attach ornament hooks.
Tips:
- Experiment with different color combinations for varied effects.
- Try making some solid white or gray baubles to mix with the marbled ones.
- These can also be shaped into other forms like stars or teardrops.
These marble-effect clay baubles complement our Clay Disc Ornaments beautifully. For another clay-based project, check out our Concrete Mini Trees tutorial.


17 Elegant Minimalist Christmas Ornaments You Can Make
October 27, 2024 @ 2:23 pm
[…] 15. Marble-Effect Clay Baubles […]