Best Statement Wall Design in a Bedroom: Paint Techniques
As an interior design enthusiast, I’ve always believed that a bedroom should be more than just a place to sleep. It should be your personal sanctuary, a space that reflects your personality and style. And let me tell you, there’s no better way to transform a boring bedroom than with a stunning statement wall. After years of experimenting with different paint techniques and helping friends revamp their spaces, I’m excited to share my insights on creating the perfect statement wall.



Why Choose a Statement Wall?
I remember the first time I created a statement wall in my own bedroom. The transformation was incredible! Not only did it instantly elevate the entire space, but it also gave me a creative outlet to express myself. Statement walls are perfect for those who want to make a big impact without committing to painting the entire room. Plus, they’re incredibly budget-friendly compared to other bedroom makeover options.
Choosing the Right Wall
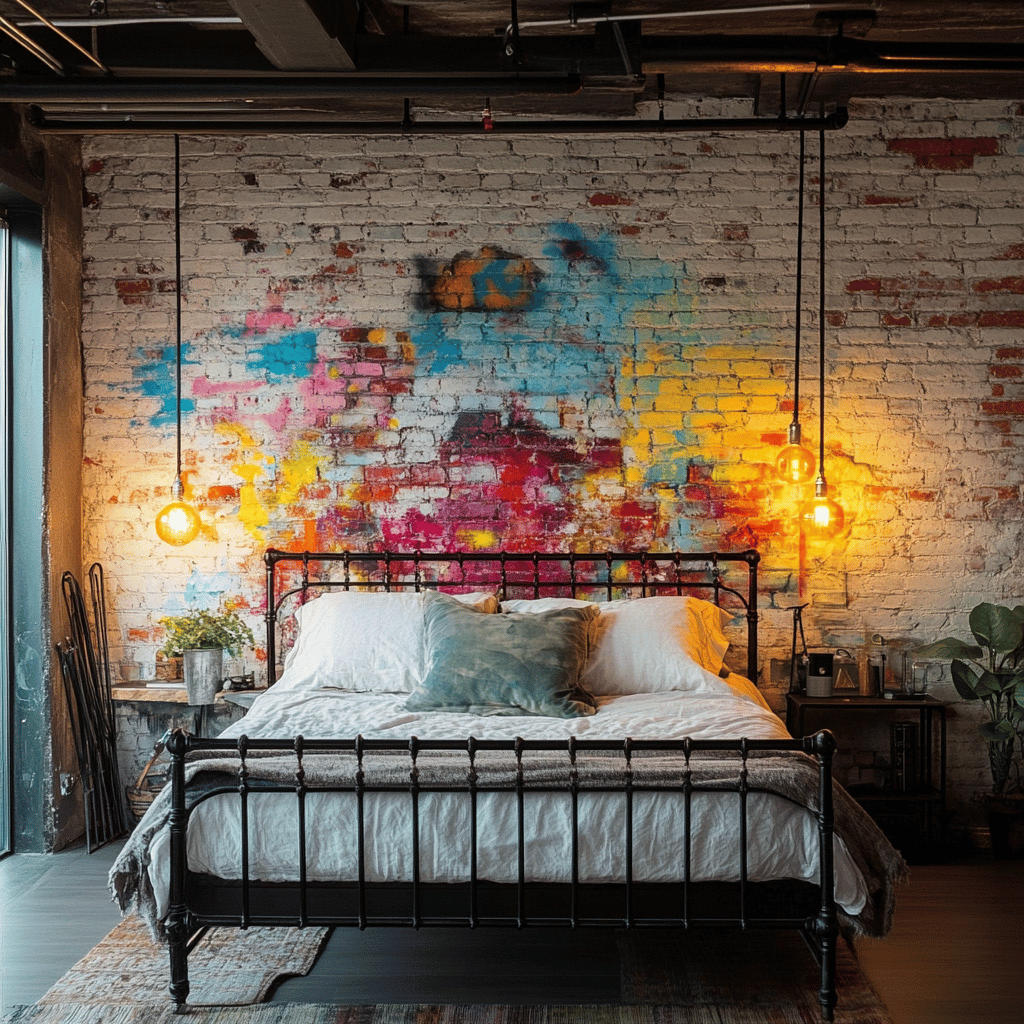
Before you grab those paint brushes, let’s talk about selecting the perfect wall for your statement piece. I always recommend choosing the wall behind your headboard as your canvas. It’s the first thing you see when entering the room and creates a natural focal point. However, if your bedroom layout is different, look for the largest uninterrupted wall space or the wall that draws your eye naturally when you walk in.
Essential Paint Techniques for Statement Walls
1. Color Blocking
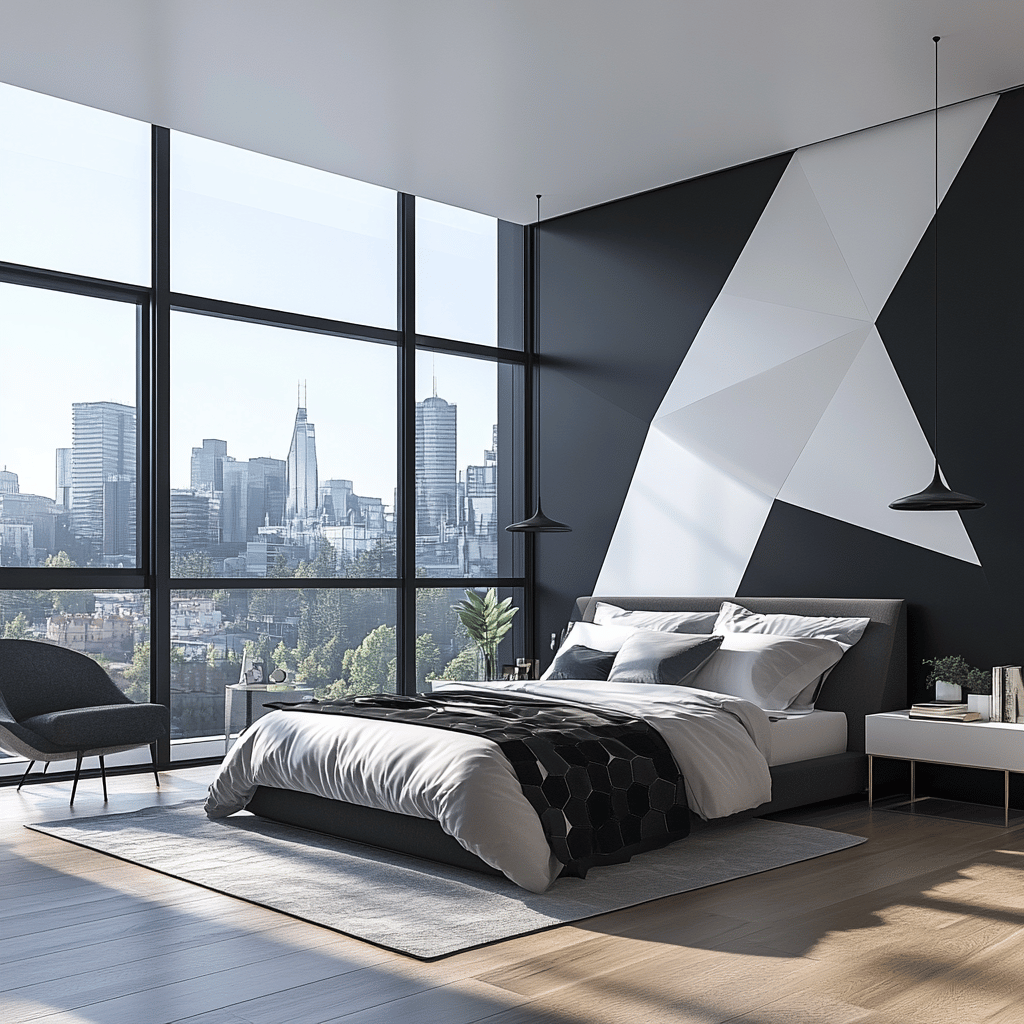
One of my favorite techniques is color blocking. I love how it combines bold geometric shapes with stunning color combinations. To create this look, you’ll need:
- Painter’s tape
- A level
- At least two contrasting paint colors
- Paint rollers and brushes
Start by planning your design on paper. I’ve found that simple shapes work best for beginners. Use a level and painter’s tape to mark out your shapes, and don’t forget to press down the tape edges firmly to prevent paint bleeding.
2. Ombré Effect
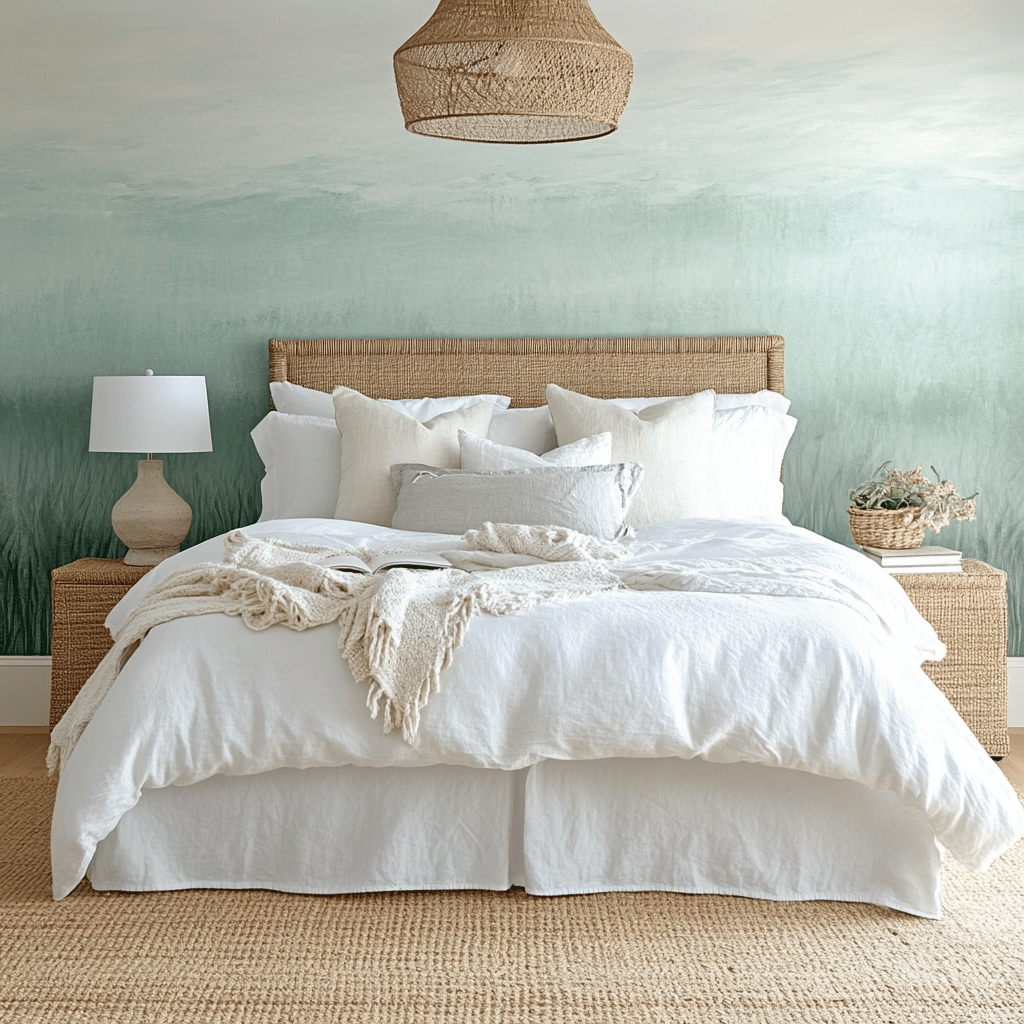
The ombré technique creates a beautiful gradual color transition that adds depth and sophistication to any bedroom. Here’s how I achieve the perfect ombré:
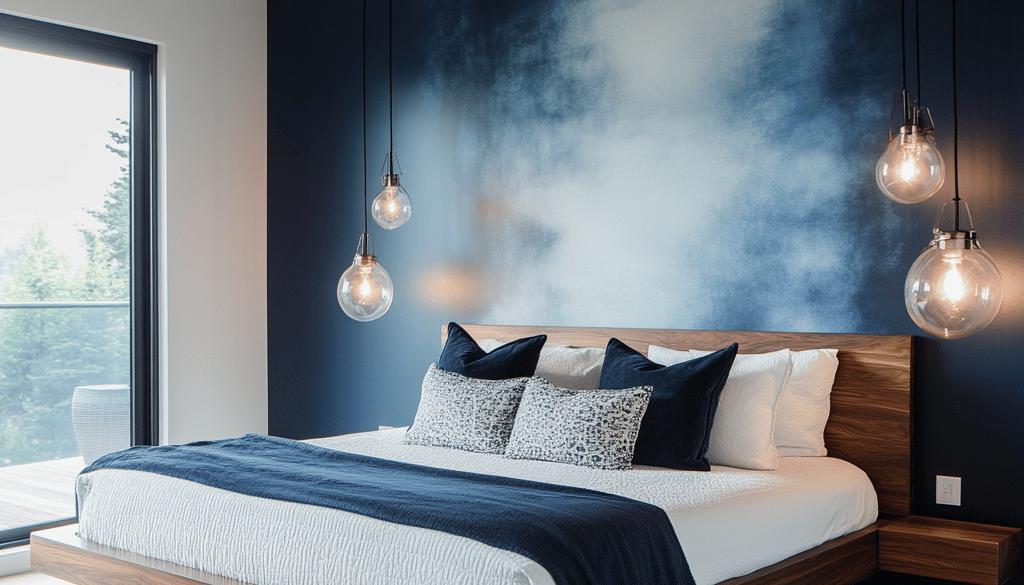
First, I select three to four shades of the same color, ranging from light to dark. The key is mixing the colors where they meet to create a seamless blend. I use a spray bottle with water to keep the paint workable longer and blend the colors while they’re still wet.
3. Textured Finish
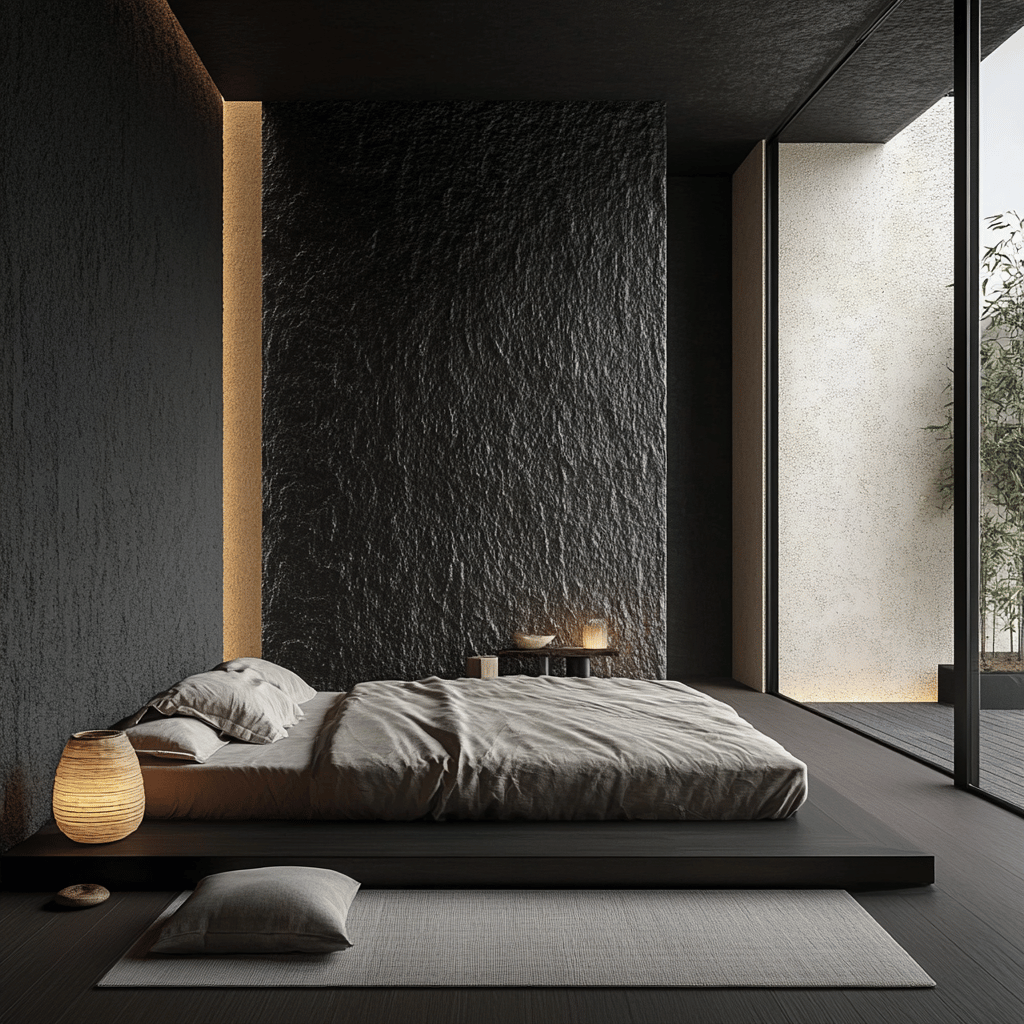
When I want to add depth and character to a wall, I turn to textured painting techniques. My go-to methods include:
Sponge Painting
This technique creates a soft, mottled effect that adds visual interest without being overwhelming. I use natural sea sponges for the best results and work in small sections to maintain control over the pattern.
Ragging
Using a cloth rag, I create unique patterns by dabbing or rolling the fabric over wet paint. The result is a sophisticated, almost fabric-like texture that works beautifully in traditional and modern spaces alike.
Color Selection Tips
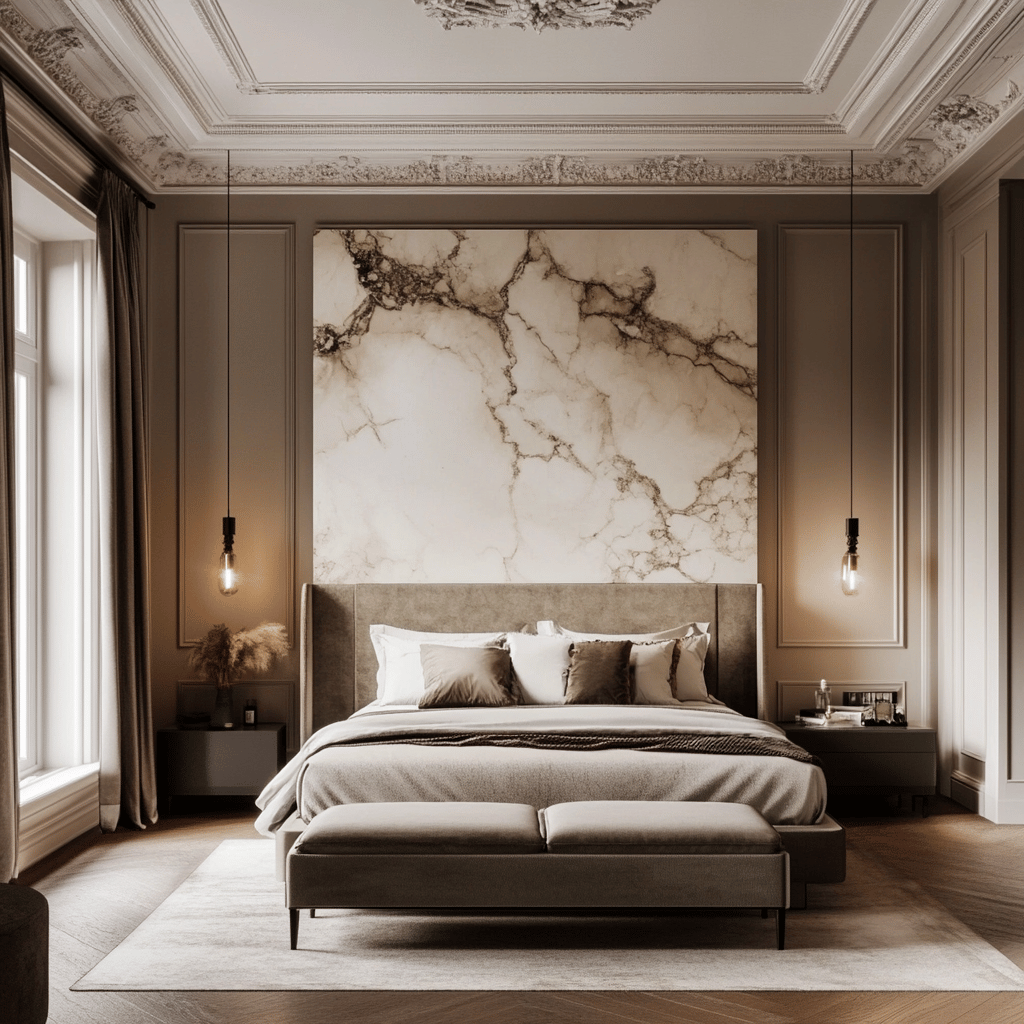
Choosing colors for your statement wall can feel overwhelming, but I’ve developed some foolproof strategies over the years:
- Consider the Room’s Purpose For bedrooms, I typically recommend colors that promote relaxation. Deep blues, soft greens, and warm neutrals work wonderfully. However, don’t be afraid to go bold if that matches your personality!
- Test Your Colors I always test paint colors on large poster boards first. This allows me to see how they look throughout the day as natural light changes. It’s amazing how different a color can look from morning to evening.

Preparation is Key
The success of your statement wall largely depends on proper preparation. Here’s my essential prep checklist:
- Clean the wall thoroughly
- Repair any holes or cracks
- Sand rough spots
- Prime the wall if needed
- Protect your floors and furniture
- Gather all necessary tools before starting
Advanced Techniques for the Adventurous
If you’re feeling confident, here are some more complex techniques I’ve mastered over time:
Geometric Patterns
Creating intricate geometric patterns requires patience and precision, but the results are stunning. I use a laser level to ensure perfectly straight lines and spend extra time securing my painter’s tape. The key is working in layers and allowing each section to dry completely before moving on.
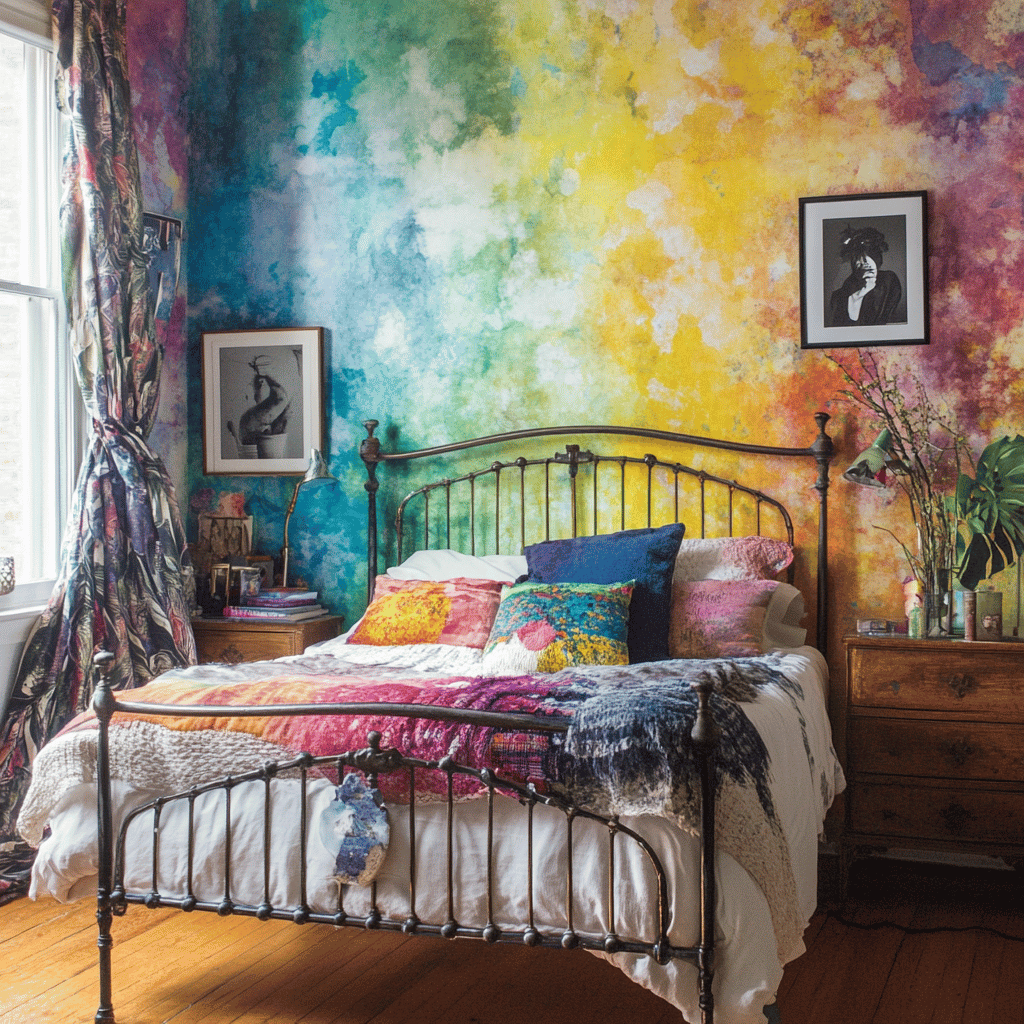
Watercolor Effect
This technique creates a dreamy, artistic look that’s perfect for a romantic bedroom. I achieve this by using watered-down paint in complementary colors and allowing them to blend naturally. The trick is finding the right balance of water to paint and working quickly while the colors are wet.

Common Mistakes to Avoid
Through trial and error, I’ve learned what not to do when creating a statement wall:
- Rushing the prep work
- Removing painter’s tape before the paint is completely dry
- Not having enough paint to complete the project
- Choosing colors solely based on trends rather than personal preference
- Skipping the sample testing phase
Making It Last
To ensure your statement wall stays beautiful for years to come, proper maintenance is essential. I recommend using high-quality, washable paint that can stand up to occasional cleaning. For textured walls, I use a soft brush attachment when dusting to preserve the finish.
Impact on Room Design
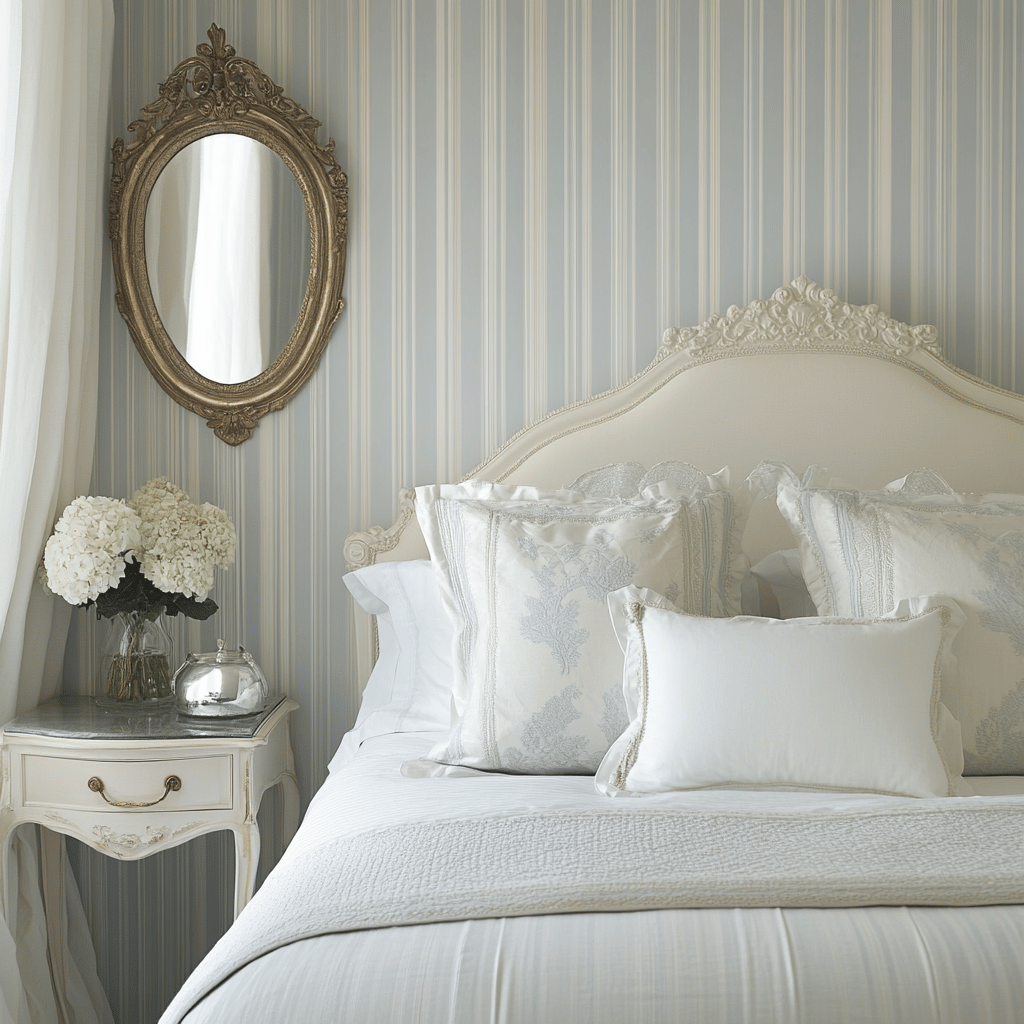
Your statement wall should complement your overall bedroom design. I always consider:
- Existing furniture placement
- Lighting fixtures
- Window treatments
- Bedding choices
- Decorative accessories
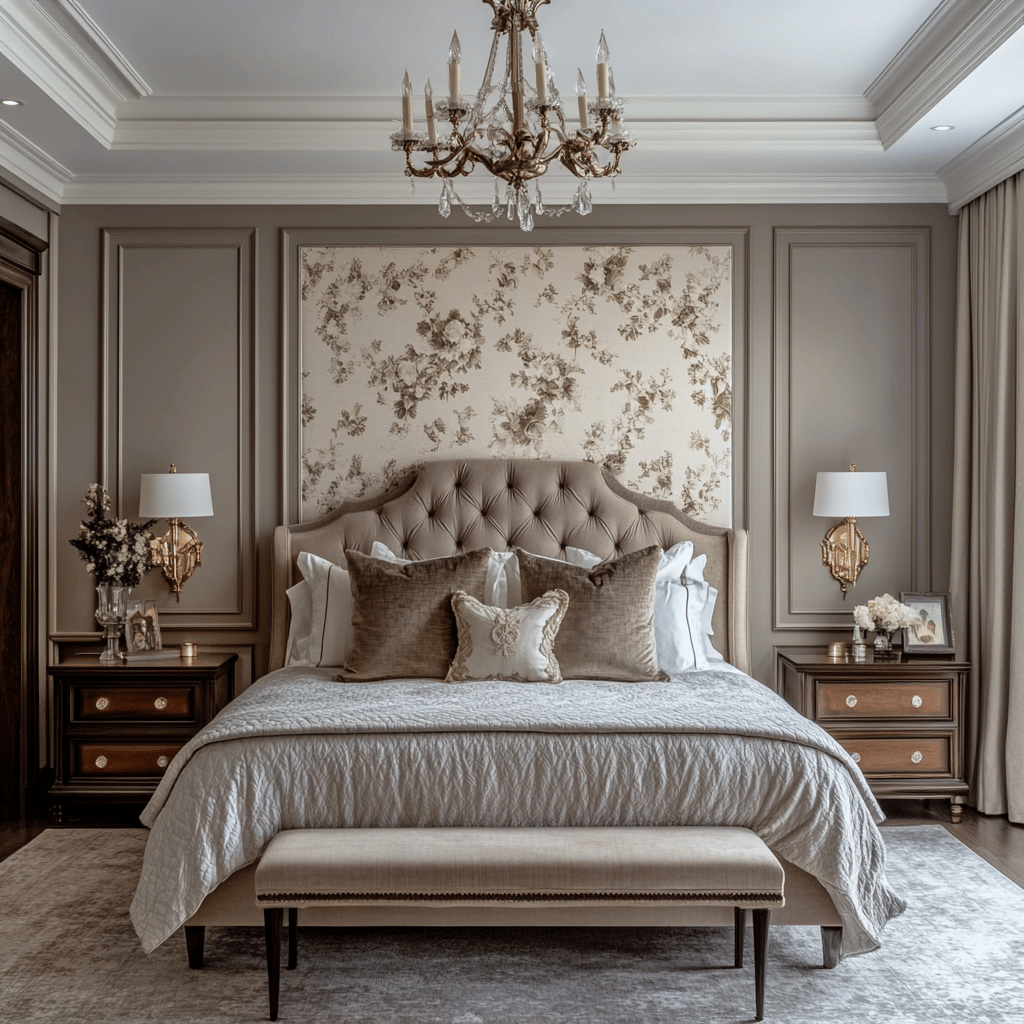
These elements should work together to create a cohesive look rather than competing for attention.
Final Thoughts
Creating a statement wall is more than just painting a wall differently – it’s about expressing yourself and transforming your space. Whether you choose a bold geometric pattern or a subtle textured finish, the key is to take your time and enjoy the creative process.
Remember, your bedroom is your personal retreat, and your statement wall should reflect that. Don’t be afraid to experiment and make it uniquely yours. I’ve found that some of the most beautiful results come from stepping outside my comfort zone and trying something new.
Practical Tips for Success
Before you begin your statement wall project, here are some final pieces of advice I’ve learned from experience:
- Set aside enough time to complete the project without rushing
- Work with proper ventilation
- Keep touch-up paint for future needs
- Take photos of your process to help with future projects
- Consider the season (humidity can affect drying time)
Creating a statement wall in your bedroom is a rewarding project that can dramatically transform your space. With these techniques and tips, you’re well-equipped to create something truly special. Remember, perfection isn’t the goal – personality and creativity are what make a statement wall truly remarkable.
Whether you’re a first-time painter or an experienced DIY enthusiast, I hope these insights help you create the statement wall of your dreams. Happy painting!
If you love home decor and interior design as much as I do, check out these other articles I think you might like.
Winter Living Room Refresh: From Christmas to Cozy

Post-Holiday Table Setting: A Fresh Start for Your Dining
January 26, 2025 @ 2:45 pm
[…] Statement Wall Design in a Bedroom: Paint Techniques […]
Transform Your Dining Room: A Complete Guide to Wall Decor
January 29, 2025 @ 12:36 pm
[…] Statement Wall Design in a Bedroom: Paint Techniques […]
Creating the Perfect Farmhouse Dining Room: A Complete Guide
January 30, 2025 @ 12:46 pm
[…] Statement Wall Design in a Bedroom: Paint Techniques […]
Creating the Perfect Bar Cart Display: A Complete Guide
January 31, 2025 @ 12:44 pm
[…] Statement Wall Design in a Bedroom: Paint Techniques […]