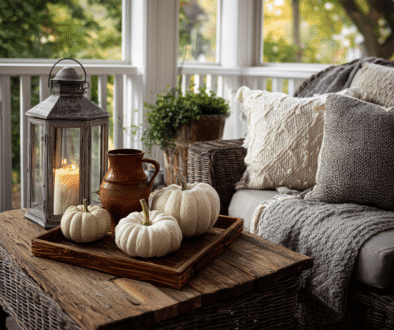
Best Ways to Preserve Fall Leaves for Year-Round Decorating
There’s something magical about fall leaves that makes me want to hold onto their beauty forever. Every autumn, I find myself collecting the most stunning specimens during my walks – those perfect maple leaves with their fiery reds, golden oak leaves, and delicate birch leaves that seem to glow in the sunlight. But here’s the thing: you don’t have to let that natural beauty fade away with the season.
I’ve spent years perfecting different methods to preserve fall leaves, and I’m excited to share everything I’ve learned with you. Whether you’re a seasoned crafter or just starting your decorating journey, these techniques will help you capture autumn’s glory and bring it into your home all year long.
If you are looking to add some awesome fall shirts into your wardrobe this year, click on the images below. Use code FALL15 for a 15% discount on top of our current fall price while supplies last. That is a total of 40% OFF!!!! We ship to the USA and Canada.
SHOP THE LOOK!

Why Preserve Fall Leaves?
Before we dive into the how-to, let me tell you why I’m so passionate about leaf preservation. Fresh fall leaves are gorgeous, but they’re also fleeting. Within days, they start to curl, brown, and crumble. By preserving them properly, you’re essentially freezing that perfect moment when the leaf was at its peak beauty.
Preserved leaves offer incredible versatility for home decorating. I use them in wreaths, garlands, table centerpieces, and even framed wall art. They add natural texture and warm colors to any space, creating that cozy autumn feeling even in the depths of winter or the brightness of spring.

The Best Leaves to Choose for Preservation
Not all leaves preserve equally well, and I’ve learned this through plenty of trial and error. Here are my top recommendations:
Maple leaves are absolute winners. Their thick texture and vibrant colors hold up beautifully through most preservation methods. I particularly love sugar maple and red maple varieties.
Oak leaves preserve exceptionally well due to their sturdy structure. The lobed edges create interesting silhouettes, and they maintain their shape beautifully.
Birch leaves offer delicate beauty with their heart shape and golden color. They’re more fragile but create stunning effects in arrangements.
Ginkgo leaves are fantastic if you can find them. Their unique fan shape and bright yellow color make them showstoppers.
When collecting leaves, timing matters. I always gather them on a dry day, preferably in the morning after the dew has evaporated but before the afternoon heat. Choose leaves that are freshly fallen or still on the tree, avoiding any that show signs of damage, disease, or excessive browning.

Method 1: Pressing Leaves (The Classic Approach)
Pressing remains my go-to method for delicate leaves that I plan to use in crafts or framed displays. It’s simple, requires minimal materials, and produces beautiful flat specimens.
What you’ll need:
- Heavy books (phone books work perfectly)
- Parchment paper or wax paper
- Paper towels
- Weights (more books or bricks)
Step-by-step process: Start by cleaning your leaves gently with a soft brush to remove any dirt or debris. Pat them completely dry with paper towels – moisture is the enemy of good preservation.
Layer parchment paper inside your heavy book. Place leaves on the paper, ensuring they don’t overlap. The leaves should lie completely flat with no wrinkles or folds. Cover with another sheet of parchment paper.
Close the book and add additional weight on top. I usually stack 2-3 more heavy books or place a brick wrapped in cloth on top. The key is consistent, even pressure.
Store your pressing setup in a cool, dry place. Check after one week, replacing the parchment paper if it feels damp. Full pressing typically takes 2-4 weeks, depending on the leaf thickness and humidity levels.

Method 2: Glycerin Preservation (My Personal Favorite)
Glycerin preservation creates flexible, naturally-textured leaves that feel almost fresh to the touch. This method works particularly well for branches with multiple leaves still attached.
Materials needed:
- Liquid glycerin (available at craft stores or pharmacies)
- Water
- Deep container or vase
- Sharp knife or pruning shears
The process: Mix one part glycerin with two parts water in your container. For branches, cut the stems at an angle under running water, just like you would with fresh flowers. This ensures better absorption.
Place your leaves or branches in the glycerin solution, making sure the stems are fully submerged. The solution level should be about 2-3 inches deep for optimal absorption.
Store in a cool location away from direct sunlight. Check the solution level daily and add more mixture as needed. You’ll start seeing results after 3-5 days as the leaves become more pliable and develop a slightly glossy appearance.
The process is complete when leaves feel supple and have absorbed the glycerin throughout (usually 1-2 weeks). Remove from solution and gently pat dry. These leaves will stay flexible and beautiful for months.

Method 3: Wax Paper Ironing
This quick method is perfect when you need preserved leaves in a hurry, though the results aren’t as long-lasting as other techniques.
You’ll need:
- Wax paper
- Iron
- Towel
- Leaves
Instructions: Place leaves between two sheets of wax paper. Cover with a thin towel to protect your iron and ironing surface.
Set your iron to medium heat (no steam!). Gently press the iron over the towel for 10-15 seconds, then lift and move to another section. Don’t drag the iron, as this can move the leaves.
Let cool completely before peeling apart the wax paper. The wax coating will help preserve the leaves, though they’ll be somewhat stiff and may become brittle over time.

Method 4: Mod Podge Preservation
For leaves you plan to use in heavy-duty decorating projects, Mod Podge creates a protective coating that’s both durable and attractive.
Materials:
- Mod Podge (matte or glossy finish)
- Foam brush
- Leaves
- Parchment paper
Application process: Lay leaves on parchment paper. Using a foam brush, apply a thin, even coat of Mod Podge to the top surface. Allow to dry completely (about 30 minutes).
Carefully flip leaves and repeat on the back side. For extra durability, apply a second coat to both sides after the first is completely dry.
This method creates leaves that are waterproof and very durable, perfect for outdoor decorations or high-touch areas.

Method 5: Microwave Pressing (The Speed Method)
When I need preserved leaves quickly, the microwave method delivers results in minutes rather than weeks.
What you’ll need:
- Microwave-safe plate
- Paper towels
- Another microwave-safe plate for weight
Quick steps: Place 2-3 paper towels on a microwave-safe plate. Arrange leaves without overlapping. Cover with 2-3 more paper towels and place another plate on top for weight.
Microwave in 30-second intervals, checking between each interval. Most leaves are ready after 1-2 minutes total. Let cool before handling.
The results aren’t as refined as traditional pressing, but this method works wonderfully for craft projects or when you need leaves quickly.

Creative Ways to Use Your Preserved Leaves
Once you’ve mastered preservation techniques, the decorating possibilities are endless. Here are my favorite applications:
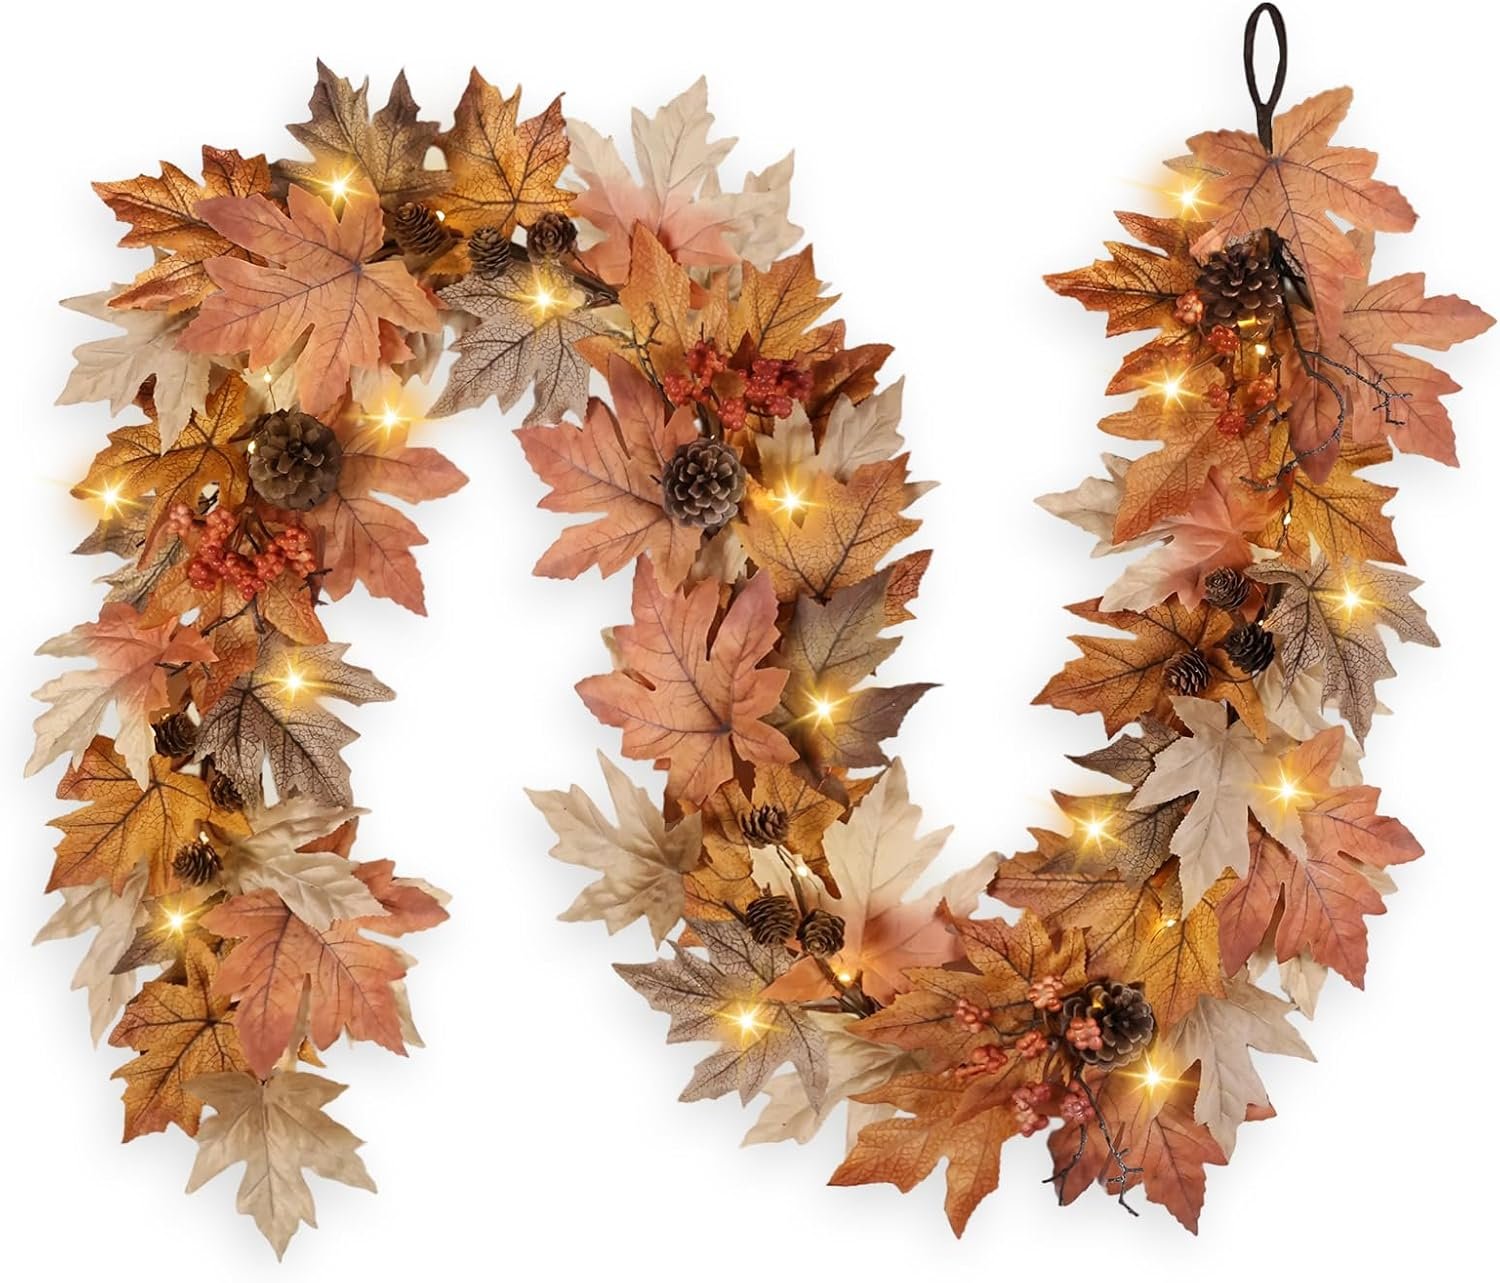
Fall garlands made from preserved leaves create stunning mantlepiece decorations. I string them together with thin fishing line or craft wire, mixing different leaf types for texture variety.
Table runners made from large preserved leaves (like maple or oak) bring natural elegance to dining spaces. I arrange them down the center of my table and add candles or small pumpkins for a complete autumn tablescape.
Wall art featuring pressed leaves in frames creates sophisticated natural decor. I particularly love creating botanical collections with multiple leaf varieties arranged in shadow boxes.
Wreath making becomes possible year-round with preserved leaves. I attach them to grapevine wreaths using floral wire, creating layers of color and texture.
Storage and Longevity Tips
Proper storage extends the life of your preserved leaves significantly. I keep pressed leaves between sheets of acid-free tissue paper in flat storage boxes. Glycerin-treated leaves store well in airtight containers with a small packet of silica gel to absorb excess moisture.
Avoid storing preserved leaves in areas with temperature fluctuations or high humidity. My craft room closet provides the perfect stable environment.
With proper preservation and storage, your autumn leaves can maintain their beauty for 6-12 months, with some methods lasting even longer.

Troubleshooting Common Issues
Even experienced leaf preservers encounter challenges. If your leaves are turning brown despite proper technique, try reducing processing time or checking for excess moisture during collection.
Brittle leaves often result from over-drying or too much heat during processing. Glycerin preservation helps maintain flexibility better than other methods.
Mold issues typically stem from insufficient drying before preservation or storage in too-humid conditions. Always ensure leaves are completely moisture-free before beginning any preservation process.
Seasonal Decorating Ideas
I love incorporating preserved leaves into decorating schemes throughout the year. Spring arrangements benefit from the warm tones of preserved autumn leaves mixed with fresh green foliage. Summer table settings gain sophistication with subtle leaf accents.
Winter holidays become extra cozy with preserved leaf garlands alongside evergreen decorations. The key is using them as accent pieces rather than dominant features outside of autumn.

Making It Personal
The beauty of leaf preservation lies in creating decorations that reflect your personal style and local environment. Every region offers unique leaf varieties, so your preserved collection will be distinctly yours.
I encourage you to experiment with different preservation methods to find what works best for your needs and aesthetic preferences. Some of my most beautiful pieces came from happy accidents during the learning process.
Remember, leaf preservation is both an art and a craft. Don’t be discouraged if your first attempts aren’t perfect – each season brings new opportunities to refine your techniques and discover new favorites.
Your preserved fall leaves will serve as beautiful reminders of autumn’s glory throughout the year, bringing warmth and natural beauty into your home no matter the season. Start collecting those perfect specimens this fall, and you’ll be amazed at the year-round decorating possibilities that await you.
If you love home decor and interior design as much as I do, check out these other articles I think you might like.
Best Fall Coastal Decor: Bringing Autumn Warmth to Your Beach Home

