DIY Bird Nests for Spring Decor : Bringing Nature Indoors
Spring has finally arrived at my doorstep, bringing with it the cheerful chirping of birds and the gentle rustling of new leaves. As I watch the birds busily building their nests outside my window, I can’t help but feel inspired to bring some of that natural magic indoors. There’s something so inherently beautiful about a bird’s nest – the careful weaving, the perfect circular shape, and the promise of new life. That’s why I’ve fallen in love with incorporating DIY bird nests into my spring decor.
Creating your own bird nests for decorative purposes isn’t just a wonderful way to celebrate the season; it’s also an incredibly satisfying craft project that connects us with nature’s ingenious designs. I’ve spent years perfecting various techniques for making these charming little accents, and today I’m thrilled to share my favorite methods, tips, and styling ideas with you.


Why Bird Nests Make Perfect Spring Decor
Before diving into the how-to, let’s talk about why bird nests make such wonderful decorative elements for spring. Birds are nature’s master architects, creating homes that are both functional and beautiful. Their nests symbolize home, nurturing, and new beginnings – themes that resonate deeply during springtime.
I find that adding nest elements to my home decor creates an instant connection to the renewal happening outside. These delicate structures bring texture, organic shapes, and a touch of whimsy to any space. Best of all, they’re versatile enough to complement virtually any decorating style, from farmhouse chic to elegant traditional to minimalist modern.

Essential Materials for DIY Bird Nests
The beauty of making your own bird nests lies in the simplicity of materials needed. Most items can be found right in your backyard, local park, or craft store. Here’s what I typically gather before starting:
Natural Materials:
- Twigs (thin, flexible ones work best)
- Spanish moss or dried grass
- Small dried vines
- Pine needles
- Raffia
- Dried flowers or herbs
- Feathers (collected, not plucked from birds)
Craft Store Materials:
- Grapevine wreath wire
- Natural jute or twine
- Floral wire
- Hot glue gun and glue sticks
- Scissors
- Natural-colored paper shreds
- Sisal
For those who prefer working with more structured materials, craft stores also offer pre-made grapevine nest forms that you can embellish. However, I find that starting from scratch yields the most authentic-looking results.

3 Beautiful Bird Nest Techniques Anyone Can Master
Over the years, I’ve developed three fail-proof methods for creating gorgeous decorative nests. Each has its own charm and difficulty level, so you can choose based on your crafting experience and available materials.
1. The Woven Twig Nest (Beginner Friendly)
This is the method I recommend for first-timers. It creates a rustic, natural-looking nest that’s surprisingly sturdy.
Step-by-Step Instructions:
- Soak your collected twigs in water for about 30 minutes to make them more pliable.
- While they’re soaking, create a simple circular form by bending a piece of floral wire into a ring about 4-5 inches in diameter.
- Begin weaving the flexible twigs around this form, tucking ends in as you go.
- Build up the sides by continuing to weave twigs in a circular pattern, occasionally weaving a twig vertically to connect the horizontal layers.
- Once you’ve reached your desired height (usually 2-3 inches), secure any loose ends with tiny dabs of hot glue.
- Line the inside with moss, dried grass, or natural paper shreds to create a soft interior.
What I love about this method is how forgiving it is. If your nest looks a bit messy or uneven, that’s perfectly fine – real birds’ nests aren’t perfectly symmetrical either!
2. The Wrapped Jute Nest (Intermediate)
This technique creates a more structured, cleaner-looking nest that works beautifully in more polished decor settings.
Step-by-Step Instructions:
- Form a base by coiling natural jute or twine into a spiral about 4 inches wide.
- Secure the spiral shape with hot glue as you go.
- Once your base reaches the desired width, begin building up the sides by wrapping the jute around the edge, gradually angling inward to create the nest shape.
- Apply small dots of hot glue every inch or so to maintain the shape.
- Continue building upward until the nest is about 2 inches high.
- For added texture, glue small bits of moss, tiny twigs, or feathers between layers of jute.
The finished product has a more uniform appearance than the twig nest but still maintains that natural, handcrafted charm that makes these decorations so special.
3. The Grapevine Masterpiece (Advanced)
This is my personal favorite method, though it requires a bit more patience and dexterity. The result is a professional-looking nest with amazing texture and dimensionality.
Step-by-Step Instructions:
- Unravel a section of grapevine wreath wire to get flexible strands.
- Shape 3-4 strands into a loose nest form, twisting them together at various points.
- Weave thinner vines, twigs, or raffia through this framework, building up the structure.
- Add Spanish moss by tucking it into the woven vines.
- Incorporate small dried flowers, seed pods, or feathers throughout.
- Finish by ensuring all sharp ends are tucked inside, adding final touches of moss to soften the interior.
What makes this technique special is the incredible texture and depth it creates. Each nest truly becomes a unique piece of natural art.

Decorative Eggs: The Perfect Finishing Touch
A nest without eggs seems somehow incomplete, doesn’t it? Here are several options for adding this finishing touch:
Natural Options:
- Quail eggs (emptied and cleaned)
- Small wooden eggs (available at craft stores)
- Clay eggs you can make and paint yourself
- Speckled faux eggs
I particularly love using a combination of blue (like robin’s eggs), speckled, and cream-colored eggs for visual interest. For an extra special touch, you can write inspiring spring words like “hope,” “renew,” or “bloom” on some eggs with a fine-tip permanent marker.

7 Creative Ways to Display Your DIY Bird Nests
Now that you’ve created these beautiful nests, where should you display them? Over the years, I’ve discovered these arrangements work particularly well:
1. Centerpiece Magic
Place a larger nest in the center of your dining table, filled with decorative eggs, moss, and perhaps a few spring blooms. Surround it with smaller nests, candles, and greenery for a show-stopping centerpiece that celebrates the season.
2. Mantel Display
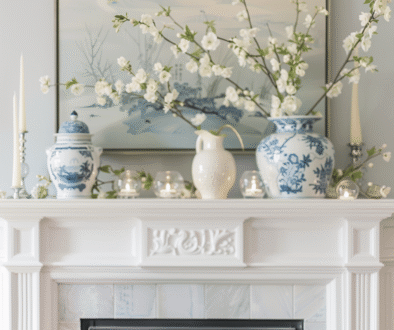
Arrange nests of varying sizes along your mantel, interspersed with bud vases containing single stems of spring flowers, white candles, and perhaps a few botanical prints. The textural contrast between the rough nests and smooth vases creates visual interest.
3. Wreath Enhancement
Attach small nests to a spring wreath made of greenery, flowers, or even grapevine. This creates a welcoming entrance that hints at the spring decor inside your home.
4. Bookshelf Styling
Place nests among your books, using them almost as sculptural elements. They add organic shape and texture to otherwise structured shelving.
5. Nest-Filled Cloche
Place a nest under a glass cloche or dome for an elegant display that draws attention to your handiwork. This arrangement works beautifully on entryway tables or as part of a coffee table vignette.
6. Branch Tree Display
Create a “nest tree” by placing several small nests among the branches of a decorative tree (either a small potted tree or arranged branches in a tall vase). This mimics how nests appear in nature and makes for a striking focal point.
7. Place Setting Accents
For spring gatherings, tiny nests make charming place card holders. Simply tuck a small name card among the eggs or place it underneath a small nest at each setting.

Seasonal Variations for Year-Round Charm
Although bird nests naturally evoke spring, I’ve found ways to adapt this decor element throughout the year:
Summer: Fill nests with small seashells, sea glass, or even tiny artificial succulents for a summer nature display.
Fall: Transform nests with tiny pine cones, cinnamon sticks, and acorns for an autumn feeling.
Winter: Create holiday magic by adding small ornaments, sprigs of evergreen, or even tiny battery-operated fairy lights to nests.
The versatility of these handcrafted treasures means you don’t have to pack them away after spring – they can evolve with your seasonal decorating throughout the year.

Preserving Your Handmade Nests
To ensure your beautiful creations last for many seasons, I recommend:
- Spray finished nests lightly with clear acrylic sealer to protect natural materials.
- Store unused nests in a box with tissue paper to maintain their shape.
- Keep them away from high-humidity areas when not in use.
- Refresh them each season with a light dusting and perhaps a few new decorative elements.
With proper care, these charming creations can bring joy to your home for years to come.

Bird Nest Projects for Kids
Creating bird nests isn’t just for adults – it’s a wonderful activity to share with children! The process teaches patience, fine motor skills, and appreciation for nature’s designs. For younger crafters, I recommend:
- Using a paper bowl as a base structure
- Providing pre-cut materials in manageable sizes
- Opting for school glue instead of hot glue
- Incorporating a conversation about real birds and their nesting habits
My nieces and nephews absolutely love making these simple nests, and their creations add a special personal touch to our spring decor.

Bringing It All Together: A Cohesive Spring Theme
For the most impactful decor, I find it helps to incorporate bird nests into a cohesive spring theme. Consider pairing your nest creations with:
- Fresh or faux spring blooms like tulips, daffodils, and cherry blossoms
- Botanical prints or bird illustrations
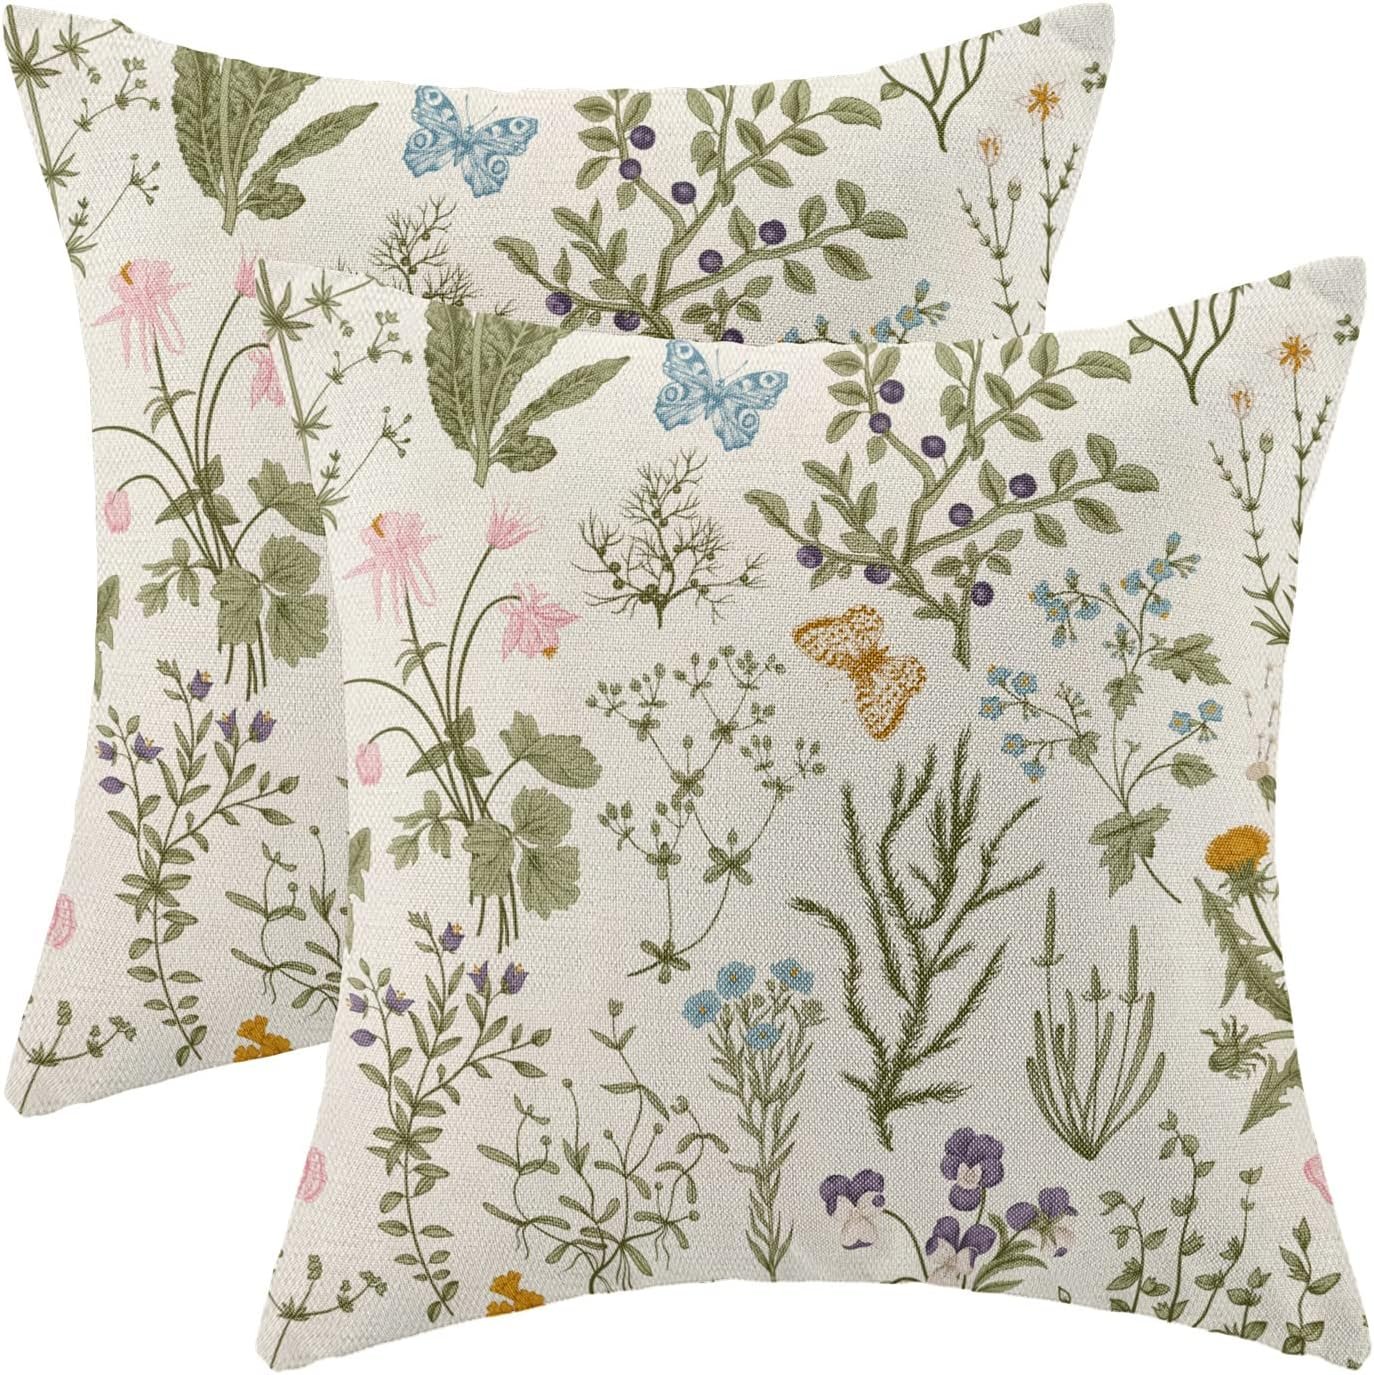
- Soft, natural textures like linen and cotton
- Fresh greenery or preserved boxwood
- Pastel accents that complement the natural colors of your nests
This creates a harmonious spring atmosphere throughout your home, with the nests serving as a unifying element that ties everything together.

Final Thoughts: Nature’s Inspiration
As I place the final nest on my coffee table, arranging three speckled eggs within its carefully woven structure, I’m struck by how something so simple can bring so much joy. These DIY bird nests connect us to the natural world and its timeless rhythms in a tangible way.
What I find most rewarding about creating these nests is the mindfulness the process requires. As you weave each twig and place each strand, you can’t help but appreciate the skill and determination of the tiny birds who build these structures without tools or glue. It’s a humbling and centering craft that results in truly beautiful decor.
So this spring, I encourage you to gather some twigs, find a quiet afternoon, and try your hand at creating your own bird nest masterpieces. Not only will you end up with charming decorative elements for your home, but you’ll also experience the deep satisfaction that comes from creating something both beautiful and meaningful.
Happy crafting, and happy spring!
If you love home decor and interior design as much as I do, check out these other articles I think you might like.
How to Use Wallpaper to Create Spring Accent Walls
Spring Mantlescape Ideas for Every Design Style
Using Books as Spring Decor Elements: Fresh Ideas for Spaces

Below is a video that when played on your TV can turn your TV into a piece of art. There are hundreds of different videos to choose from.


Spring vs. Summer Decor: A Seasonal Home Styling Guide
May 7, 2025 @ 1:00 pm
[…] DIY Bird Nests for Spring Decor : Bringing Nature Indoors […]
Breezy & Bright: Your Guide to Transitioning to Summer Décor
May 8, 2025 @ 12:36 pm
[…] DIY Bird Nests for Spring Decor : Bringing Nature Indoors […]