DIY Built-in Bookshelves: Weekend Project Guide
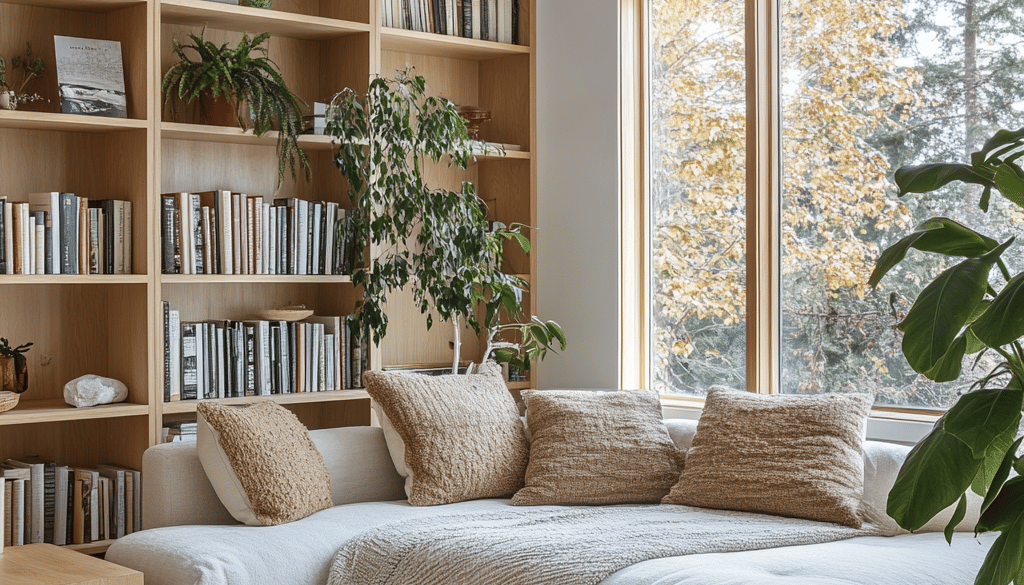
I still remember the moment I realized my growing book collection had completely overtaken my living room. Books were stacked on tables, crammed into cheap standalone shelves, and even piled on the floor. That’s when I decided to tackle a project I’d been dreaming about for years: building my own built-in bookshelves. If you’re in a similar situation, I’m here to tell you that creating custom built-ins is totally doable in a weekend – even for intermediate DIYers. Here’s my comprehensive guide to help you transform your space with beautiful, functional built-in bookshelves



Why Build Your Own Built-ins?
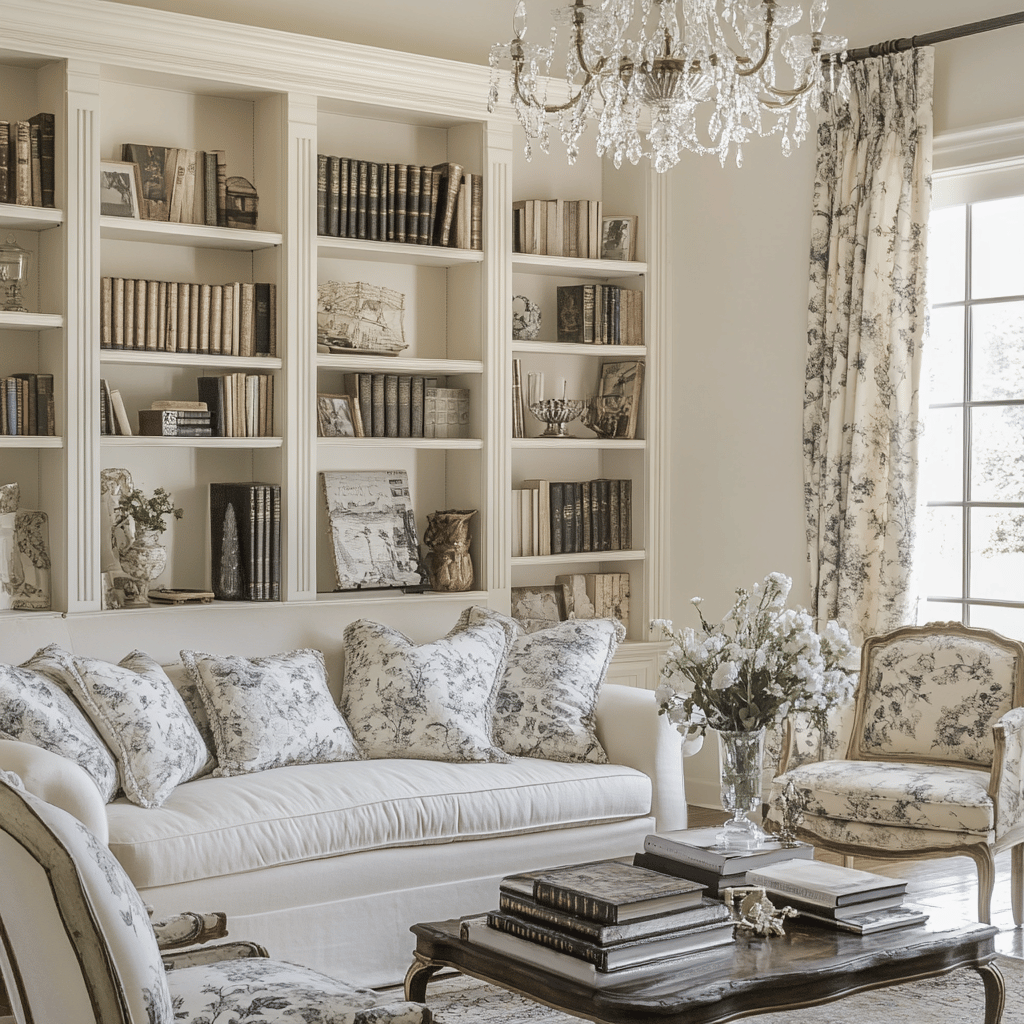
Before we dive into the how-to, let me share why custom built-ins are worth your time and effort. First, they maximize vertical storage space while taking up minimal floor space. My built-ins transformed an awkward alcove into a stunning focal point that holds over 500 books. Plus, they add significant value to your home – real estate agents often list built-ins as a premium feature. But perhaps the best part? Custom shelving costs about one-third of what you’d pay for professional installation. I spent roughly $600 on materials compared to the $3,500+ quotes I received from contractors.

What You’ll Need
Tools:
- Circular saw or table saw
- Drill and drill bits
- Level (I recommend both a 4-foot and 2-foot level)
- Stud finder
- Measuring tape
- Pencil
- Safety glasses and dust mask
- Screwdriver (both Phillips and flathead)
- Sander (orbital sander recommended)
- Wood clamps (at least 4)
- Paintbrush and roller
Materials:
- 3/4″ cabinet-grade plywood (amount depends on your space)
- 1×2 poplar boards for facing
- Crown molding (if desired)
- Base molding to match existing baseboards
- Wood screws (1-5/8″ and 2-1/2″)
- Wood glue
- Wood filler
- Primer
- Paint (I recommend semi-gloss for durability)
- Sandpaper (120 and 220 grit)
- Wall anchors (if needed)

Planning Your Built-ins
The key to success is careful planning. I spent an entire evening measuring and sketching before making a single cut. Here’s my process:
- Measure your space thoroughly. Remember to account for:
- Wall width and height
- Depth (standard bookshelf depth is 12″, but adjust based on your books)
- Any obstacles like outlets or vents
- Baseboard height if you’re working around existing trim
- Plan your shelf spacing. I found that 10-12″ between shelves works well for most books. But I also included a few 14″ spaces for oversized art books and some 8″ spaces for paperbacks.
- Decide on fixed vs. adjustable shelves. I went with a combination: fixed shelves every 32″ for stability, with adjustable shelves in between using shelf pins.

Step-by-Step Construction
Day 1: Morning – Prep and Framework
I started early on Saturday, coffee in hand, ready to transform my space. Here’s how the morning went:
- Remove existing baseboards in your project area. Use a putty knife and pry bar, working carefully to avoid wall damage.
- Find and mark wall studs. I marked their locations on the floor with painter’s tape for easy reference.
- Cut your vertical support pieces (the sides of your built-ins) from plywood. Make them about 1/4″ shorter than your ceiling height to allow for easy installation.
- Create a base frame using 2x4s, leveled and secured to the floor. This provides a sturdy foundation for your shelves.
Day 1: Afternoon – Assembly Begins
With the prep work done, it was time for the exciting part:
- Attach the vertical supports to your base frame and wall studs. Use your level constantly here – this step determines how straight your entire unit will be.
- Cut and install the fixed shelves. I started with the top shelf and worked down, checking for level with each installation.
- Add support cleats to the wall between the vertical supports where your adjustable shelves will rest.
- If you’re adding cabinet doors at the bottom like I did, frame out these areas now.
Day 2: Morning – Shelving and Detail Work
Time to transform your framework into actual bookshelves:
- Cut your adjustable shelves, making them 1/4″ narrower than the fixed shelves to allow easy removal.
- Install shelf pins for adjustable shelves. Use a template to ensure consistent spacing.
- Add the facing strips to all exposed plywood edges using wood glue and finish nails.
- Install crown molding at the top and base molding at the bottom to give your built-ins a polished, professional look.
Day 2: Afternoon – Finishing Touches
The final stretch! Here’s where your project really comes together:
- Fill all nail holes and seams with wood filler.
- Once dry, sand everything smooth. I started with 120-grit sandpaper and finished with 220-grit for an ultra-smooth surface.
- Clean thoroughly to remove all dust (trust me, dust is the enemy of a good paint job).
- Prime all surfaces. I used a shellac-based primer to prevent knots from bleeding through.
- Apply your first coat of paint. I used a foam roller for smooth surfaces and a high-quality brush for details.

Tips from My Experience
After completing this project (and helping three friends with similar builds), I’ve learned a few valuable lessons:
- Invest in a quality plywood. The extra cost is worth it for easier painting and better durability.
- Use a router to add a simple edge detail to visible shelf edges. It’s an easy way to make your built-ins look more professional.
- Paint in thin coats. Three thin coats look better than two thick ones.
- Consider lighting. I added simple puck lights under some shelves, and it dramatically enhances the overall look.
- If you’re working alone, set up sawhorses and platforms to hold boards while you work. Your back will thank you.
Common Challenges and Solutions
Every DIY project comes with its hurdles. Here are some I encountered and how I solved them:
Uneven Walls
My walls weren’t perfectly straight (whose are?). I solved this by scribing the vertical supports to match the wall contours. It takes extra time but creates a perfect fit.
Uneven Floors
I discovered my floor had a 3/4″ slope from one side to the other. The solution? I used shims under the base frame and vertical supports, then covered them with base molding.
Cutting Large Plywood Sheets
Working with full sheets of plywood in a small space can be tricky. I made a simple cutting guide from a straight piece of scrap wood and used my circular saw. This gave me straight, consistent cuts without needing a table saw.

The Final Touch
Once everything was painted and dried, I waited a full 24 hours before loading up my books. This wasn’t strictly necessary, but I didn’t want to risk any paint damage. The wait was worth it – seeing my books beautifully displayed on shelves I built myself was incredibly satisfying.
Time Investment
While this is technically a weekend project, I recommend setting aside a full weekend plus a Friday evening for planning and material prep. Here’s a realistic timeline:
Friday evening: 2-3 hours for planning and material preparation Saturday: 8-10 hours for main construction Sunday: 6-8 hours for finishing work Optional: 2-3 hours the following weekend for final paint coat and styling
Maintenance Tips
To keep your built-ins looking great for years:
- Dust regularly with a microfiber cloth
- Touch up paint as needed (keep some paint for this purpose)
- Tighten any loose shelf pins annually
- Check for and fill any settling cracks in caulk or joints

Conclusion
Building your own built-in bookshelves is a rewarding project that transforms both your space and your relationship with it. Every time I look at my shelves, I feel a sense of pride knowing I built them myself. Plus, they’ve inspired several friends to tackle their own built-in projects – and I’ve had the pleasure of helping them create their own custom storage solutions.
Remember, the key to success is careful planning, patience with the process, and attention to detail. Don’t rush the prep work or the finishing touches – these are what separate good built-ins from great ones. And if you run into challenges along the way, take a break, step back, and remember that every problem has a solution.
Ready to start your own built-in bookshelf project? I’d love to hear about your plans and answer any questions you might have. After all, there’s nothing quite like creating something beautiful and functional with your own two hands.
If you love home decor and interior design as much as I do, check out these other articles I think you might like.
Top 11 Versatile Decor Items for Year-Round Kitchen Styling


