How to Make a DIY Winter Wreath with Natural Elements
There’s something magical about the winter season. The crisp air, the cozy nights, and the festive decorations all come together to create a warm and inviting atmosphere. One of my favorite ways to embrace the winter spirit is by creating a DIY winter wreath using natural elements. It’s a fun, creative project that not only adds a touch of nature to your home but also allows you to express your personal style. In this guide, I’ll walk you through the process of making your own stunning winter wreath, step by step.
I love decorating for Christmas. Below are some of my favorite products for Christmas decorating.


Why Make a DIY Winter Wreath?
Before we dive into the how-to, let’s talk about why you might want to create your own winter wreath. For me, it’s all about bringing a bit of the outdoors inside during those cold months. There’s something incredibly satisfying about foraging for materials and turning them into a beautiful piece of decor. Plus, it’s a great way to save money compared to buying a pre-made wreath, and you get the added bonus of a personalized creation that reflects your unique taste.
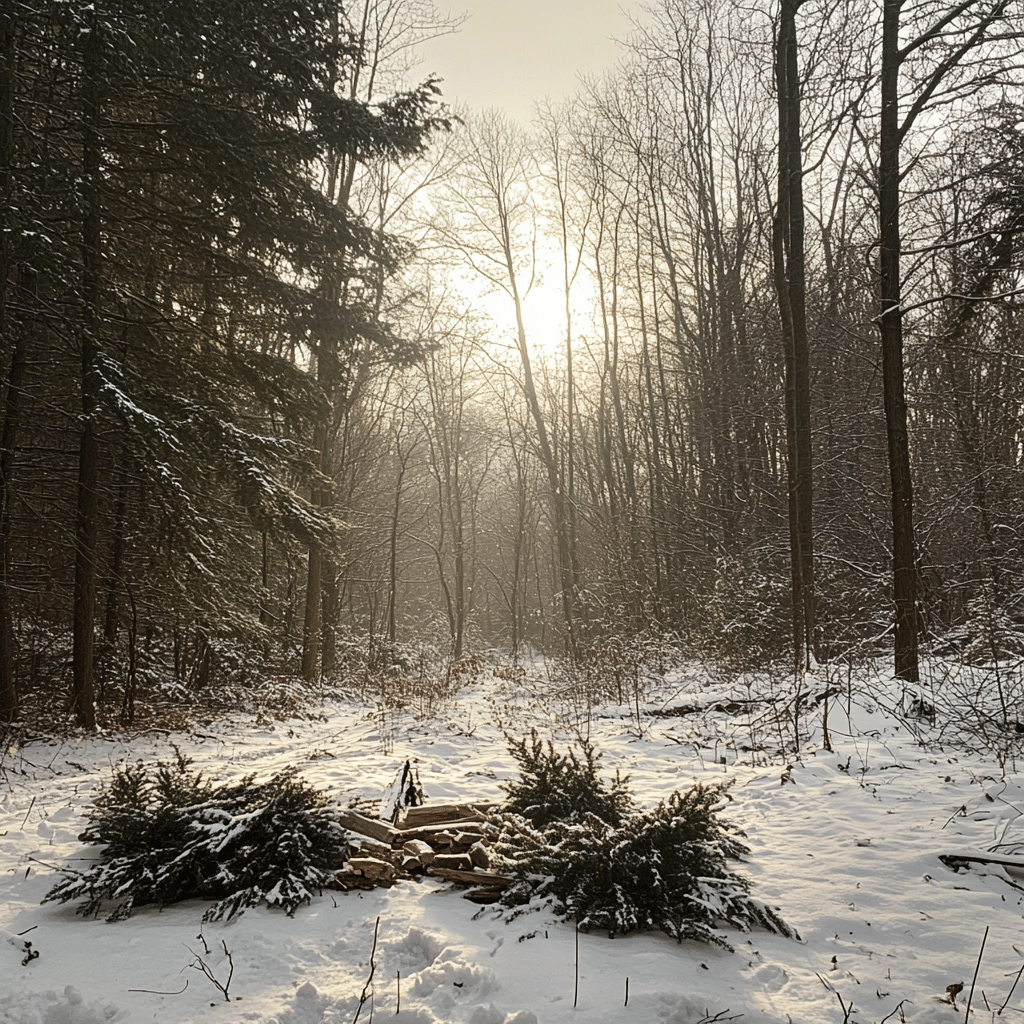
Gathering Your Materials
The first step in creating your DIY winter wreath is to gather your materials. This is where the fun begins! You’ll need:
- A wreath base (I prefer a grapevine wreath, but you can also use a wire form)
- Floral wire
- Wire cutters
- Scissors
- Hot glue gun and glue sticks
- Natural elements (more on this below)
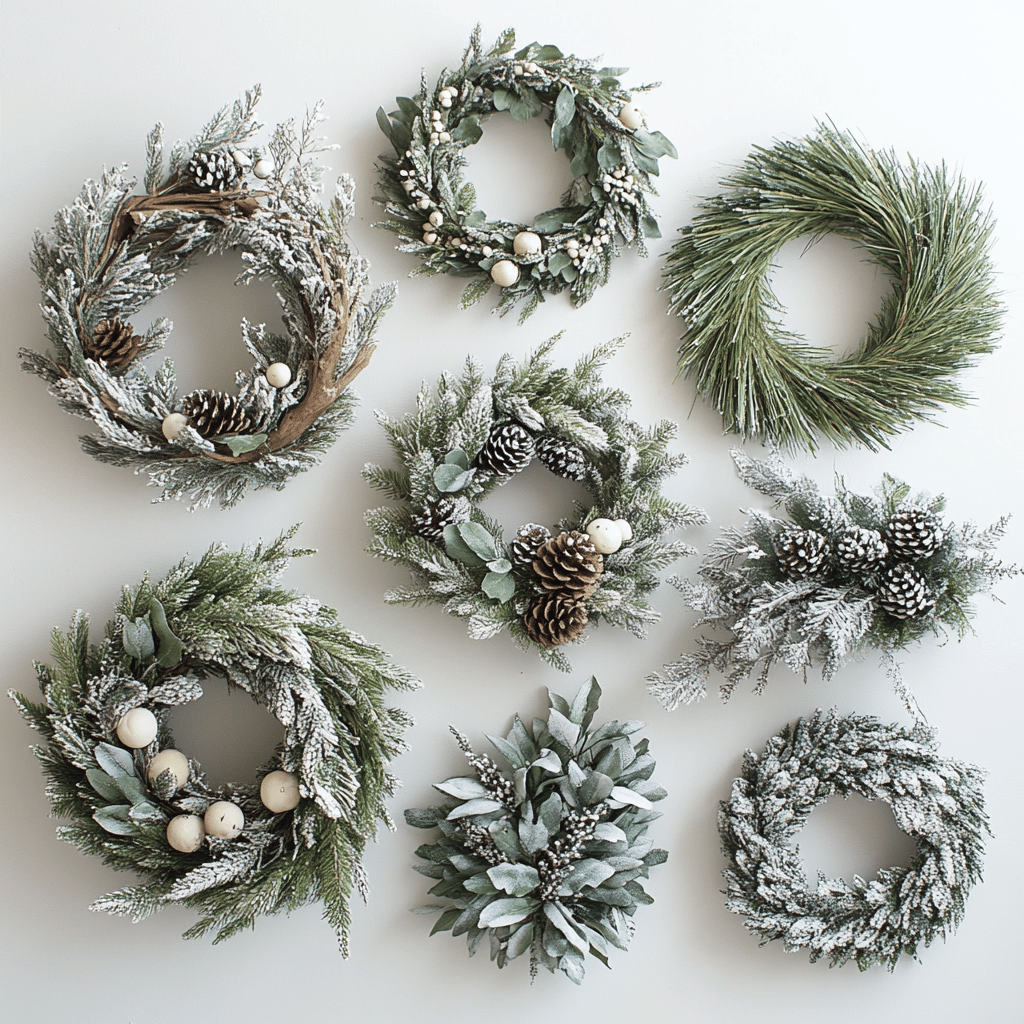
Now, let’s talk about those natural elements. The beauty of making your own wreath is that you can use whatever speaks to you. Here are some ideas to get you started:
- Pine branches
- Pinecones
- Holly berries
- Eucalyptus leaves
- Dried orange slices
- Cinnamon sticks
- Dried flowers
- Twigs and branches
- Acorns
- Dried seedpods
I love to take a walk in nature and see what I can find. It’s a great excuse to get outside and enjoy the winter air. Just remember to be respectful of your environment and only take what you need.
Preparing Your Materials
Once you’ve gathered your materials, it’s time to prep them for your wreath. This step is crucial for ensuring your wreath looks polished and professional.
Start by sorting your materials into groups. This will make it easier to create a balanced design later. Next, trim any excess stems or branches. You want your elements to be manageable and easy to attach to the wreath base.
If you’re using pine branches or other evergreens, you might want to soak them in water overnight. This helps keep them fresh longer. Just be sure to pat them dry before adding them to your wreath.
For elements like pinecones or acorns, you might want to add a wire to make them easier to attach. Simply wrap a piece of floral wire around the base of the item, leaving a tail that you can use to secure it to the wreath.
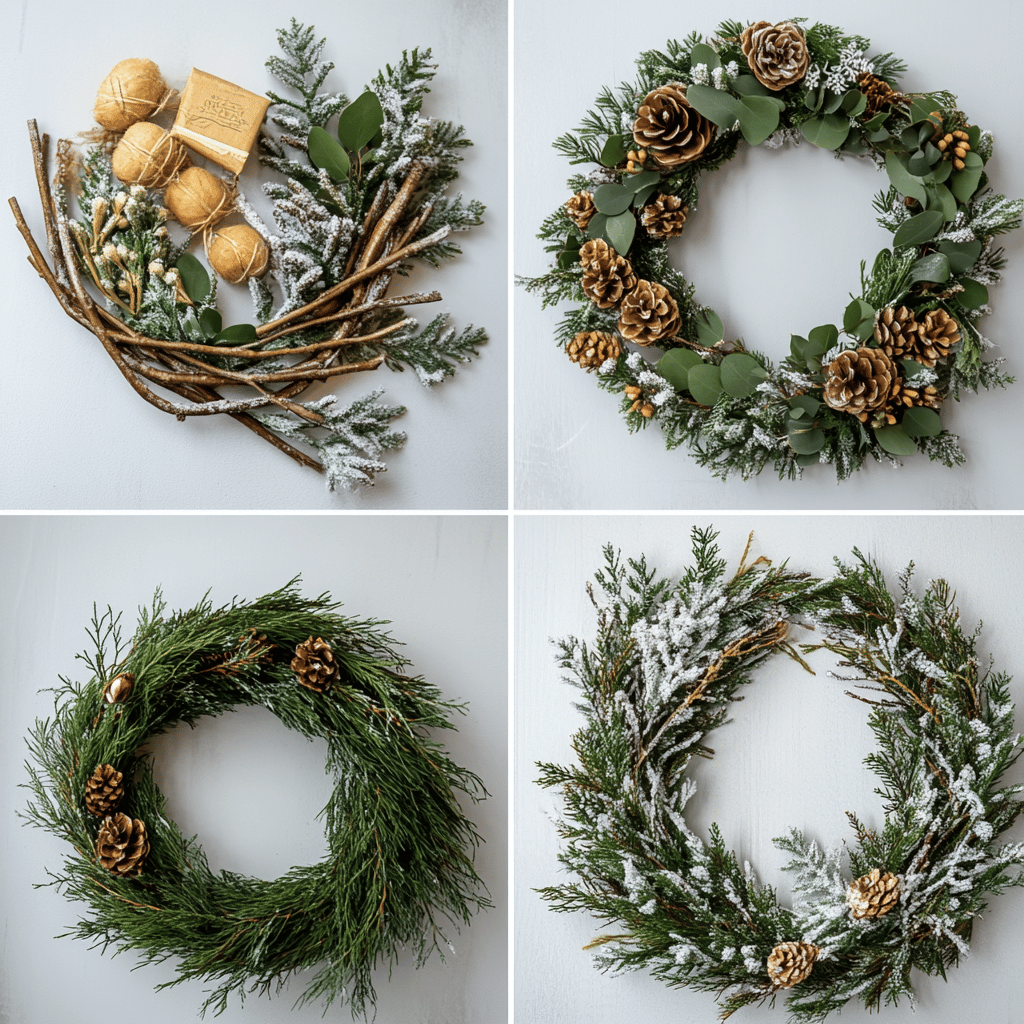
Creating Your Base
Now that your materials are prepped, it’s time to start building your wreath. Begin with your wreath base. If you’re using a grapevine wreath, you’re good to go. If you’re using a wire form, you’ll want to add some greenery as a base layer.
To create a base layer, start by attaching your largest pieces of greenery to the wire form using floral wire. Work your way around the wreath, overlapping each piece slightly to create a full, lush look. Don’t worry if it’s not perfect – we’ll be adding more elements on top.

Adding Your Natural Elements
This is where your wreath really starts to come to life. Begin by adding your larger elements, like pinecones or large dried flowers. Space these out evenly around the wreath to create a balanced look.
Next, start filling in with smaller elements. This is where you can really get creative. Mix and match different textures and colors to create interest. I love to add in some dried orange slices for a pop of color, or some cinnamon sticks for a festive scent.
As you work, step back occasionally to look at your wreath from a distance. This will help you spot any areas that need more attention or balance.

Securing Your Elements
It’s important to make sure all your elements are securely attached to your wreath. For most items, you can use floral wire to attach them to the base. Simply wrap the wire around the stem of the item and then around the wreath base.
For smaller or more delicate items, a hot glue gun can be your best friend. Just be careful not to use too much glue, as it can be visible and take away from the natural look of your wreath.

Adding the Finishing Touches
Once you’ve added all your main elements, it’s time for the finishing touches. This is where you can really make your wreath shine.
Consider adding a ribbon bow for a classic touch. You could use a traditional red ribbon, or choose something more unique like a burlap or plaid ribbon.
If you want to add some sparkle, consider dusting your pinecones with a bit of glitter or adding some small ornaments. Just remember, less is often more when it comes to natural wreaths.

Caring for Your Wreath
Now that you’ve created your beautiful DIY winter wreath, you’ll want to make sure it lasts as long as possible. If you’re hanging it outdoors, try to choose a spot that’s protected from direct sunlight and harsh weather. This will help preserve the natural elements.
For indoor wreaths, avoid hanging them near heat sources like radiators or fireplaces, as this can dry out the natural elements quickly.
To keep your wreath looking fresh, you can mist it lightly with water every few days. Just be sure not to oversaturate it, as this can lead to mold.

Variations and Inspirations
One of the best things about making your own winter wreath is that you can customize it to fit your personal style or home decor. Here are a few ideas to inspire you:
- Minimalist Wreath: Use only one or two types of greenery for a sleek, modern look.
- Colorful Winter Wreath: Incorporate brightly colored berries or dried flowers for a pop of color.
- Rustic Wreath: Focus on natural elements like pinecones, twigs, and burlap for a cozy, cabin-inspired look.
- Scented Wreath: Include fragrant elements like cinnamon sticks, dried citrus, or sprigs of rosemary.
- Asymmetrical Wreath: Create an off-center design for a more contemporary feel.
Remember, there’s no right or wrong way to create your wreath. The most important thing is that it reflects your personal style and brings you joy.

Troubleshooting Common Issues
Even with the best preparation, you might run into a few challenges when making your wreath. Here are some common issues and how to solve them:
- Wreath looks sparse: If your wreath is looking a bit thin, try adding some filler greenery like eucalyptus or small pine branches.
- Elements keep falling off: Make sure you’re securing each element tightly with floral wire or hot glue. For heavier items, you might need to use both.
- Wreath is too heavy: If your wreath is too heavy to hang, try removing some of the heavier elements or reinforcing your hanging mechanism.
- Colors don’t look right: Step back and look at your wreath from a distance. Sometimes, you might need to redistribute colors or add a pop of a contrasting color to balance things out.
- Wreath looks messy: Don’t be afraid to trim excess greenery or rearrange elements until you’re happy with the look.
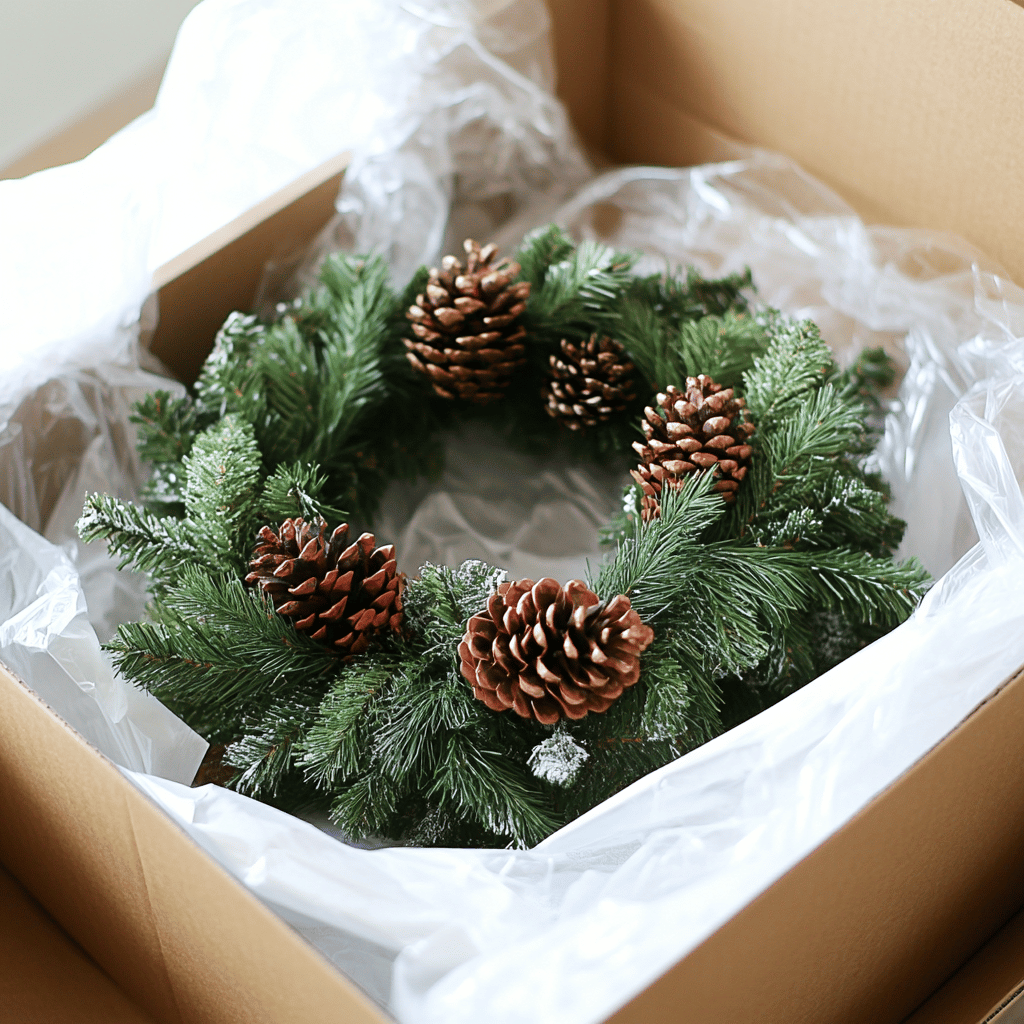
The Joy of DIY
Creating your own winter wreath is more than just a craft project – it’s a way to connect with nature, express your creativity, and add a personal touch to your home decor. I find the process incredibly relaxing and satisfying. There’s something special about stepping back and admiring a wreath that you’ve made with your own hands.
Plus, these wreaths make wonderful gifts. I’ve given them to friends and family members, and they’re always touched by the personal, handmade nature of the gift. It’s a great way to share a bit of winter cheer.
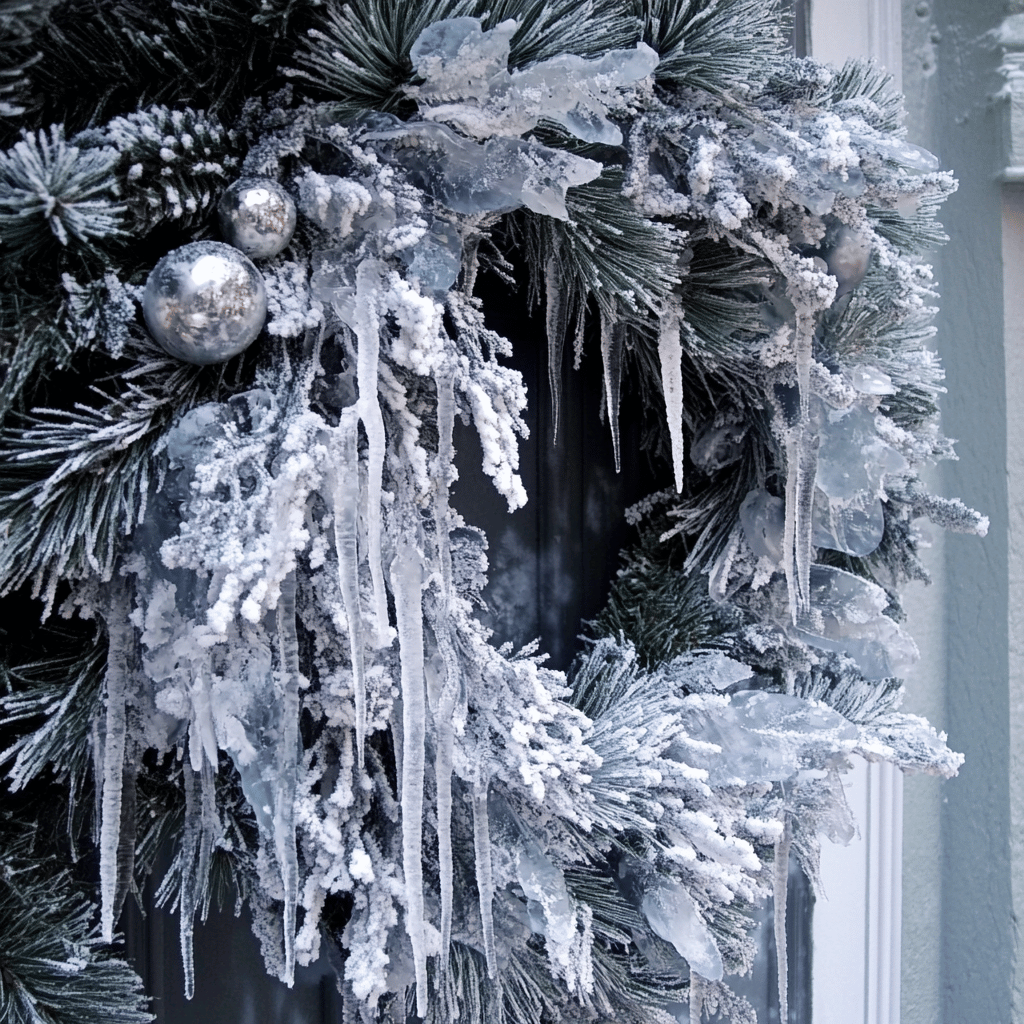
Conclusion
Making a DIY winter wreath with natural elements is a wonderful way to embrace the season and add a touch of nature to your home. It’s a project that anyone can do, regardless of crafting experience. The key is to have fun with it and let your creativity shine.
Remember, there’s no such thing as a perfect wreath. Each one is unique, just like the person who made it. So gather your materials, put on some festive music, and enjoy the process of creating something beautiful.
I hope this guide has inspired you to try making your own winter wreath. It’s a craft that I’ve come to love, and I think you will too. Happy wreath-making!
If you love Christmas decor as much as I do, check out these other articles I think you might like.
French Country Christmas Decor: Ideas for Rustic Elegance



15 Nature-Inspired Christmas Ornaments You Can Make at Home
November 22, 2024 @ 1:55 pm
[…] How to Make a DIY Winter Wreath with Natural Elements […]