How to Make Adorable Fabric Carrots: The Perfect Decoration
Easter is just around the corner, and I couldn’t be more excited to share my absolute favorite DIY spring decoration with you today! Fabric carrots have become my signature Easter craft over the years, and for good reason. They’re incredibly versatile, surprisingly simple to make, and they bring the perfect touch of whimsy to any spring display. I’ve made dozens of these cute creations, and today I’m walking you through my step-by-step process so you can create your own adorable carrot patch.


Why I’m Obsessed with Fabric Carrots
Let me tell you why I fell in love with fabric carrots in the first place. A few years ago, I spotted some adorable fabric carrots in a high-end home decor store—with an equally high-end price tag of $15 each! I stood there thinking, “I could definitely make these myself,” and so my fabric carrot journey began.
The first batch I made was for my Easter dinner table, and they were an instant hit. My mother-in-law immediately requested a set, then my sister wanted some, and before I knew it, I was making fabric carrots for everyone I knew. Now they’ve become something of a tradition in our family and friend circle.
What makes these fabric carrots so special? They’re endlessly customizable, perfectly imperfect, and they last forever. Unlike real Easter decorations that wilt or chocolates that disappear (too quickly in my house!), these fabric friends return year after year, gaining character and becoming part of your family’s Easter story.

Materials You’ll Need
Before we dive into the making process, let’s gather our supplies. The beauty of this project is that it’s extremely forgiving and adaptable to whatever materials you have on hand. Here’s what I typically use:
- Orange fabric: Fat quarters work perfectly, but old shirts, pillowcases, or even orange-toned tea towels can work beautifully. I prefer fabrics with some texture or subtle patterns for added interest.
- Green fabric: For the carrot tops, I use felt, cotton, or even repurposed green fabric from old projects.
- Stuffing: Polyester fiberfill is my go-to, but you can also use cotton stuffing, fabric scraps, or even dried beans or rice for a weighted bottom.
- Thread: Orange and green to match your fabrics.
- Sewing supplies: Scissors, pins, sewing machine (or needle for hand sewing), measuring tape.
- Optional embellishments: Twine, ribbon, lace, buttons, or whatever strikes your fancy.
One of the things I love most about this project is how forgiving it is regarding materials. I’ve made gorgeous carrots from an old orange sweater I shrunk in the dryer and stunning tops from leftover green felt from my daughter’s Halloween costume. Don’t be afraid to get creative with what you have!

Step-by-Step Instructions
Let’s dive into the making process! I’m breaking this down into manageable steps so even beginners can follow along. The beauty of handmade items is their uniqueness, so don’t worry about making “perfect” carrots—the slight variations make them charming.
Step 1: Create Your Carrot Pattern
First, we need to create a simple carrot pattern. I make carrots in various sizes, but my standard template is roughly 8 inches tall and 4 inches wide at the top, tapering to a point at the bottom. The shape is basically an elongated triangle with a slightly rounded top.
To make a pattern, I simply draw the shape on paper, cut it out, and use it to trace onto my fabric. If you’re making multiple carrots, a cardboard template works wonderfully and saves time. For a natural look, I vary my patterns slightly—some taller and skinnier, others shorter and plumper.
Pro tip: If you’re making a set, create 3-4 different sizes for a more organic, garden-harvested look. My smallest carrots are about 5 inches tall, while my largest can be up to 12 inches.
Step 2: Cut Your Fabric
Place your pattern on the orange fabric, trace around it, and cut out two identical pieces for each carrot. Remember to leave about a 1/4 inch seam allowance all around. For a standard carrot, I cut two identical carrot shapes.
For the carrot tops, I cut leaf shapes from green fabric. I usually make 3-5 leaves per carrot in varying sizes and shapes. Some are long and pointy, others more rounded—variety makes them look more natural. The length of the leaves typically ranges from 3-6 inches.
If you’re feeling adventurous, try using different shades of orange or green fabrics for more visual interest. I’ve made beautiful sets using fabrics ranging from burnt orange to bright tangerine, and from sage green to emerald.
Step 3: Sew the Carrot Body
With right sides facing together, pin your two carrot pieces along the edges. Using a sewing machine (or hand stitch if you prefer), sew around the edges leaving about a 1/4 inch seam allowance. Make sure to leave a 2-inch opening at the top for turning and stuffing.
I usually sew with a straight stitch, but if your fabric is particularly prone to fraying, a zigzag stitch works well too. Take your time around the pointed bottom to ensure you get a nice, defined point.
Now turn your carrot right side out through the opening you left at the top. Use a pencil or chopstick to gently push out the point at the bottom and smooth out the seams.
Step 4: Stuff Your Carrot
This is where your carrot starts coming to life! Gradually fill your carrot with stuffing through the opening, working in small amounts at a time. Make sure to push the stuffing all the way down to the pointed end first, using a pencil or chopstick to help pack it in.
The key to a natural-looking carrot is varying how firmly you stuff different areas. I like to stuff the bottom quite firmly for a defined point, then make the middle section very plump, and the top just a little less stuffed. This creates a slight taper that mimics a real carrot’s shape.
For added weight and stability, you can fill the bottom 1/3 of your carrot with dried beans or rice before adding the fiberfill on top. This makes them sit nicely in baskets or on tables without toppling over.
Step 5: Create the Carrot Top
For the leafy greens, fold each leaf piece in half lengthwise with right sides together. Stitch along the edge, leaving the bottom open, then turn right side out. This creates a nice finished edge for each leaf.
Once you have all your leaves prepared, gather them together at the base. I arrange mine so they fan out naturally, with some standing upright and others falling to the sides. When I’m happy with the arrangement, I secure them together with a few stitches at the base.
For extra texture, I sometimes add some thin strips of green fabric or twine amongst the leaves to look like carrot stems. This little detail really elevates the final look.
Step 6: Attach the Greens and Finish
Now for the most satisfying part—bringing your carrot to life! Tuck the raw edges of your gathered leaves into the opening at the top of your carrot. Pin in place, making sure the leaves are arranged how you want them.
Hand stitch the opening closed, securing the leaves as you go. I use a ladder stitch (also called a slip stitch or invisible stitch) for this part to make the seam virtually invisible.
For extra security and a finished look, I often wrap some twine, thin ribbon, or embroidery floss around the base of the leaves where they meet the carrot. This not only covers any visible stitching but adds an authentic touch, as if the carrot tops have been bundled together after harvesting.

Creative Variations to Try
Over the years, I’ve experimented with countless variations of fabric carrots. Here are some of my favorite ways to customize them:
1. Rustic Farmhouse Carrots
For a more rustic, farmhouse look, I use natural linen or burlap in orange tones. These textures add wonderful dimension and pair beautifully with twine-wrapped tops. To enhance the farmhouse aesthetic, I sometimes tea-stain white fabric to create an aged, vintage appearance before cutting and sewing.
2. Patterned Perfection
Don’t limit yourself to solid orange fabric! Some of my most stunning carrots have been made with subtle patterns—think tiny gingham checks, delicate florals, or even polka dots. The key is choosing patterns that read as “orange” from a distance but reveal delightful details up close.
3. Embellished Elegance
For a more sophisticated look, especially for Easter decor in formal spaces, try adding subtle embellishments. I’ve added thin velvet ribbons, small pearl beads along the seams, or even delicate embroidery to elevate my fabric carrots for more elegant displays.
4. Miniature Marvels
Tiny fabric carrots (about 3-4 inches tall) make adorable additions to Easter baskets, place settings, or wreaths. I make these in assembly-line fashion and keep a stash for last-minute decorating needs or small gifts. They use minimal fabric and can be whipped up quickly using scraps from larger projects.
5. Scented Surprises
For an unexpected sensory element, add a few drops of essential oil to your stuffing. Cinnamon creates a warm, spicy scent that’s surprisingly complementary to Easter decor, while lavender adds a springtime freshness that guests will notice without immediately identifying the source.

Displaying Your Fabric Carrot Creations
Once you’ve made your fabric carrots, the fun of decorating begins! Here are my favorite ways to showcase these adorable creations:
Natural Nests
I love nestling my fabric carrots in natural baskets filled with excelsior (wood wool) or Spanish moss. The organic textures complement the fabric beautifully and create a “fresh from the garden” feel.
Tabletop Centerpieces
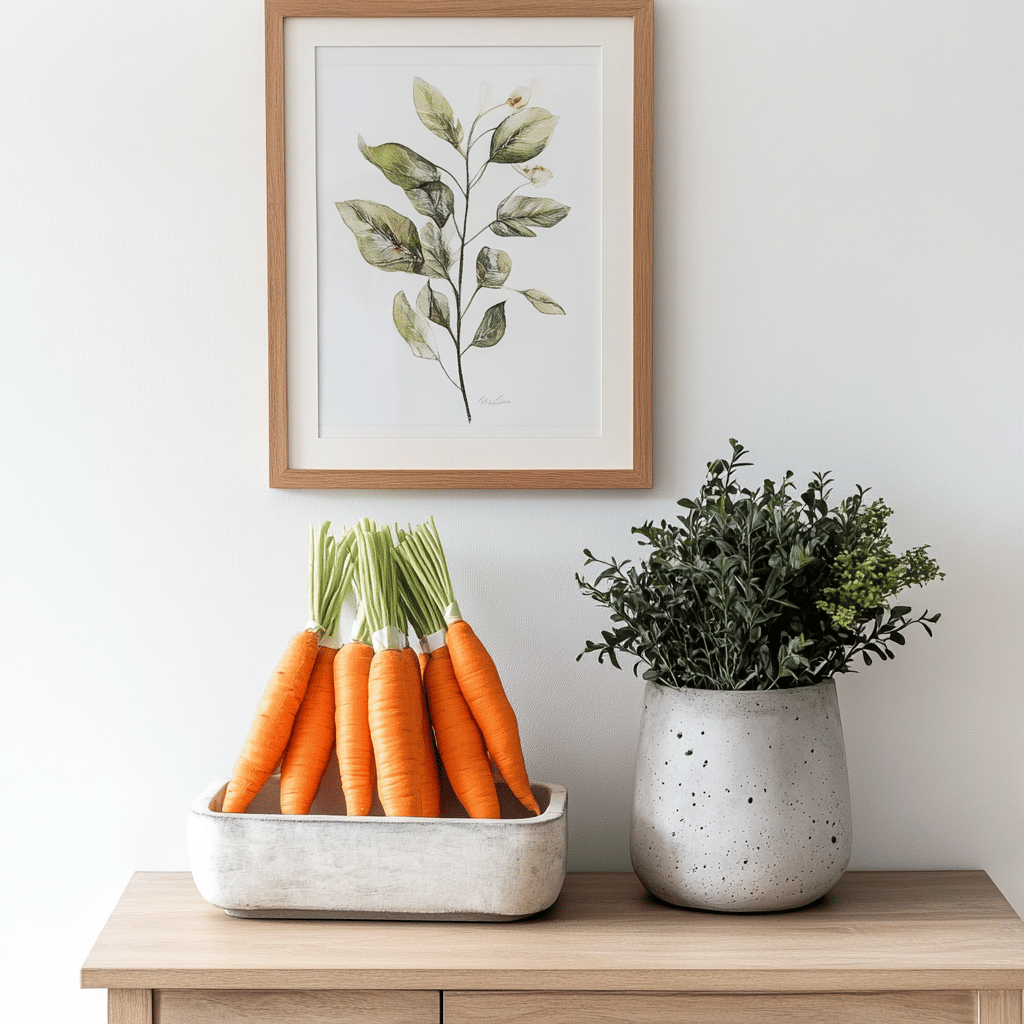
For Easter dinner, I arrange a graduated collection of fabric carrots down the center of my table, interspersed with small potted herbs, votives, or egg cups filled with fresh flowers. The varying heights create visual interest that doesn’t block conversation across the table.
Mantel Magic
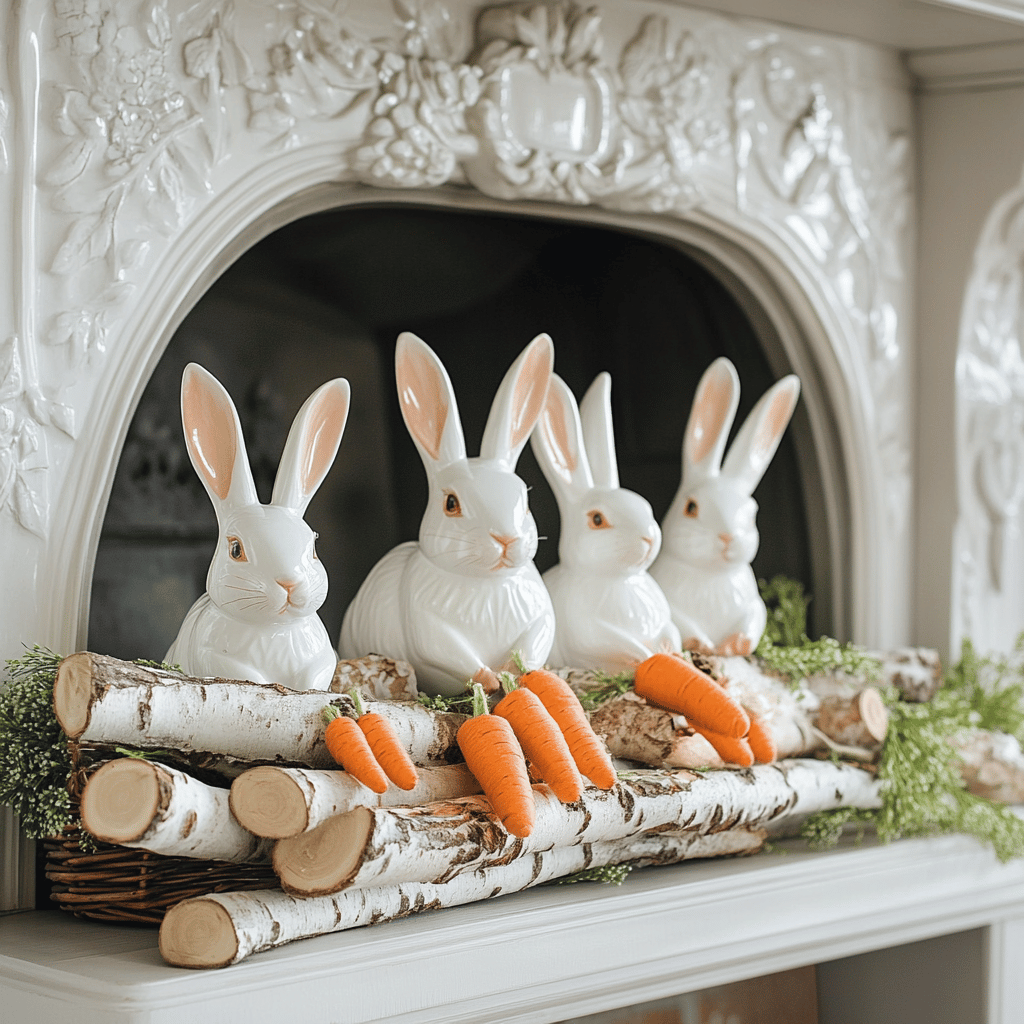
My largest fabric carrots become mantel decorations, often paired with rabbit figurines, vintage egg cups, or branches of forced spring blooms. The soft fabrics balance beautifully against harder elements like ceramic or metal decorations.
Wreath Accents
Smaller fabric carrots can be wired or glued to a spring wreath for a pop of color and texture. I’ve attached them to grapevine wreaths, moss wreaths, and even deco mesh creations with wonderful results.
Gift Toppers
One of my favorite uses for mini fabric carrots is as gift toppers. Instead of traditional bows, I attach a small fabric carrot to the top of Easter gifts. Recipients are always delighted by this unexpected flourish, and they get two gifts in one!

Why Handmade Decorations Matter
In our world of mass-produced everything, there’s something genuinely special about creating decorations by hand. Each time I bring out my fabric carrots, they remind me of the hours spent crafting them while chatting with my daughter or watching favorite movies. They carry memories within their stitches.
Handmade decorations also allow for a level of personalization that store-bought items simply can’t match. My fabric carrots coordinate perfectly with my home’s color scheme and style because I chose each fabric specifically for that purpose. No more settling for “close enough” decorations that don’t quite fit your vision!
Perhaps most importantly, creating by hand connects us to generations of homemakers who crafted their celebrations from whatever materials they had available. There’s a beautiful simplicity in transforming humble fabrics into cherished decorations that bring joy year after year.

Final Thoughts
Fabric carrots have become my signature Easter decoration for good reason. They’re simple enough for beginners, versatile enough for experienced crafters, and delightful enough to bring smiles to everyone who sees them. Plus, they’re practically heirloom-quality—my original set is now five years old and still looks wonderful each spring.
Don’t be surprised if your fabric carrot creations spark requests from friends and family. They make thoughtful hostess gifts, sweet additions to Easter baskets, and perfect presents for anyone who appreciates handmade touches. I keep supplies on hand year-round so I can whip up a set whenever the need arises.
Whether you make one statement carrot or an entire garden patch, I hope you’ll try this project and experience the satisfaction of creating something both beautiful and enduring. Happy crafting, and happy Easter!
What spring decorations do you love making? Have you tried fabric carrots before? I’d love to hear about your Easter crafting traditions in the comments below!
If you love home decor and interior design as much as I do, check out these other articles I think you might like.
How to Create a Stunning Easter Tree : Perfect for Spring


